A Victorian Christmas:
Crafts & Decor
The Victorian era was a time of extravagance, maximalist design, intricate detailing and a ‘more is more’ aesthetic. The period also highly appreciated nature and valued botanical and living things as objects of beauty as well as function.
Here we explore various ways to rediscover the crafting hobbies and decor of this brilliant time and place in history.
Fruit as Decor & Decadence
Victorian Gift Wrapping
Paper & Metal Crafts
This site intentionally avoids intrusive ads. Links are provided to relevant products used in the tutorials as an Amazon Associate. I do so when there is value in knowing the specific product, and to learn more about or continue experiencing the mood.Fruit as Decor & Decadence
The interest in the natural world and living things extended to decorating preferences in direct ways beyond floral prints and ornate patterns. People collected specimens from nature as prized collections, and elevated organic items like fruit itself as worthy of showcasing.
With trade becoming dramatically more accessible, certain good like exotic foods and spices became more attainable, if still a luxury. What could be more festive than enjoying these newly popular excitements at Christmas, and showcasing them in one’s home as both status symbol and work of art in the during the season?
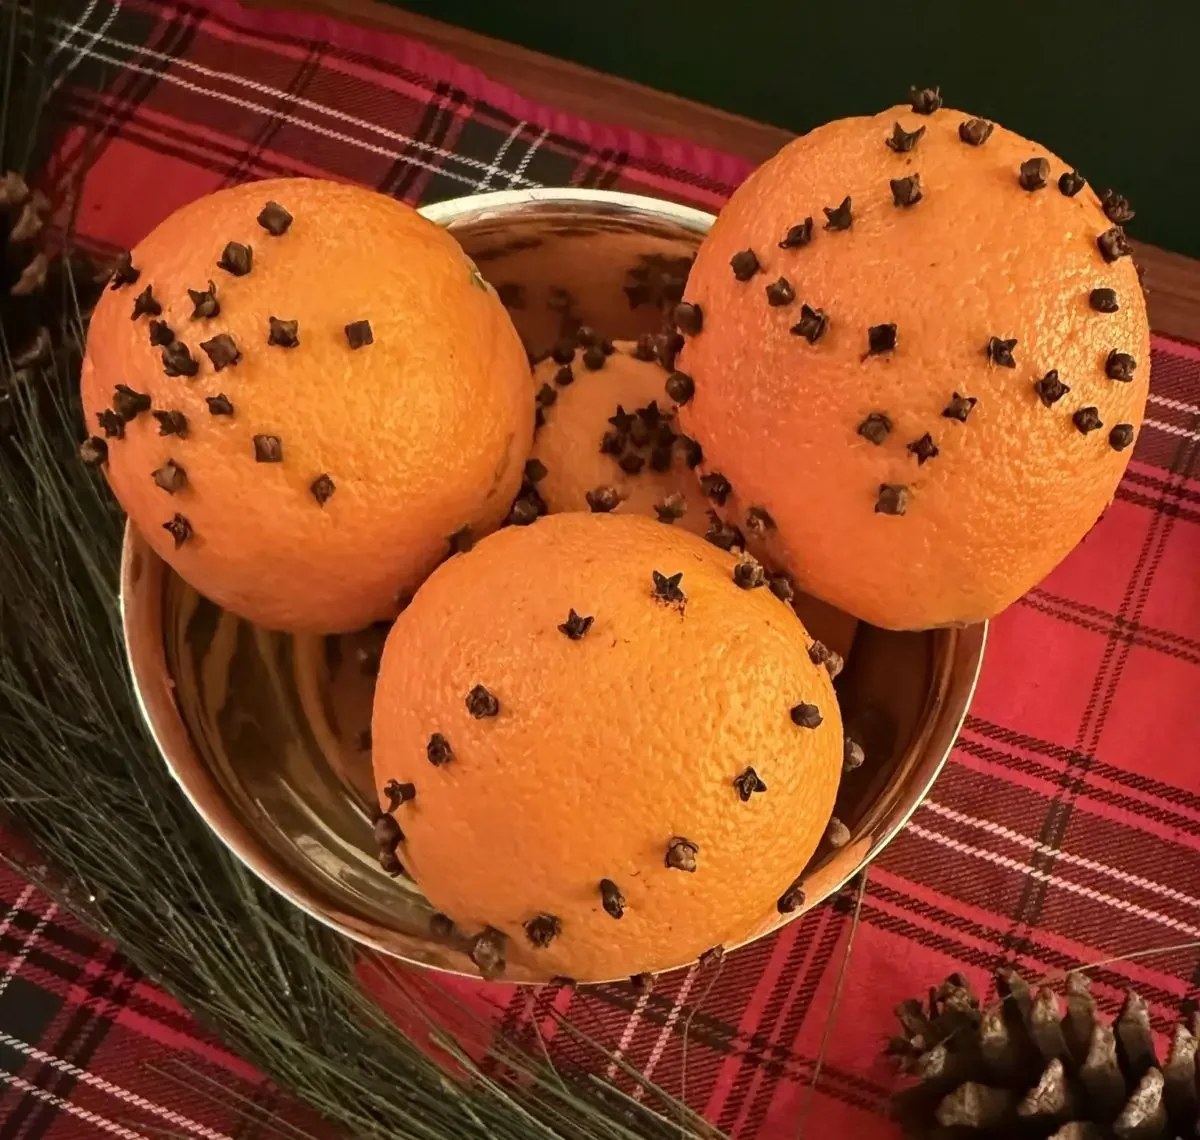
1 | Making a Pomander
A beautifully natural holiday scent
A pomander is a classic creation that served a functional purpose as well beautiful decor. Comprised of a fruit (usually an orange, citrus, or apple)- dried herbs and spices were inserted, resulting in an intoxicatingly sweet and spicy potpourri to enjoy throughout the season. They were both gifted as Christmas presents, or made just for the fun of the craft and displayed in one’s home.
Making your own pomander is a very easy activity and is limited only by the bounds of your artistic imagination. It’s simple enough to do with kids, but do be mindful that as satisfying as cloves are to stick into the gentle rinds, they can also be a little prickly.
Supplies:
Orange/s
Whole Cloves (dried)
Directions:
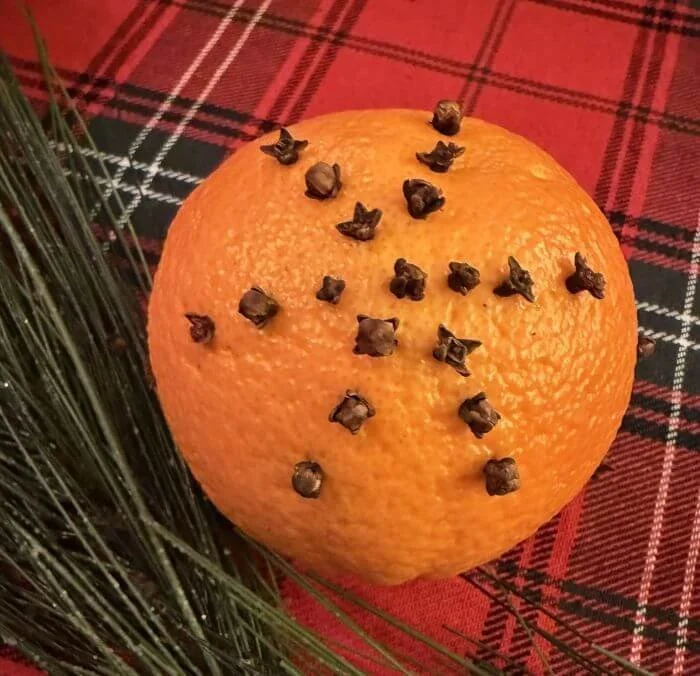
Determine what design you want to create.
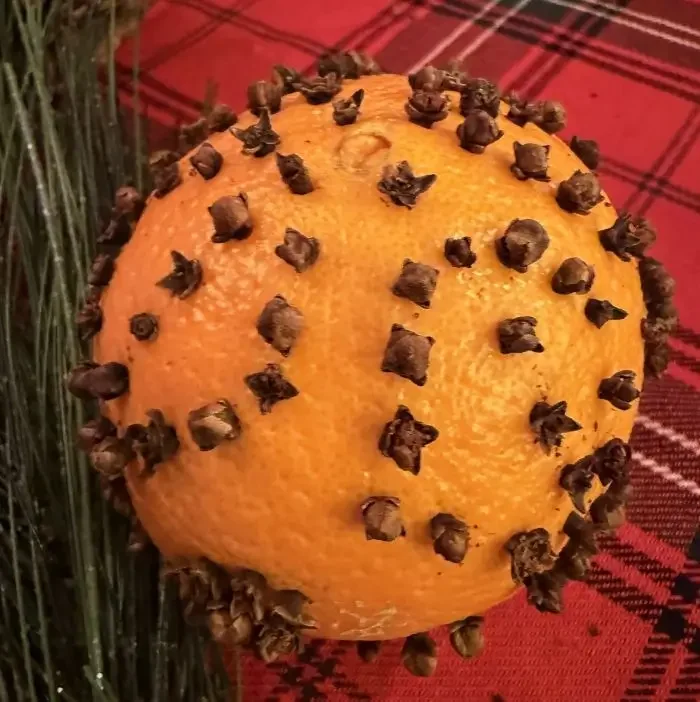
Clove by clove, gently punch the pointy (non-star-end) into the fruit.
Enjoying the natural cycle:
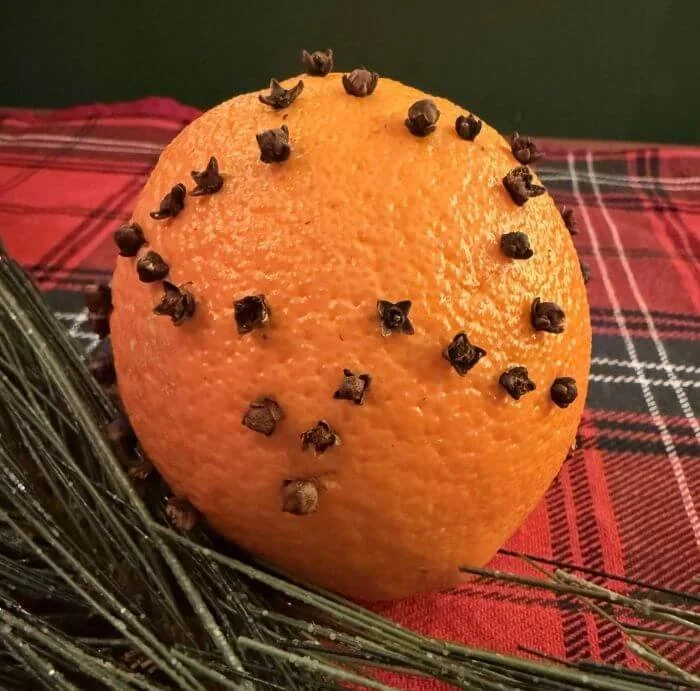
Your creations will be beautiful and fresh when newly created, but don’t let the natural drying process disappoint. While they will end up shriveling, this is part of the process and often times will end up enhancing the fragrance as the citrus and spice oils blend throughout the month.
What you want to avoid is a rotting pomander. If you see fuzzy mold or wet/soft patches, or fermenting smell- then there’s been too much moisture and you need to toss. But hard, dry, and light is good and means you’ve created a successful pomander!
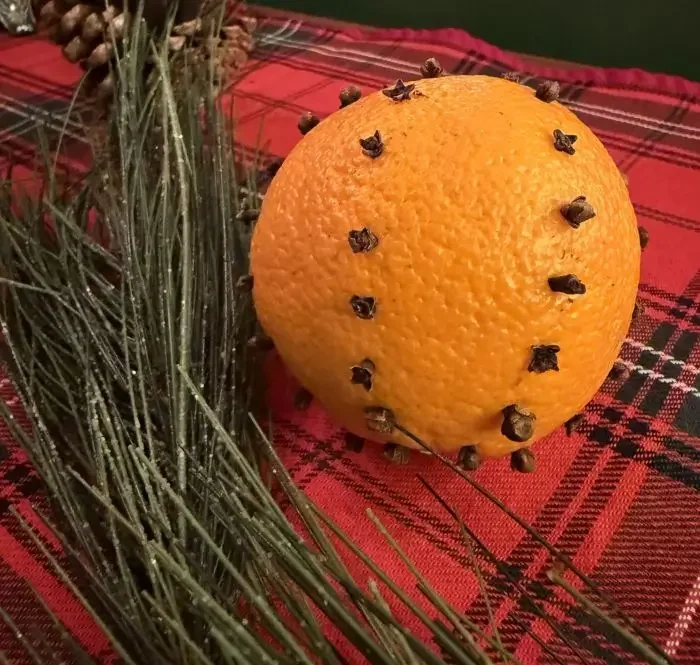
Design tips:
While it can be tempting to create intricate designs (especially for a Victorian themed Christmas!) - less is more in this instance. Even with the best of patterns to imitate- the natural variety in clove sizes and inevitable spacing differences tend to unravel complicated designs and leave you squinting to try and make out the original intention. But more power to you if you like a challenge!
For ideas and inspiration- consider these shapes and designs, or be inspired by Victorian themes of plants and animals.
2 | Tower of Fruit
A classy, natural centerpiece
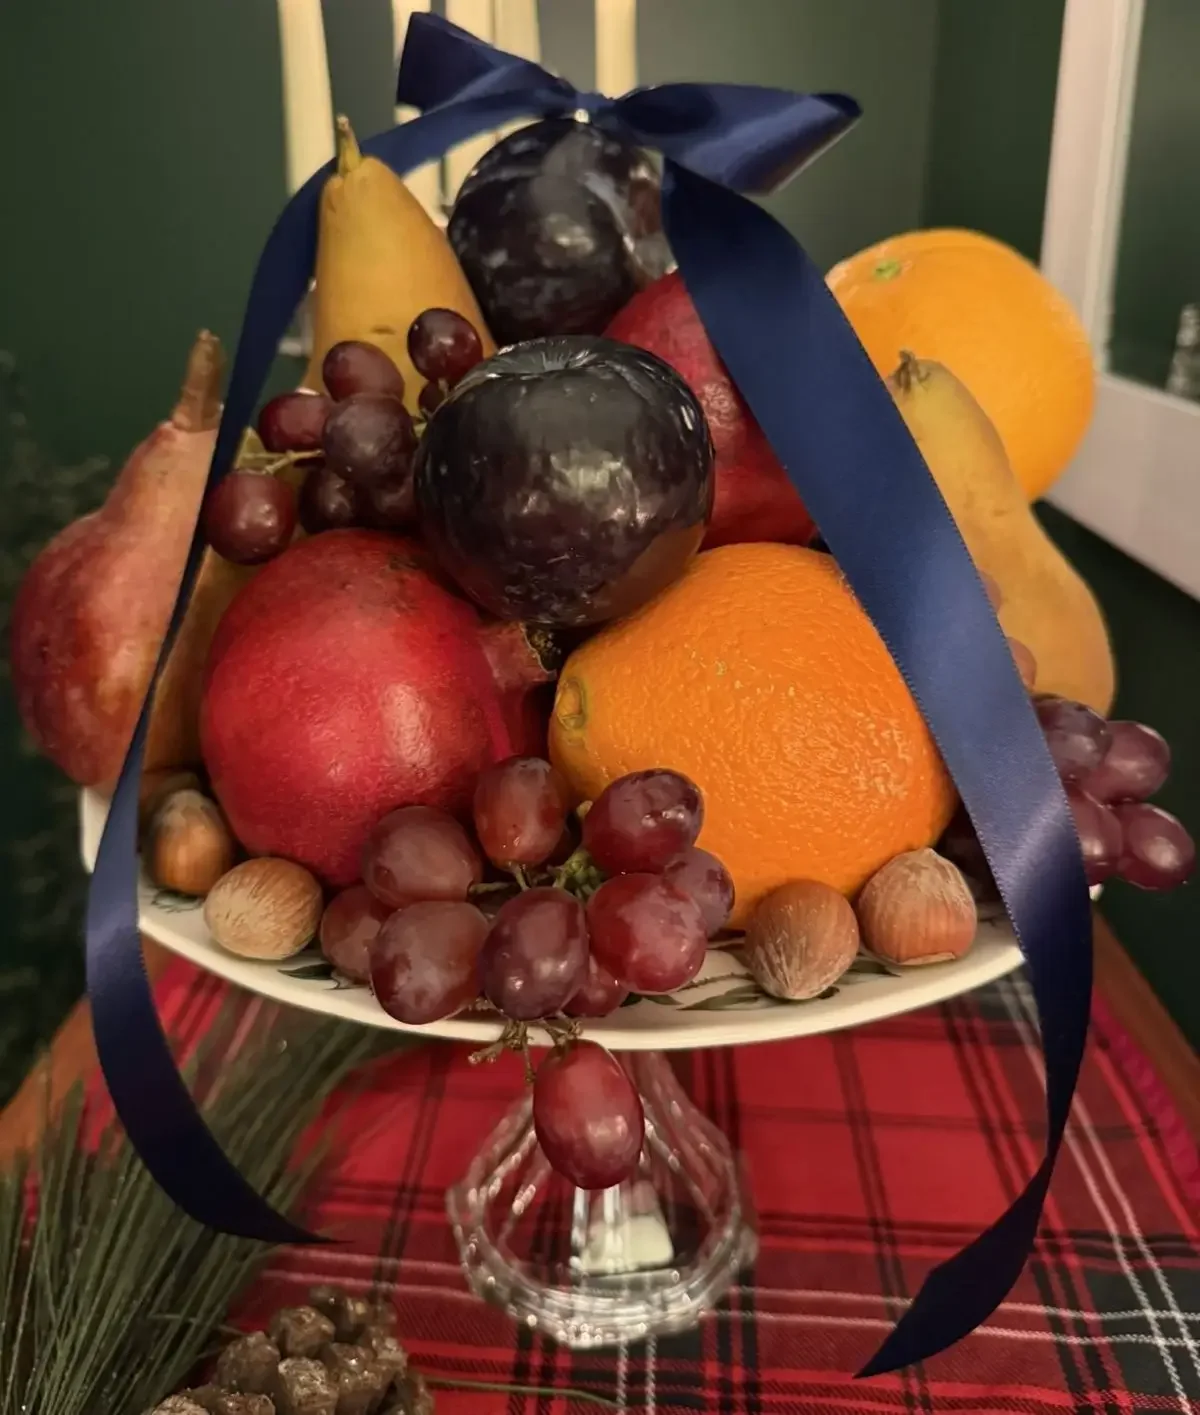
This habit was an effective way of displaying prosperity alongside function. Evoking Dionysus, classic still life paintings everywhere, and of course the Ghost of Christmas Present- this iconic decor represents opulence in a way that now seems almost humble. It’s easy create your own gorgeous display either for hosting or just to enjoy yourself for the holidays.
Suggested Ingredients & Materials
Apples
Pears (Varieties like Red D’Anjou or Bosc are best for an authentic look)
Pomegranates
Plums
Grapes (Varieties like Concord or dark, small clusters are ideal)
Oranges (or other small citrus)
Nuts (Hazelnuts, Walnuts, Pecans are all good options)
Spruce or Pine sprigs (optional)
Platter, Plate, or Bowl
Ribbon to decorate from the top (optional)
Directions
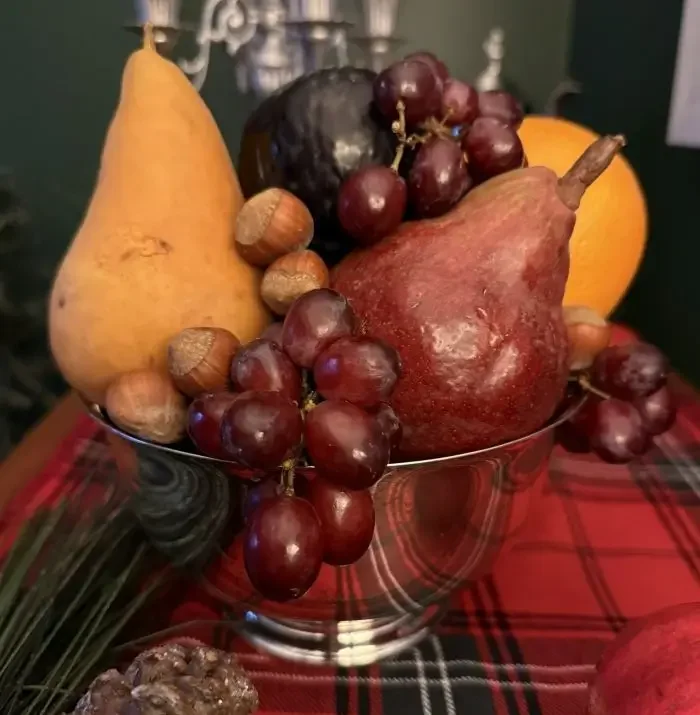
The process is straight forward- with the biggest challenge being the balancing act of keeping the fruit in tact as you add height.
Start with the larger fruits, saving grapes, plums, nuts to fill in crevices.
If adding sprigs, arrange along the bottom of the platter, and voila.
Plan to have guests (or family members!) help themselves to the display. Go with it and consider it a complement. Just rebalance the remaining fruits and replenish as needed, with the ripest fruits at the top.
4 | Victorian Gift Wrapping
Create authentic 19th century gifting
Victorian gift wrapping can be categorized into three distinct eras, representing how the materials, techniques, and values of the time evolved over the course of the nineteenth century.
A brief history lesson highlights the various design trends through the Victorian era, along with tutorials on how to create them. Whatever style suits your mood, the result will be sumptuous Victorian style under your parlor Christmas tree.
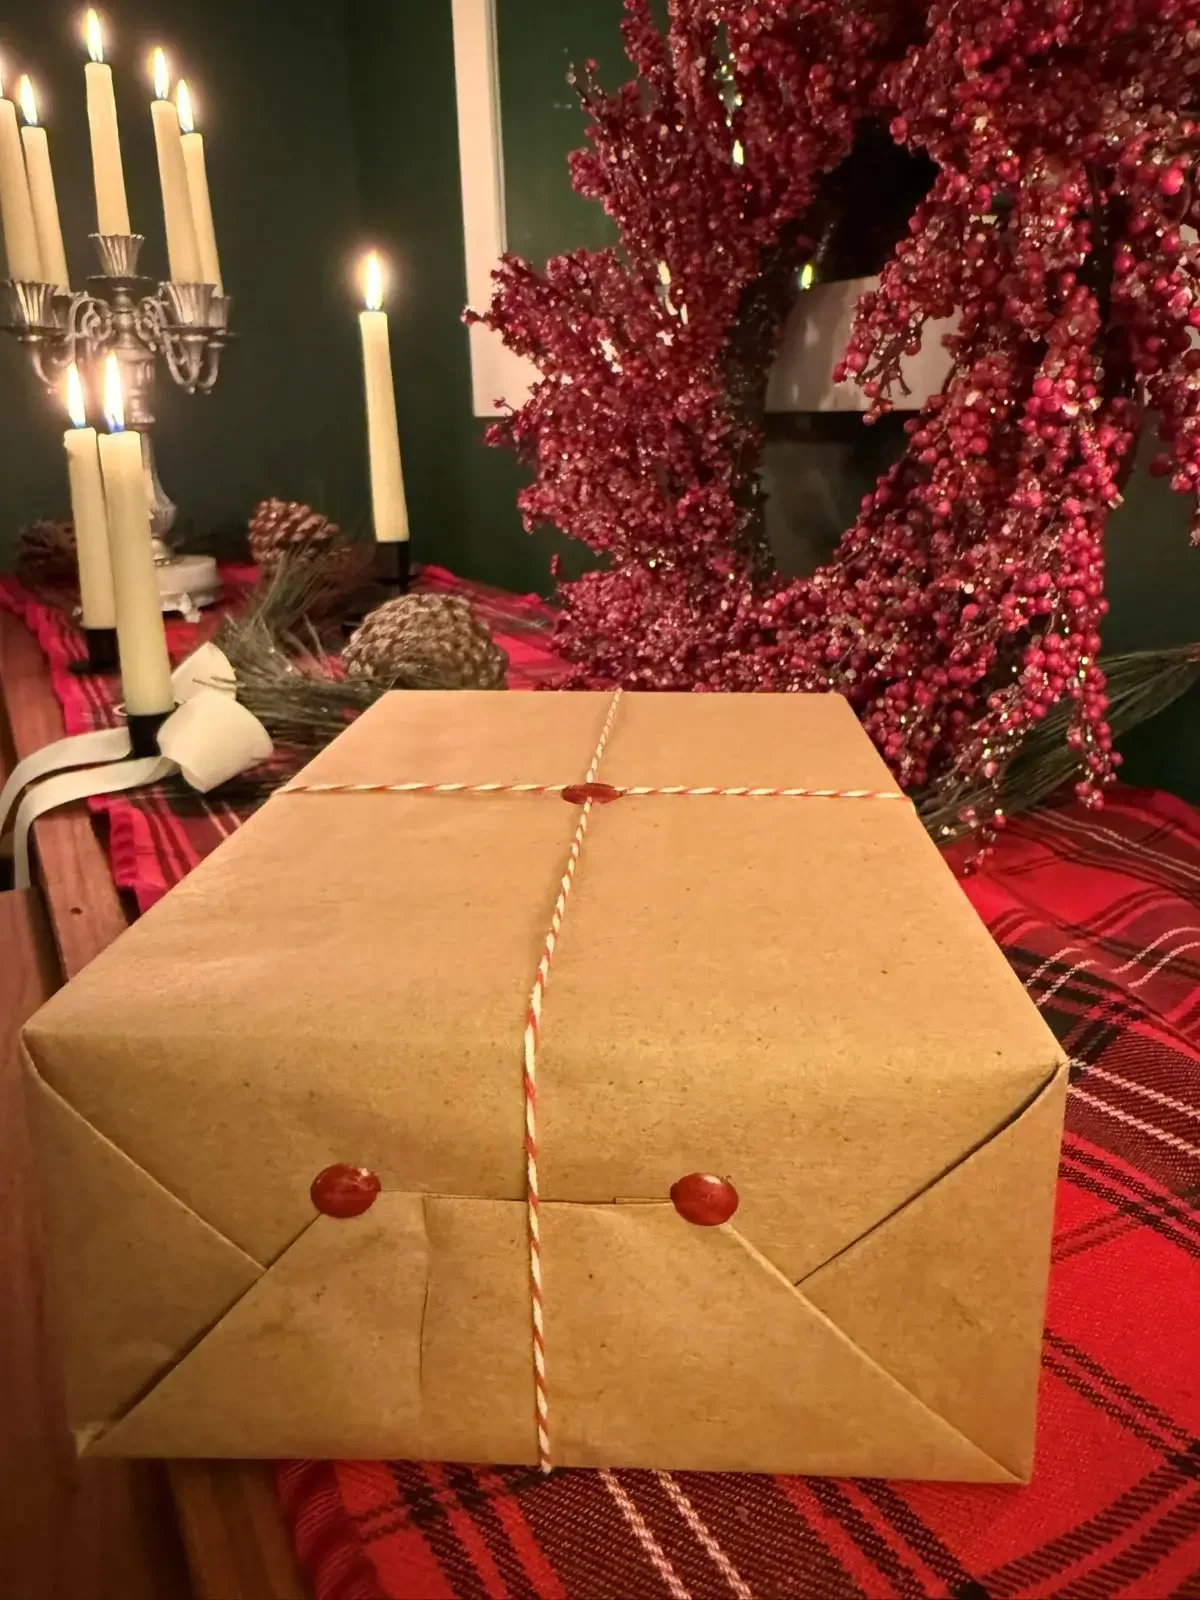
Classic Dickens:
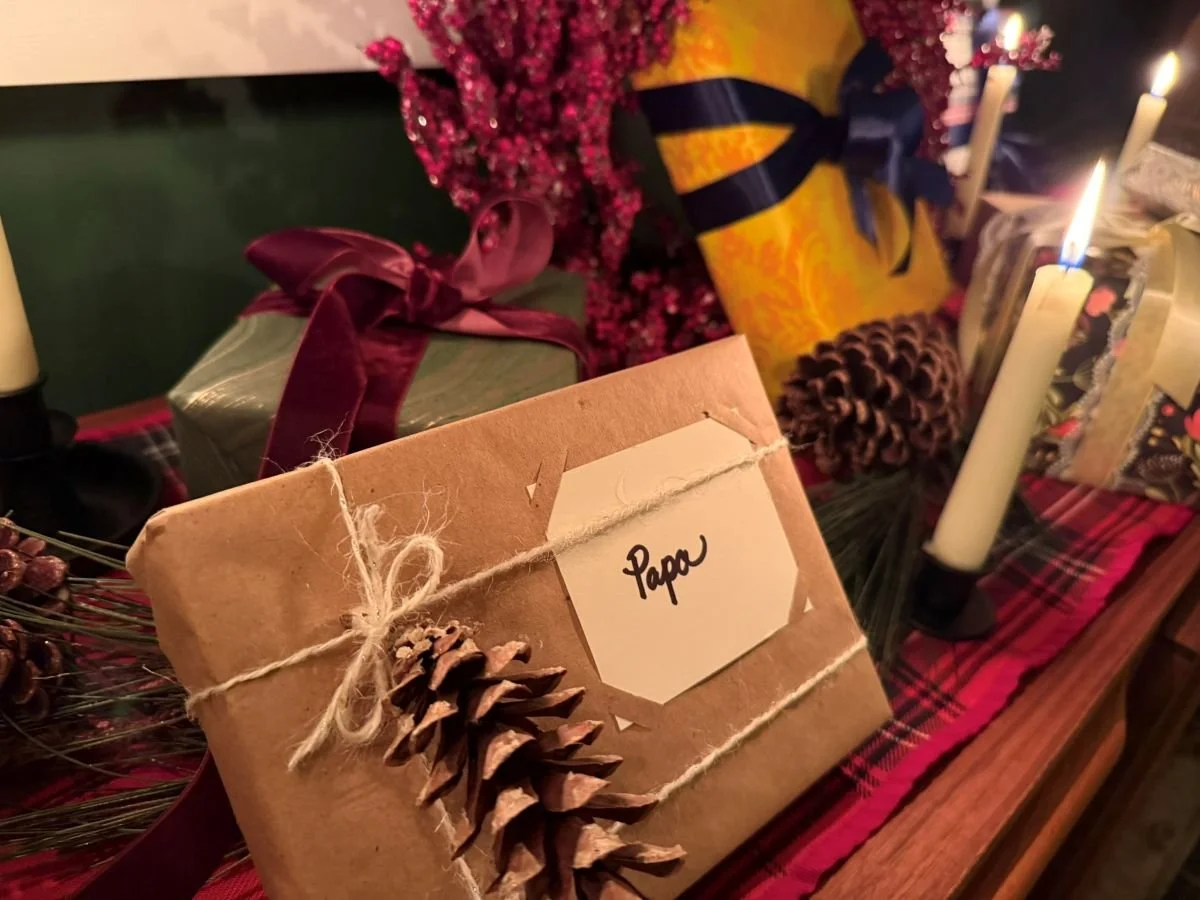
The 1840’s and 1950’s (the era the classic novel was published) were a time of more humble pleasures compared to later years of the nineteenth century. While there was great disparity between the wealthy and pauper classes, as highlighted in Dicken’s classic novel, gift giving was not particularly an area of showmanship. Even prosperous homes relied on simple, time-worn techniques of simple kraft or white paper, tissue paper, or even fabric. Scrap and repurposed paper, newsprint or wallpaper was common.
To channel the humble era which inspired Charles Dicken’s classic story, consider these materials and techniques:
Era Appropriate Materials:
Kraft paper
Tissue paper
Twine
Paper scraps
Old newspapers
Wallpaper scraps
Pieces of fabric
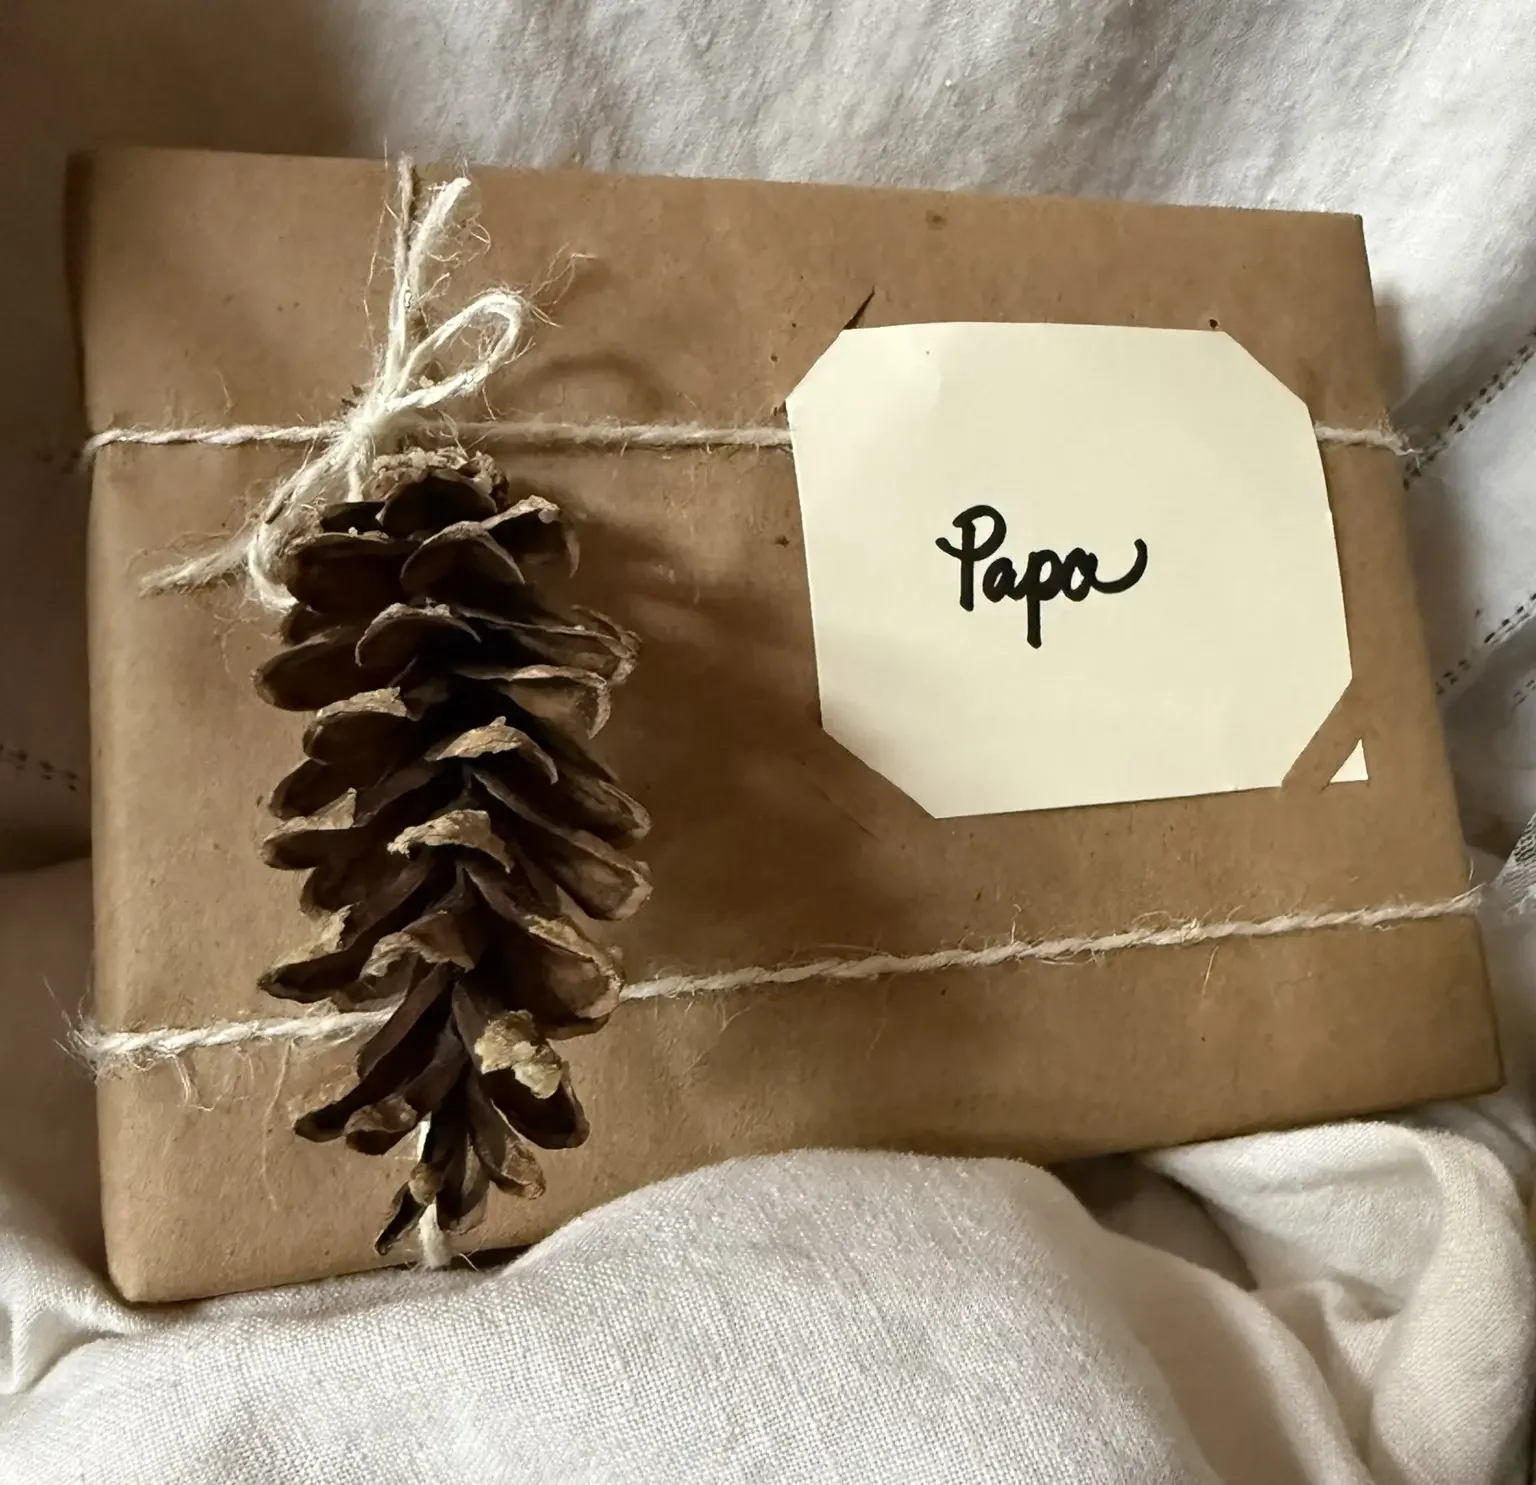
Era Appropriate Techniques:
Write the recipients’ name directly on to the paper
Simple cut corners into the wrapping paper itself to serve as holder for a Christmas card or name label
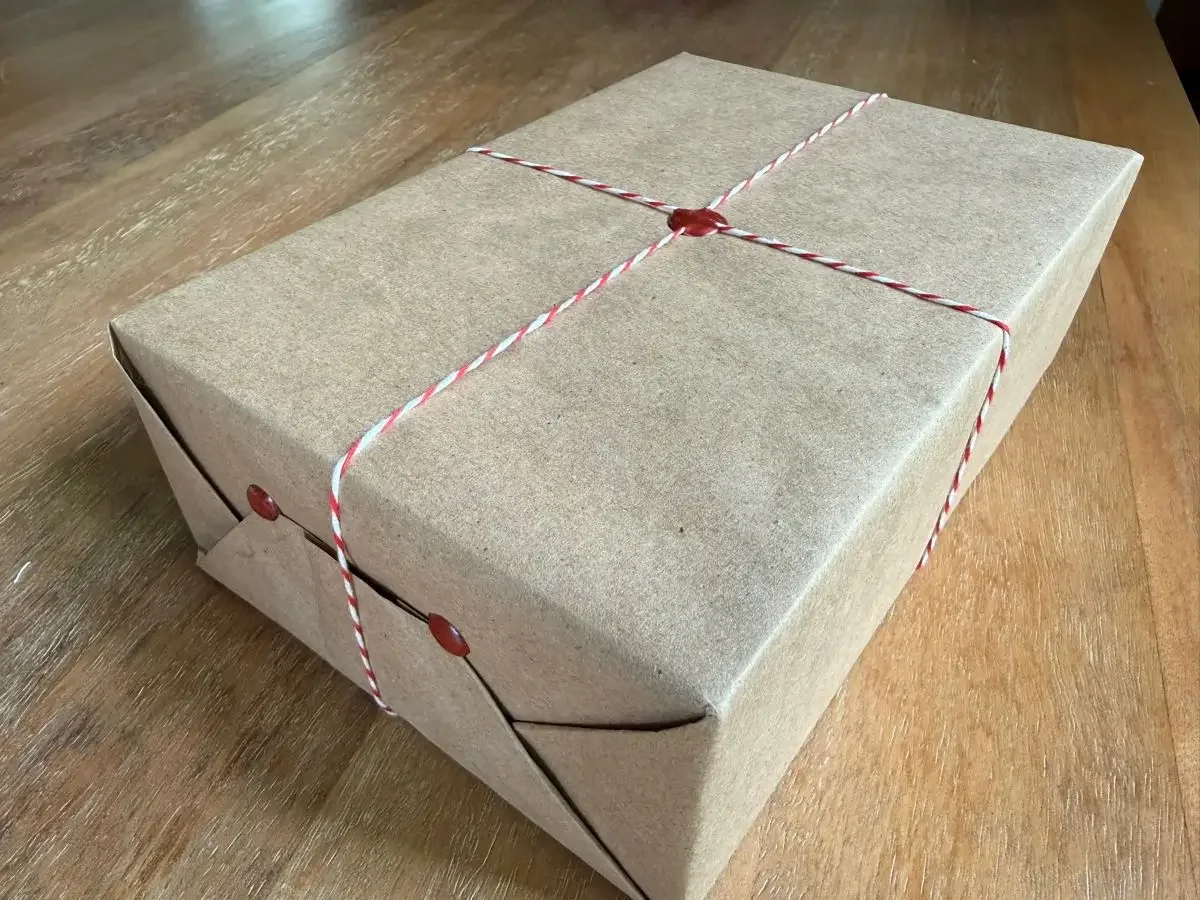
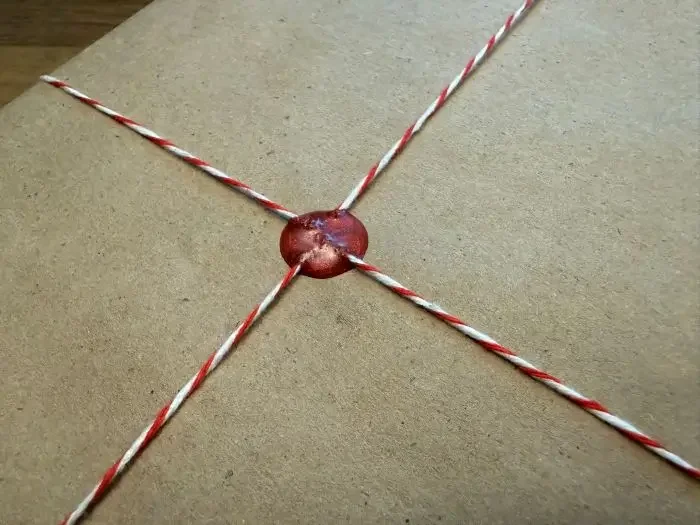
Small, simple wax dots (cheating by using a glue gun) to act as era-authentic adhesive
High Victorian:
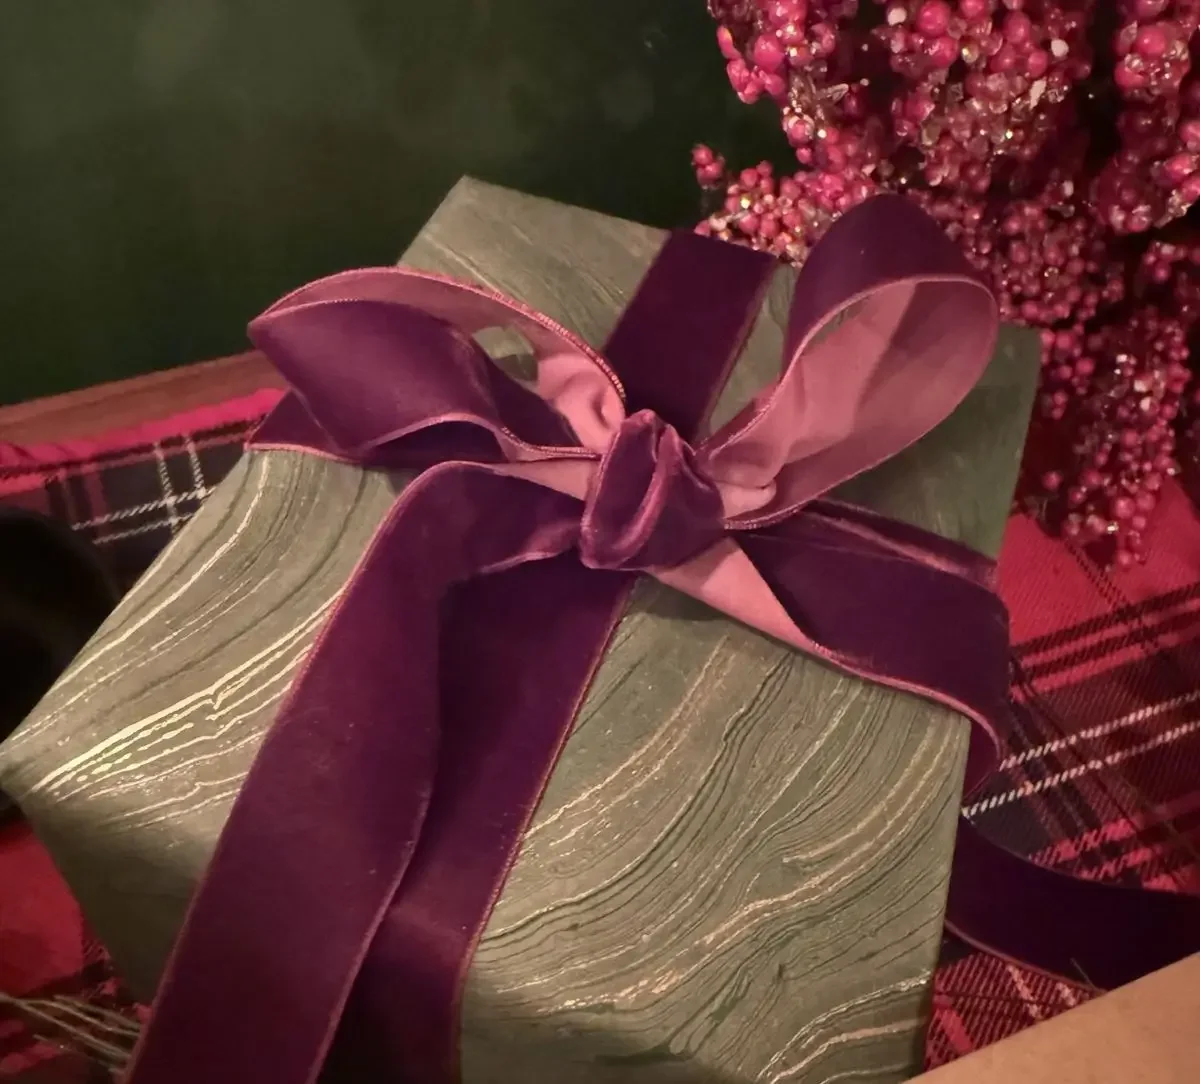
As the mid-century progresses, Victorian style became more ornate- busier, bolder, and textured. Dark hues and heavy fabrics reigned, with prints becoming more intricate. Deep greens, burgundy, navy, gold and copper shined, and velvet, satin, and lace continued to gain in popularity as expansion in trade made more and more of these luxuries available.
To regale your tree skirt with beautiful jewels, consider these materials and techniques:
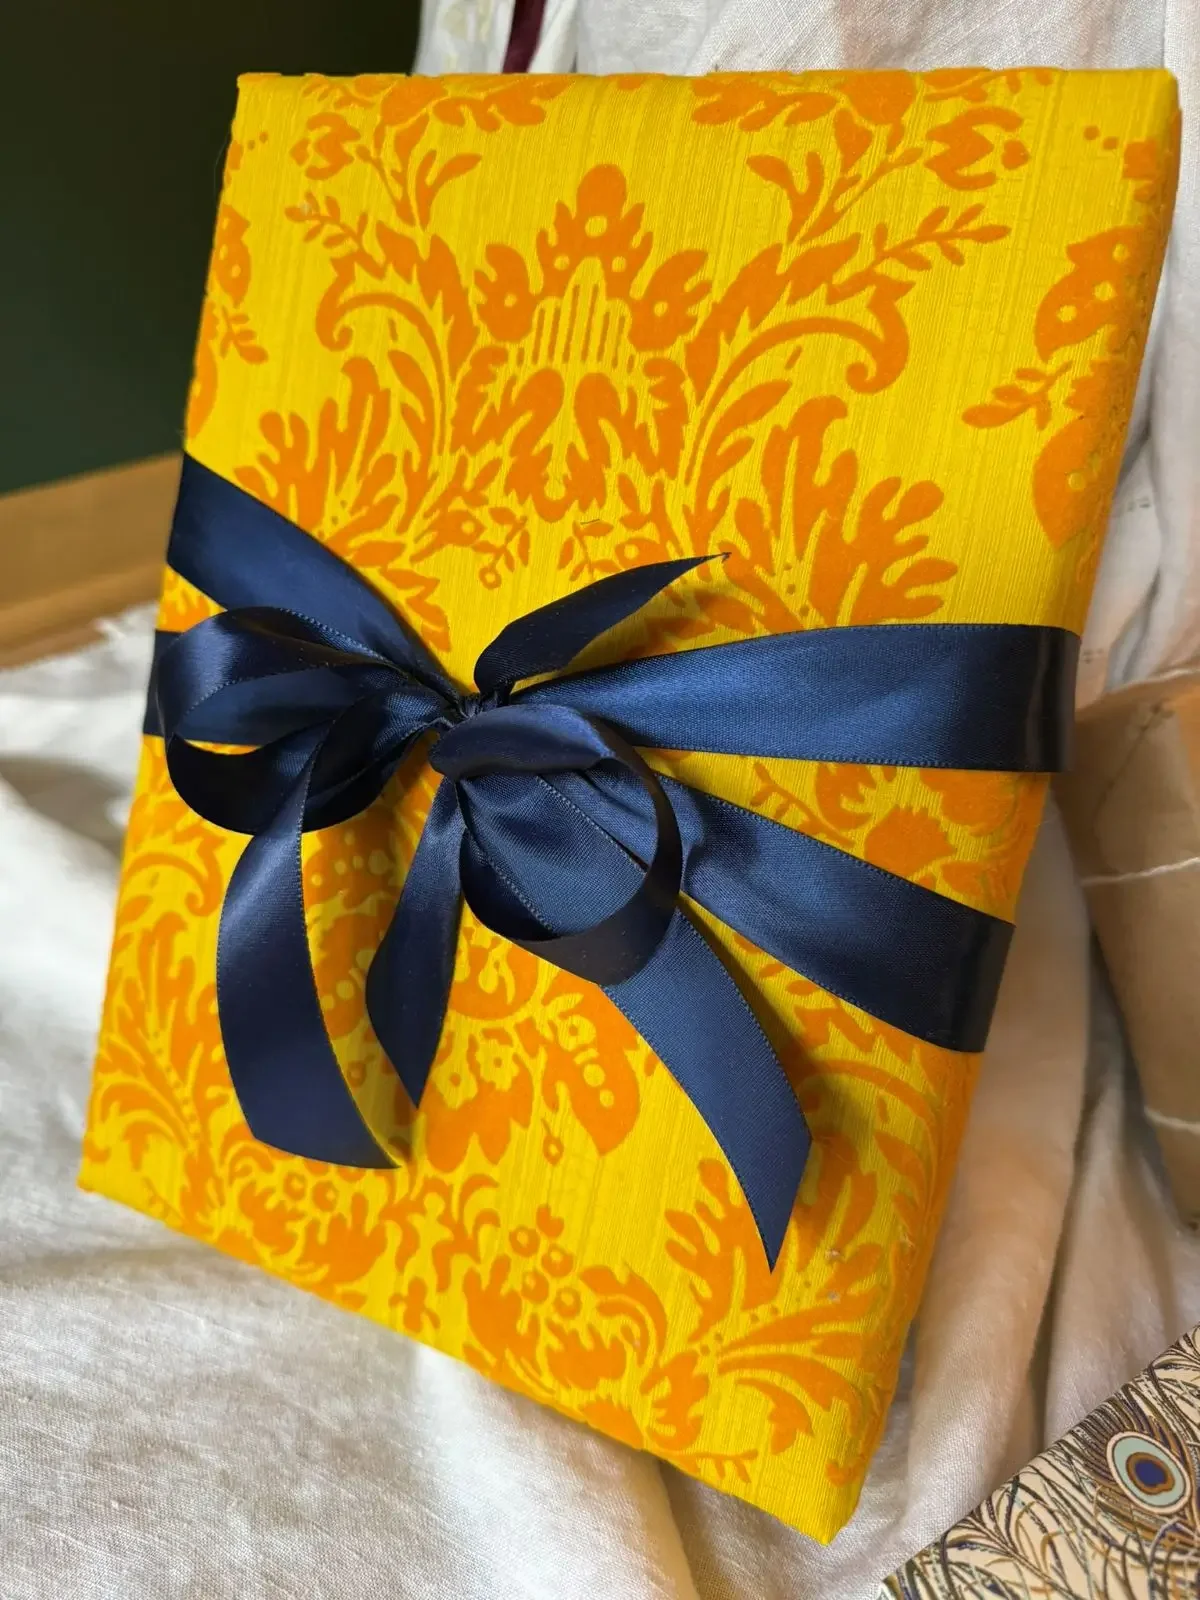
Era Appropriate Materials:
Velvet and satin ribbon
Lace
Marbled paper (the swirl pattern created by hand poured paper)
Rich textiles and textured paper
Intricate patterns
Deep hues (like navy, forest green, burgundy)
Metallics (like gold and copper)
Botanical elements collected from nature
Era Appropriate Techniques:
Bows become grander
Layers upon layers - often with multiple textures or patterns
Late Victorian / Early Edwardian:
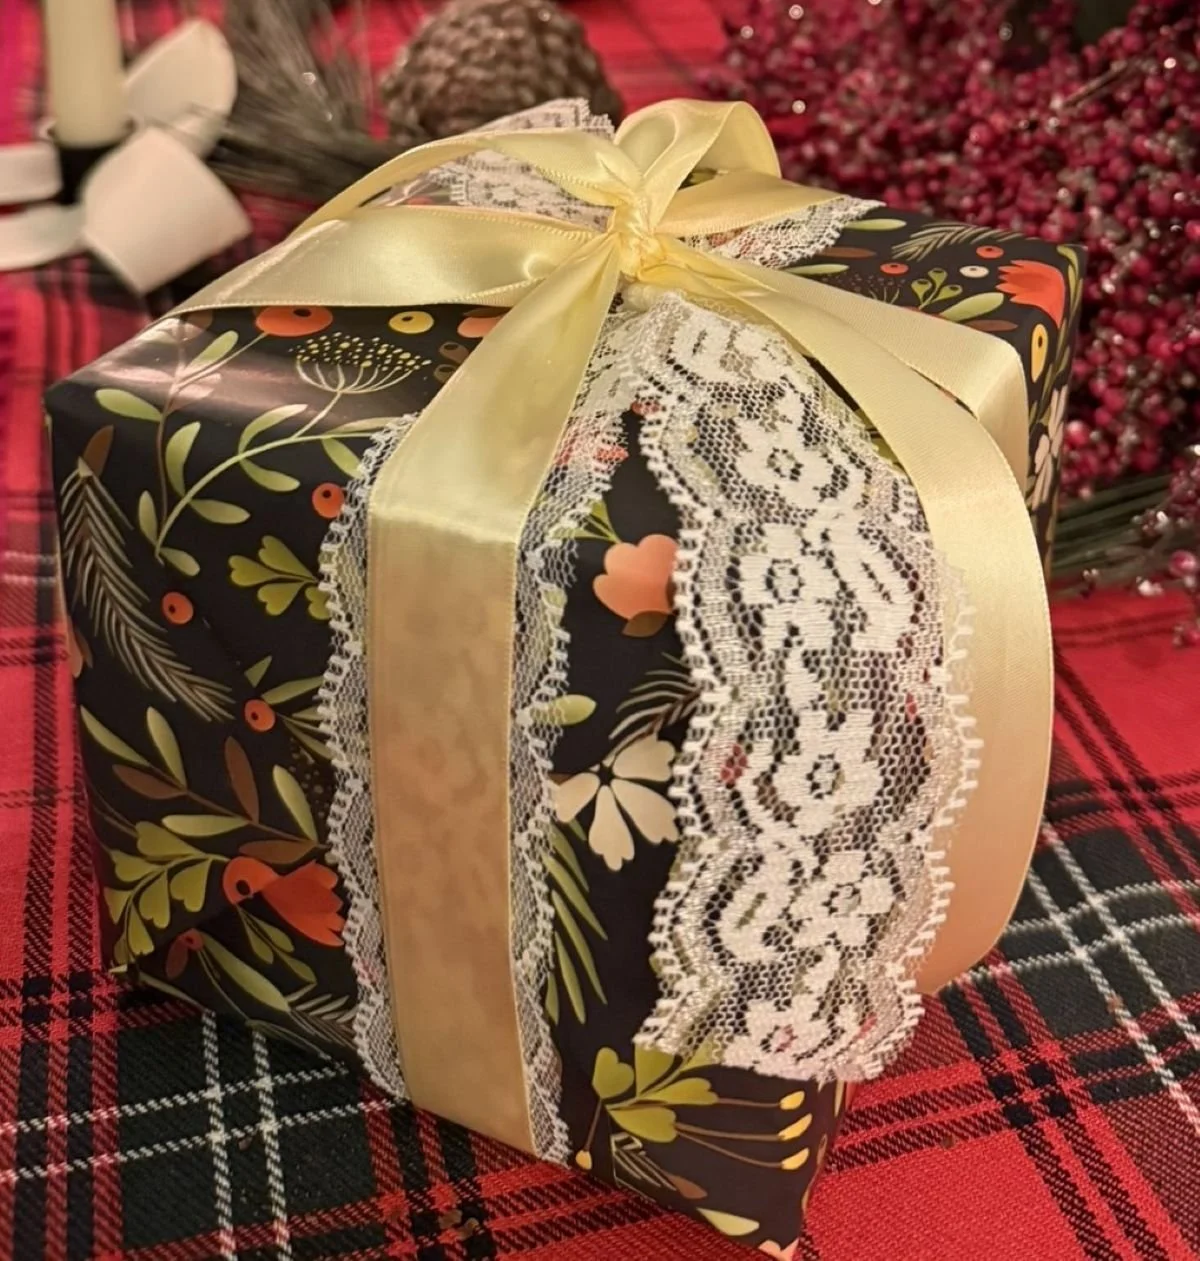
At the end of the 19th century, design tastes gently wound down with the introduction of the Arts & Crafts movement and Art Nouveau influences. Patterns became more literal nature in design like woodland scenes. Prints were still detailed, but less busy, and gift giving began to resemble more closely what we recognize today.
Era Appropriate Materials & Techniques:
Commercial, printed gift wrap as we know it today gains popularity
Gift tags start to become separate objects- often hanging from the gift
To shop Victorian era wrapping prints:
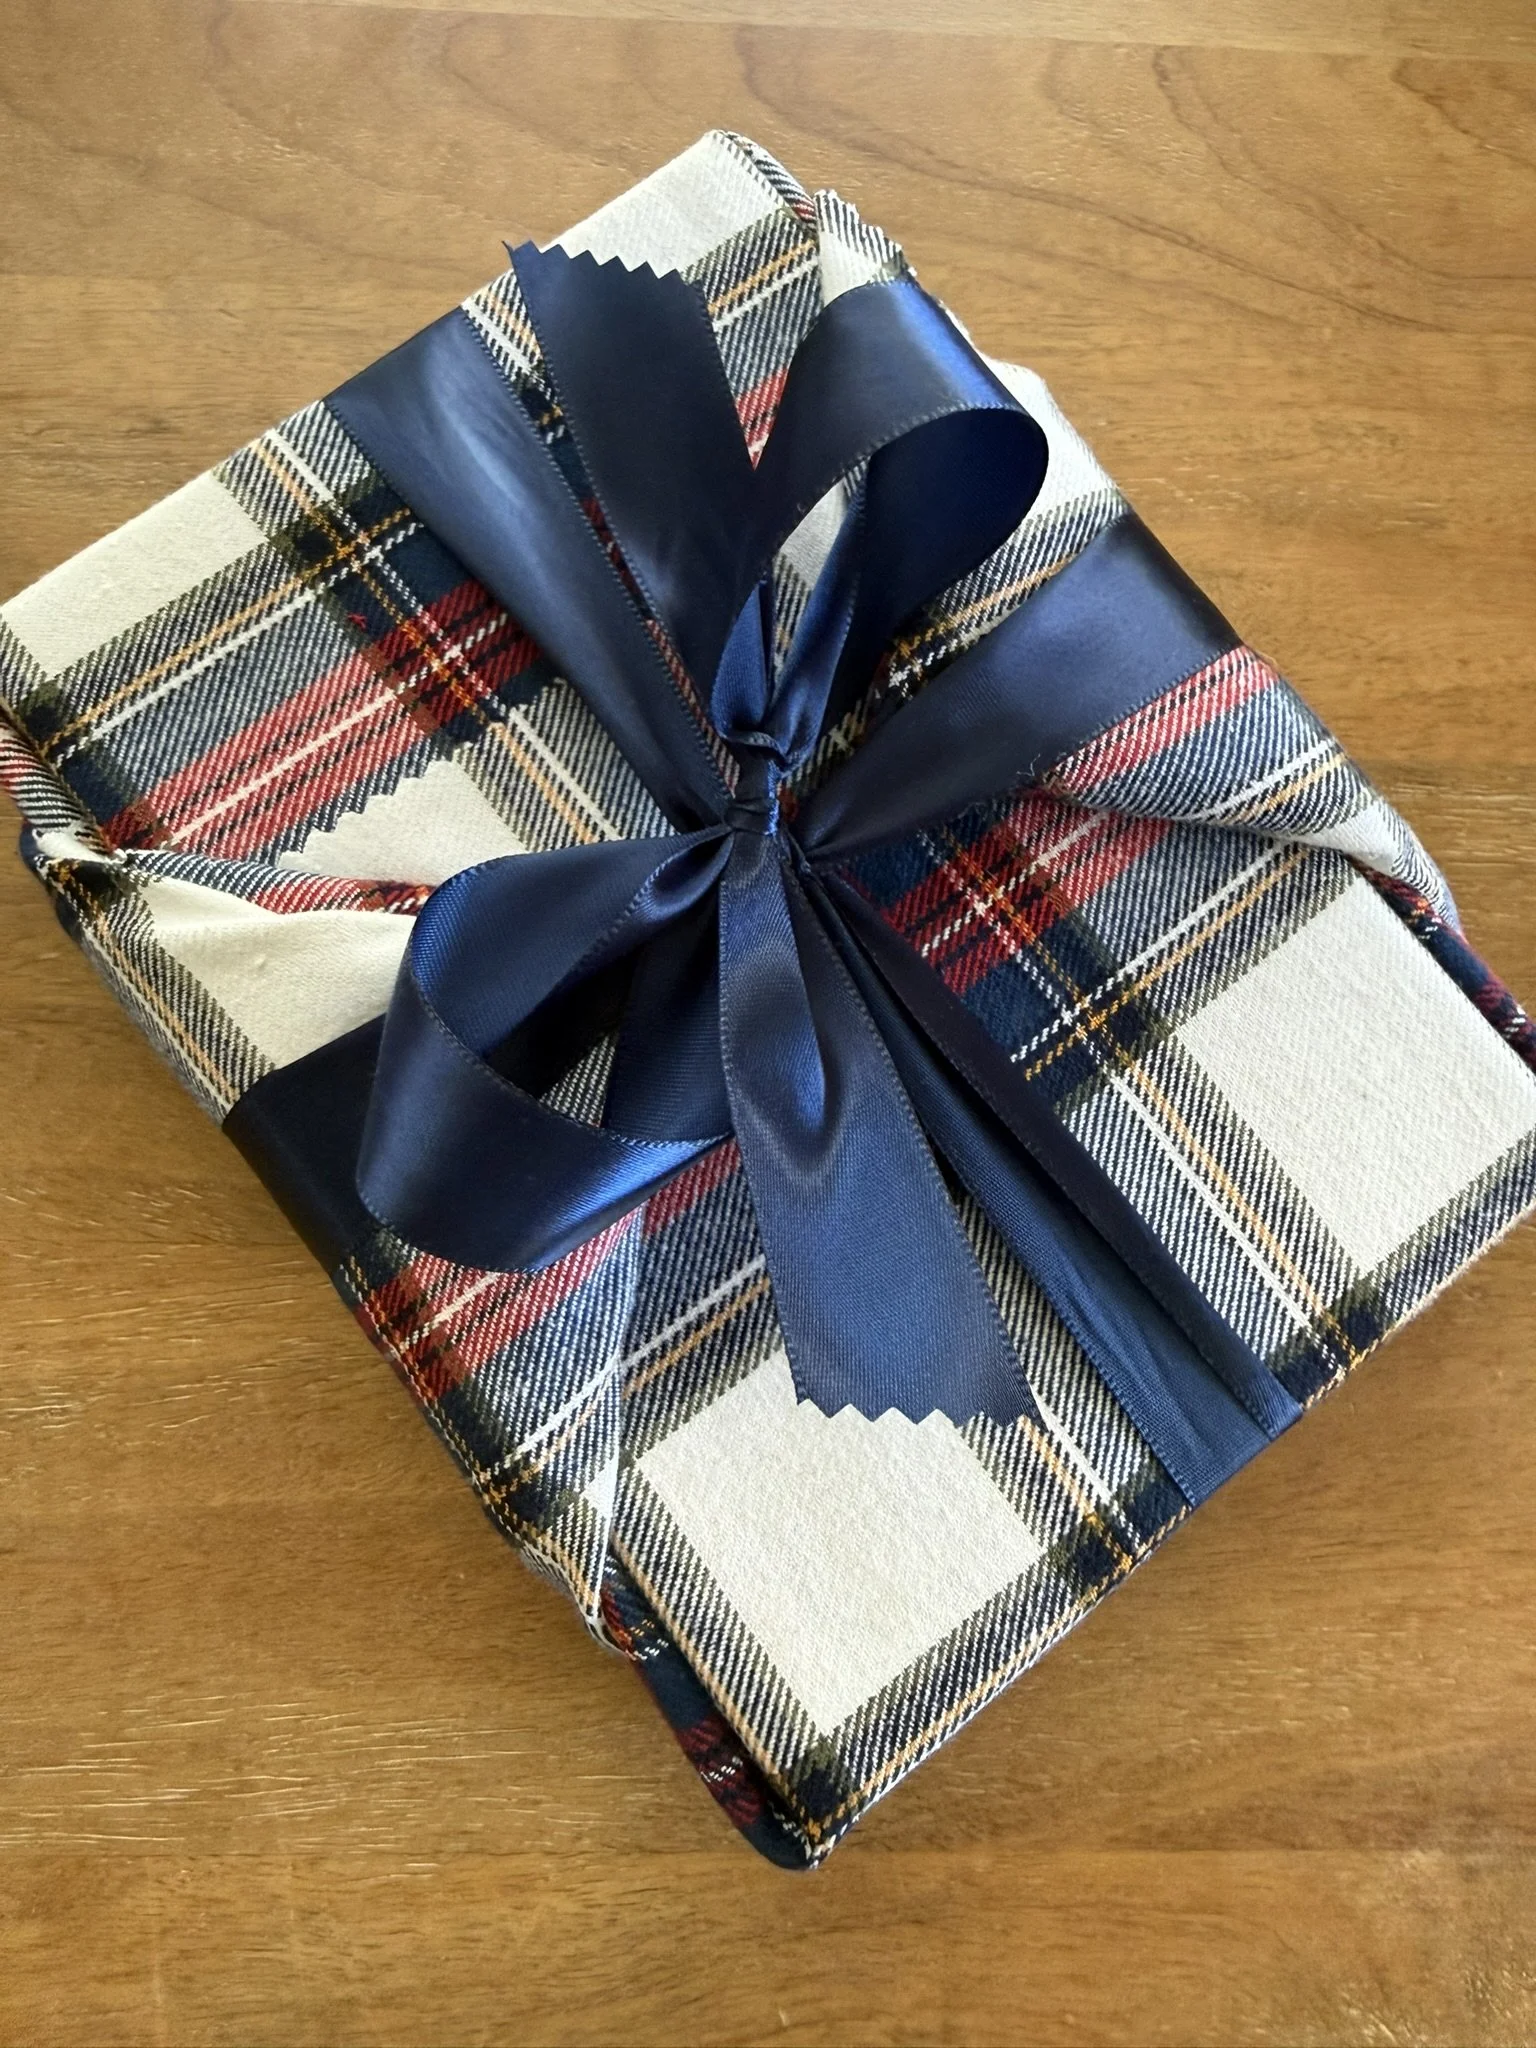
Technique: Fabric wrapping
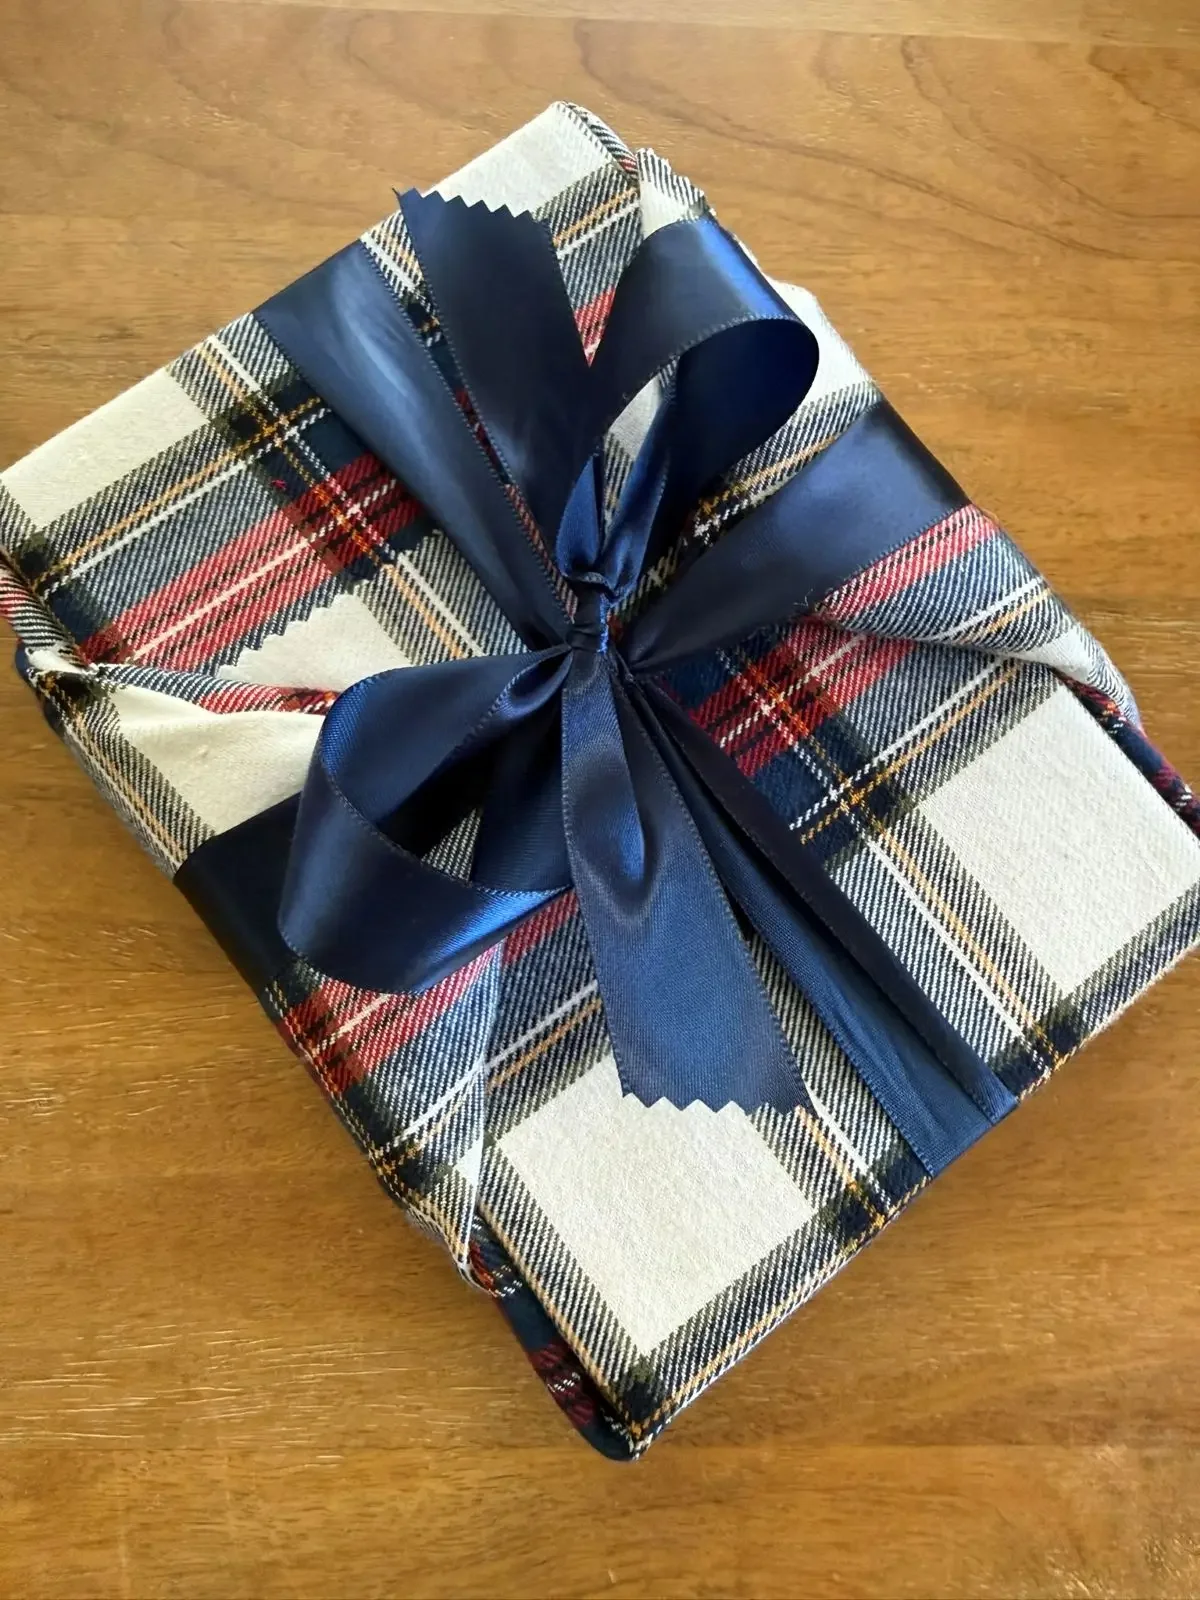
An alternative to wasting rolls of expensive gift wrap that just end up in the trash is to use left over fabric. It’s an environmentally-conscious way to celebrate the season, while reliving an earlier form of gift giving.
Supplies:
Pinking shears (zig zag cut is best to avoid fraying)
Directions:
Pick a piece larger than what you would need in paper (needed both to securely wrap, and also allows for reusing each time for various sized presents)
Don’t cut unless necessary (for the same reason)
There are a couple wrapping styles to choose from, depending on how much excess fabric there is, and the aesthetic you are going for
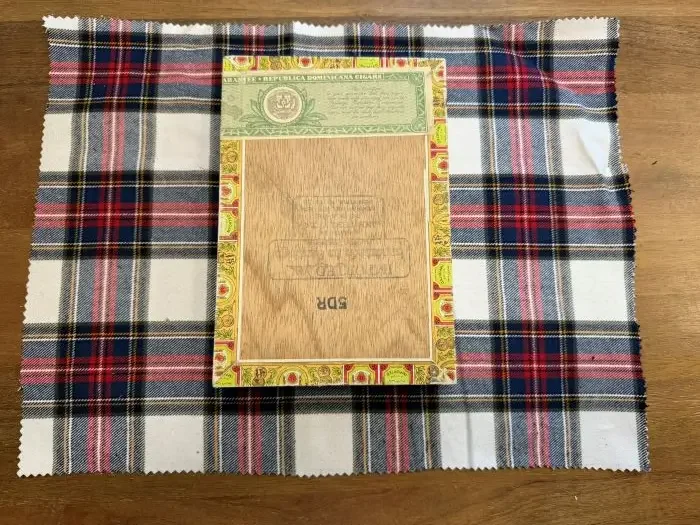
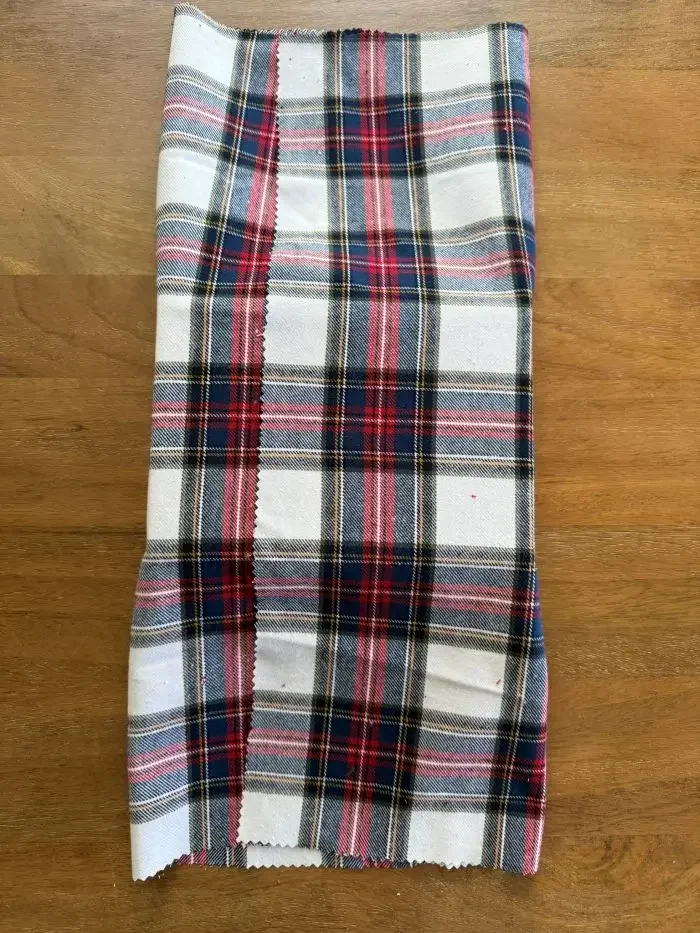
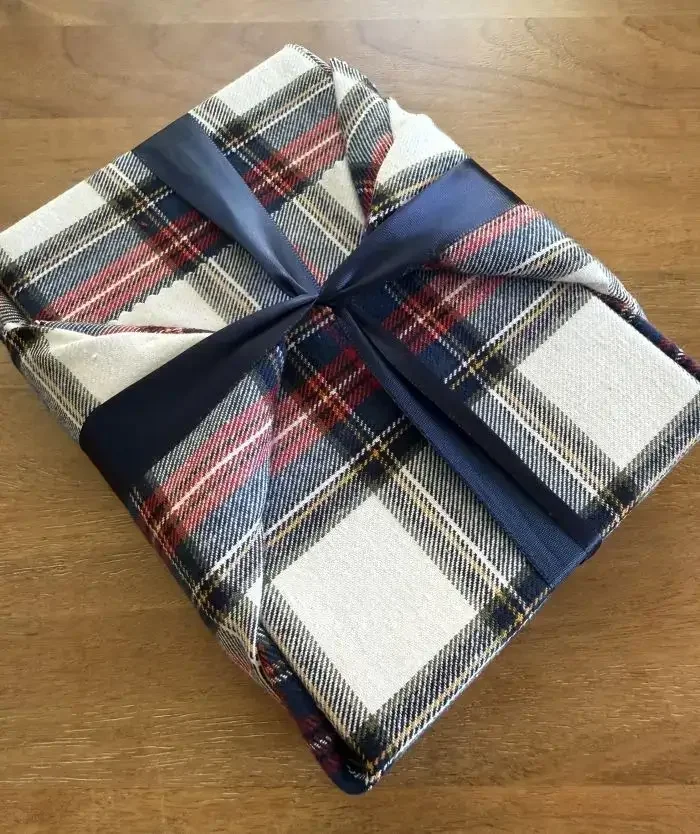
“The Hot Kettle”
Wrap fabric over the gift (a box works best) so that it is completely covered
Fold the fabric at the sides into diamonds, just like you would would with paper gift wrap (or like you would folding a flag)
Bring both side flaps up and around the top of the box
Instead of taping up like you would with paper, secure the folds with ribbon, wrapped around the present from the bottom, and tied on the top
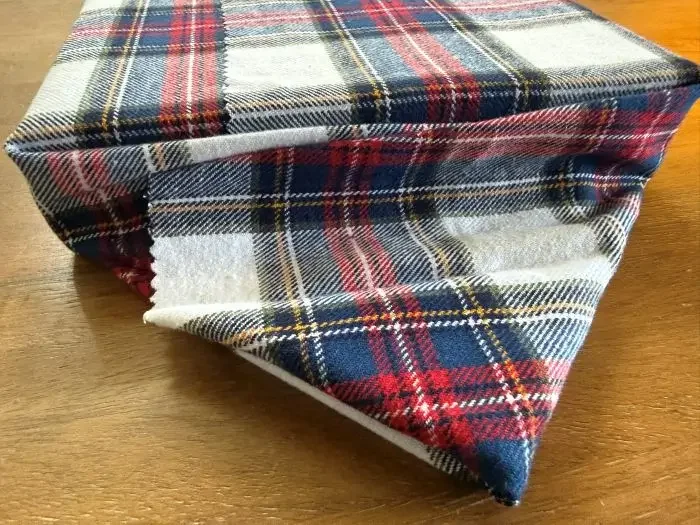
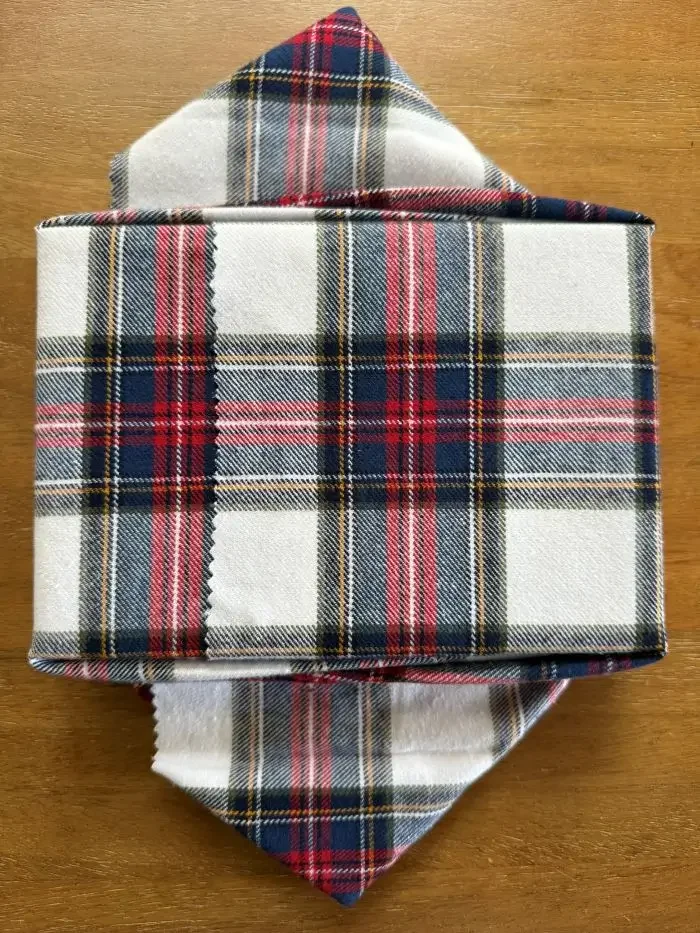
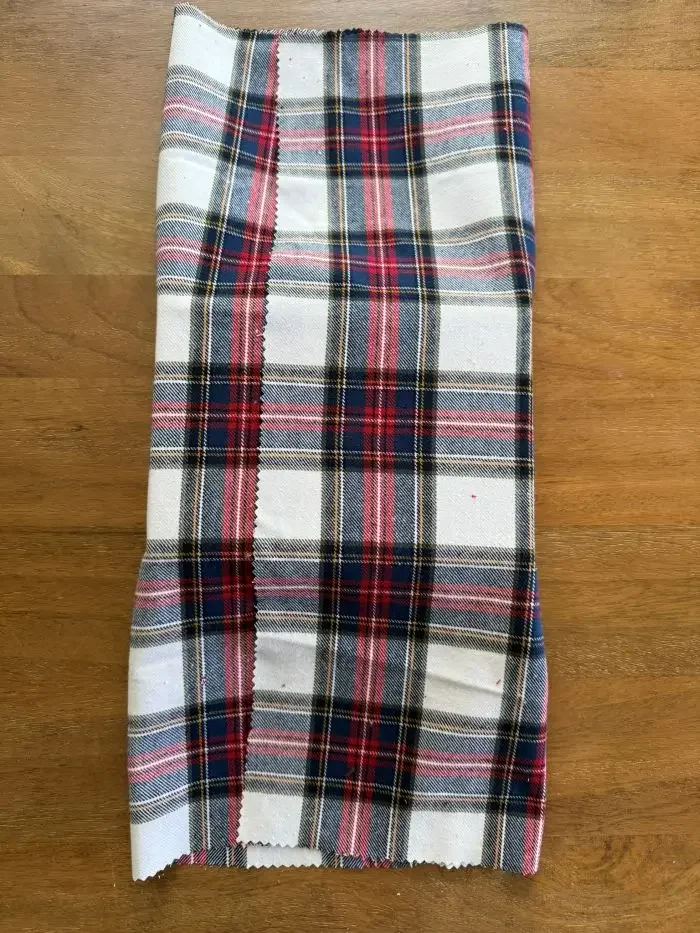
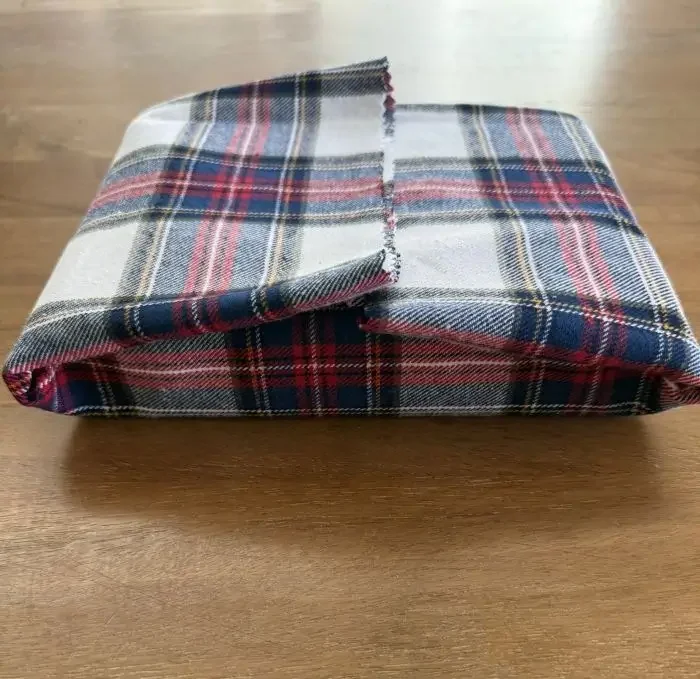
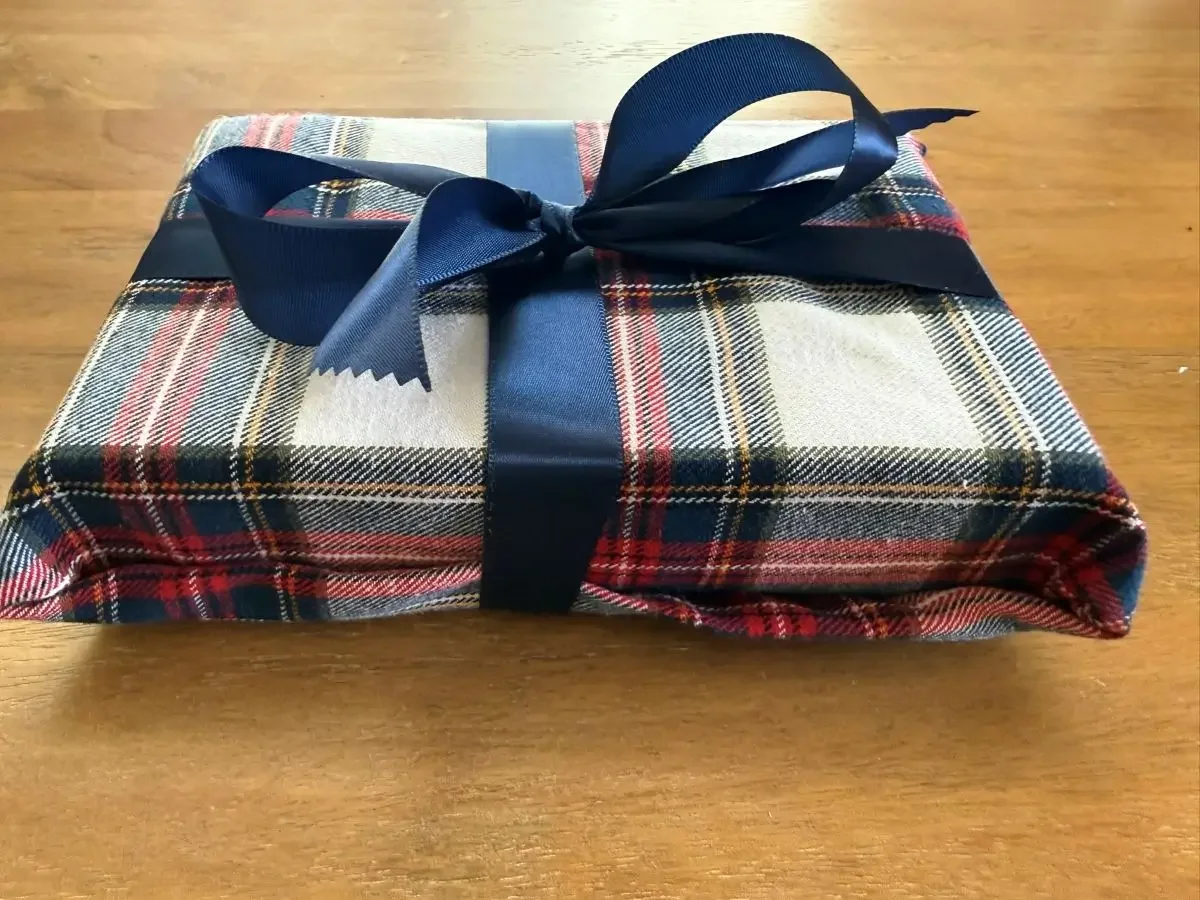
“The Bed Tuck”
Wrap fabric over the gift (a box works best) so that it is completely covered
Fold the sides with the excess fabric over the box, to form a simple rectangle
Turn the box over, so that the excess fabric is on the bottom
Secure with a ribbon, wrapping around the gift, enclosing the loose fabric ends under the ribbon
Technique: Wax Dots
Supplies:
Directions:
Wrap your gifts in twine or string in whichever pattern you like, although the criss-cross is a classic (once around the sides, then once around top to bottom.
The string acts as the method to keep the paper folding intact- how it was done before there was tape
If the paper corners not being secured down bother you- you can always secure them with little dots of wax. This practice was more common place in Northern European customs during the era, and less Dickens’ London era, so we’re cheating here a little but ok with it!
Technique: Thick or patterned textiles
Supplies:
Hot glue gun
Glue sticks
Scissors
Directions:
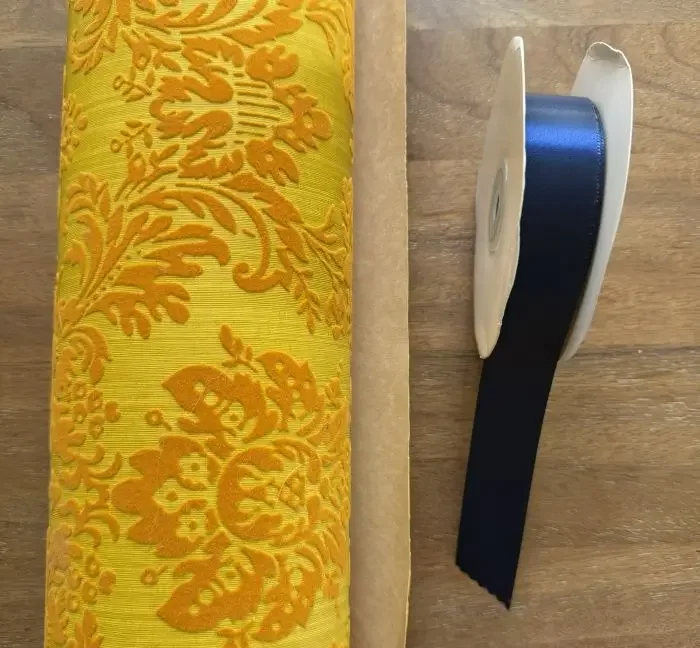
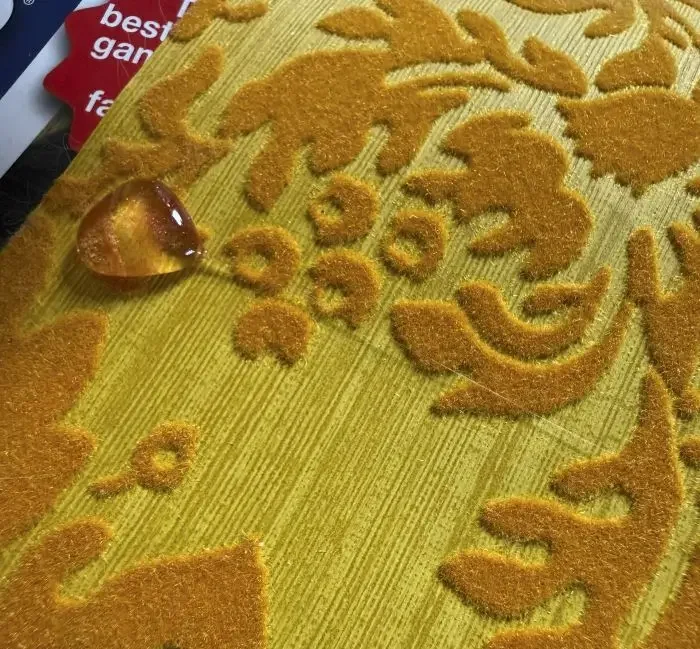
Some heavy materials or specialty papers can be hard to fasten together-even using modern tape. Anyone who’s tried using glitter paper or embossed or textured gift wrap will have experienced this. Instead of fighting, using a glue gun and a dab of hot glue will instantly provide an invisible bond underneath the layers.
This is how the gift here was done using vintage wallpaper scraps. Between the raised pattern and the fuzzy material, there was no way tape would work.
Technique: Tucked Card
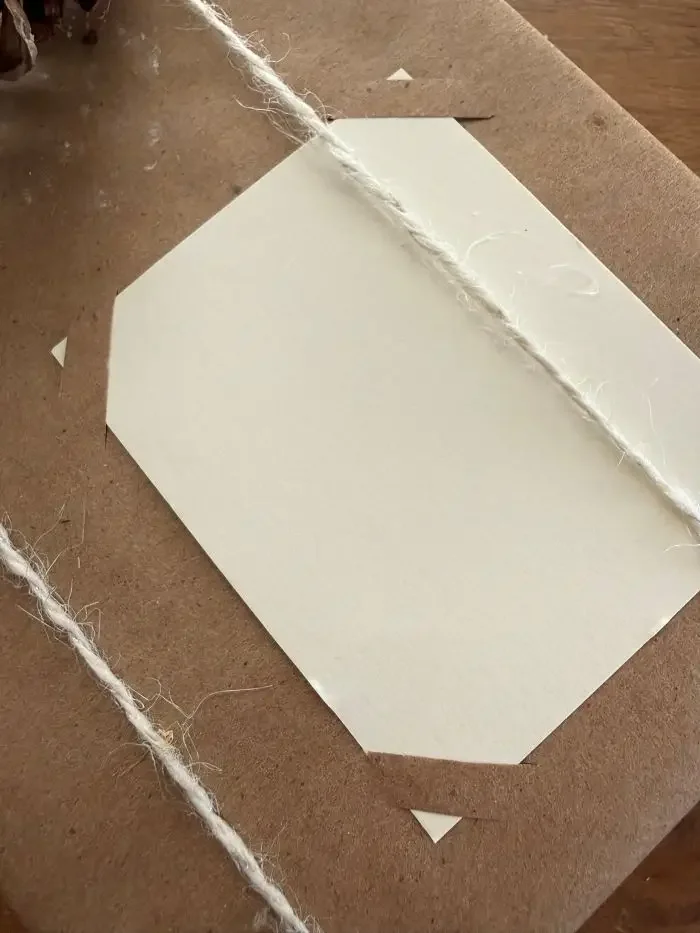
An original method of attaching cards or letters to presents was to cut small slits into the wrapping itself, and neatly tuck the card into the corners.
Supplies:
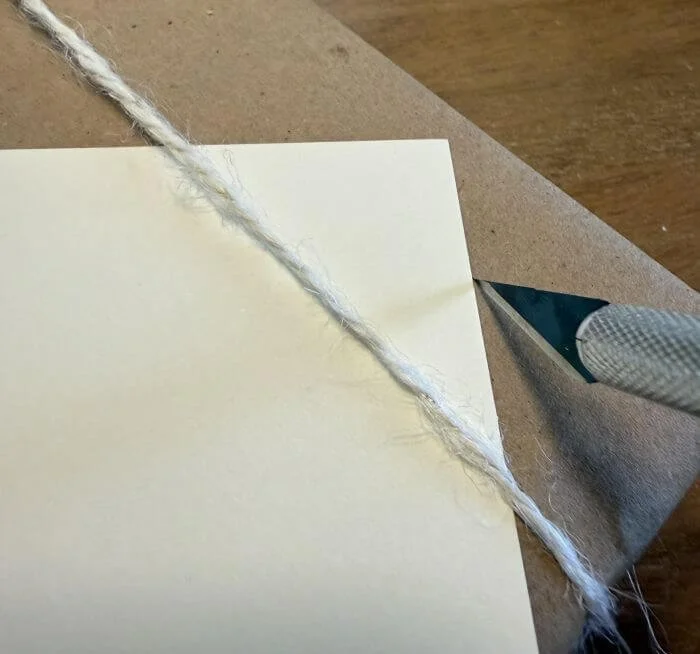
Directions:
Place your desired card or note on the present, lightly marking in pencil both 1/4” and 3/4” from the tip of each corner
Remove the card and use an exacto knife to cut a line that connects each set of dots (the outer most dots; and then the inner most dots)
Insert the card into the now existing tabs
Technique: Feather Bow
Supplies:
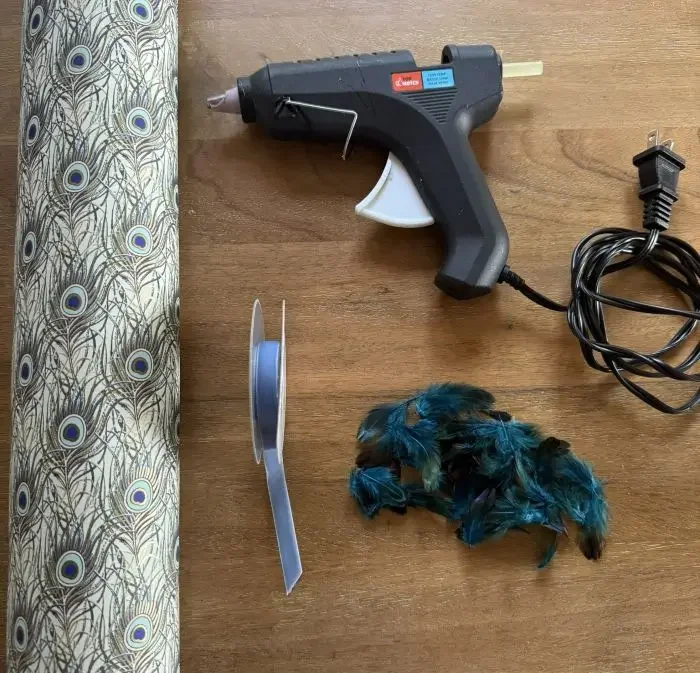
Hot glue gun
Glue sticks
Directions:
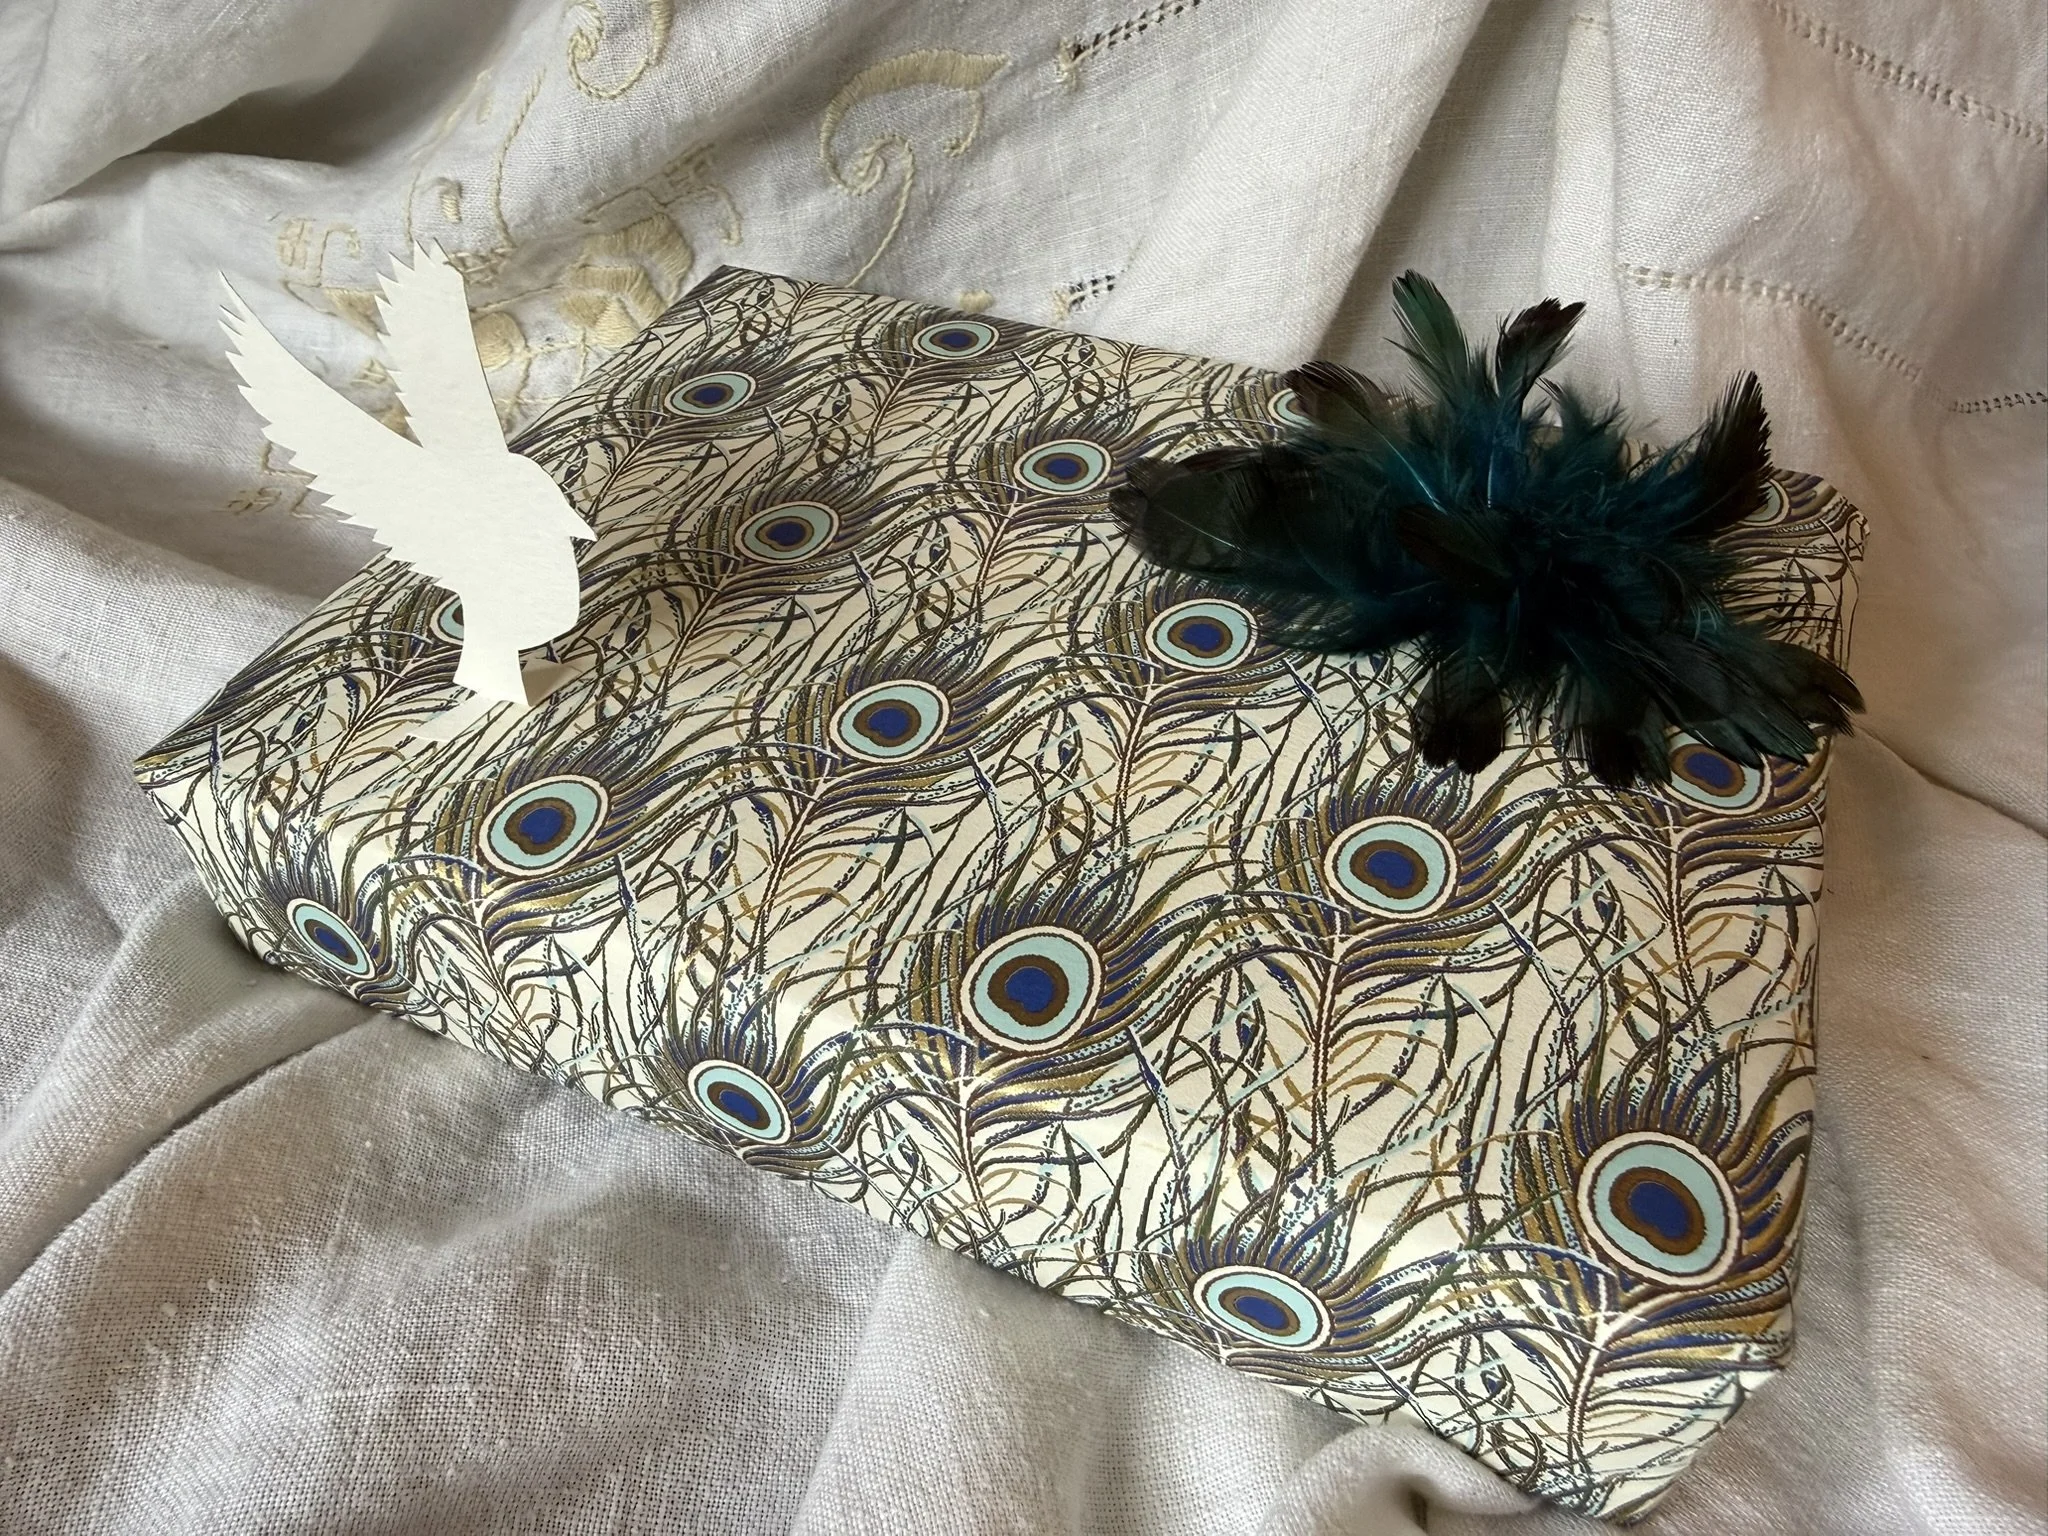
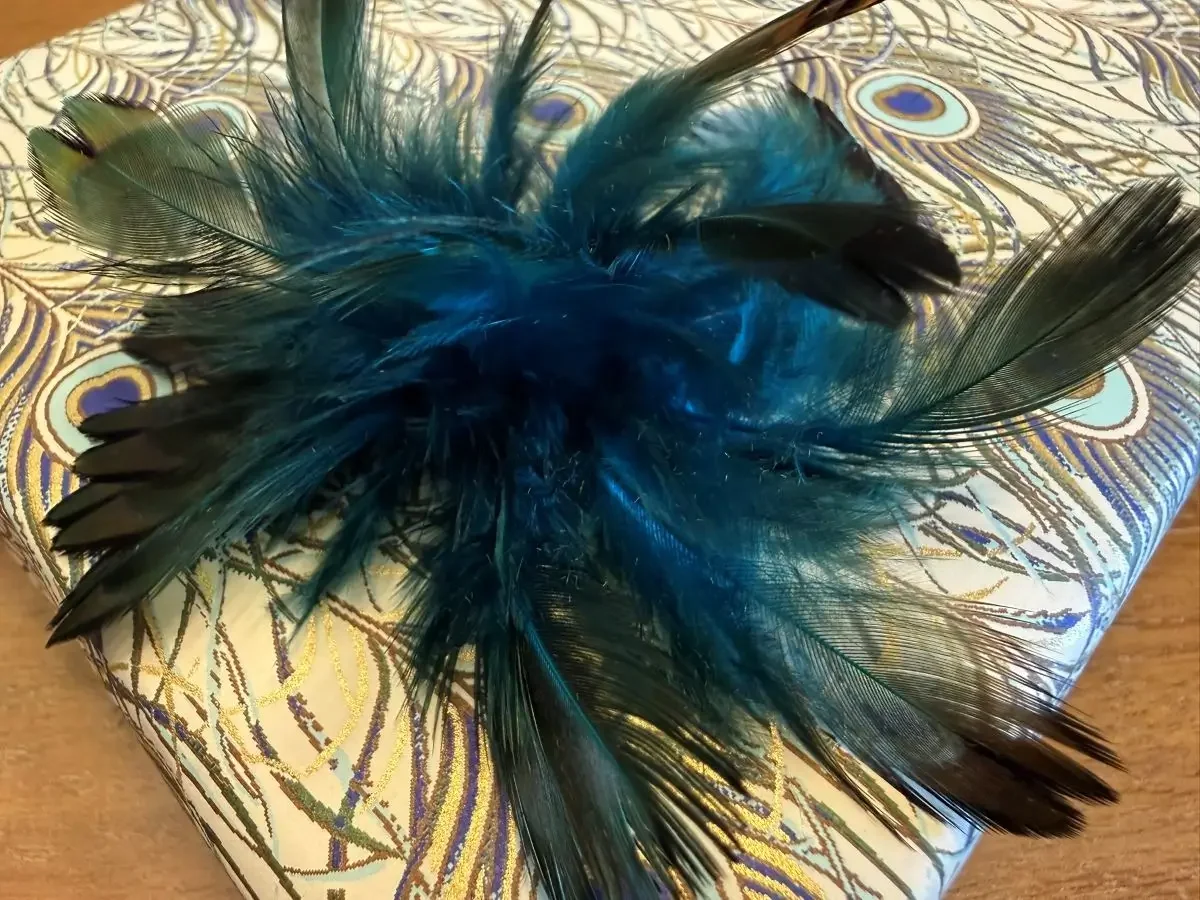
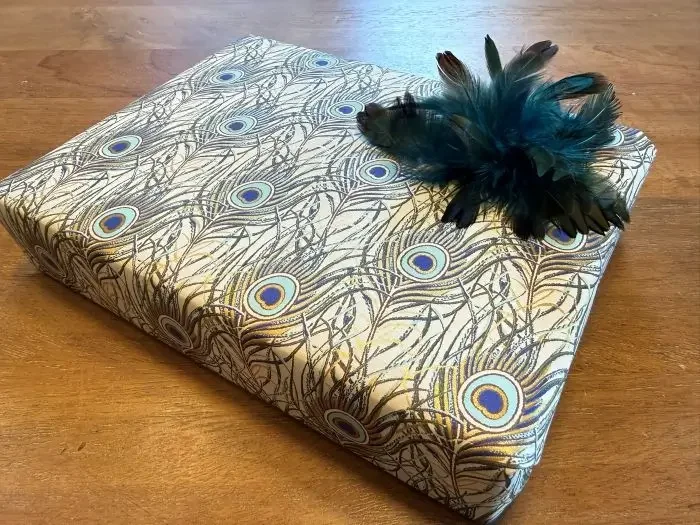
In honor of celebrating speciments from nature like the Victorians enjoyed doing, I endeavored to create bow out of feathers. It was an experiment but turned out well. To do this yourself- first gather the materials from the list.
Begin gluing the shaft of each feather directly to the wrapping paper, starting with a good arrangement laying flat against the paper. Some will be naturally curved or irregular- that’ just fine.
Tip: You don’t need much glue at all- just a tad. Hold the feather in place for 15-20 seconds to let cool before you move on.
As you add more feathers, begin to add dimension upwards by selecting especially curved feathers that rise naturally into the air. You may even be able to glue some shafts pointing completely upward-with just the tip of the shaft making contact with the paper for dramatic height. Just be sure to use a little more glue to secure in place, keeping hidden within the other feathers.
5 | Thematic Gift Tags
Relive a favorite Victorian past time while giving stunning gifts
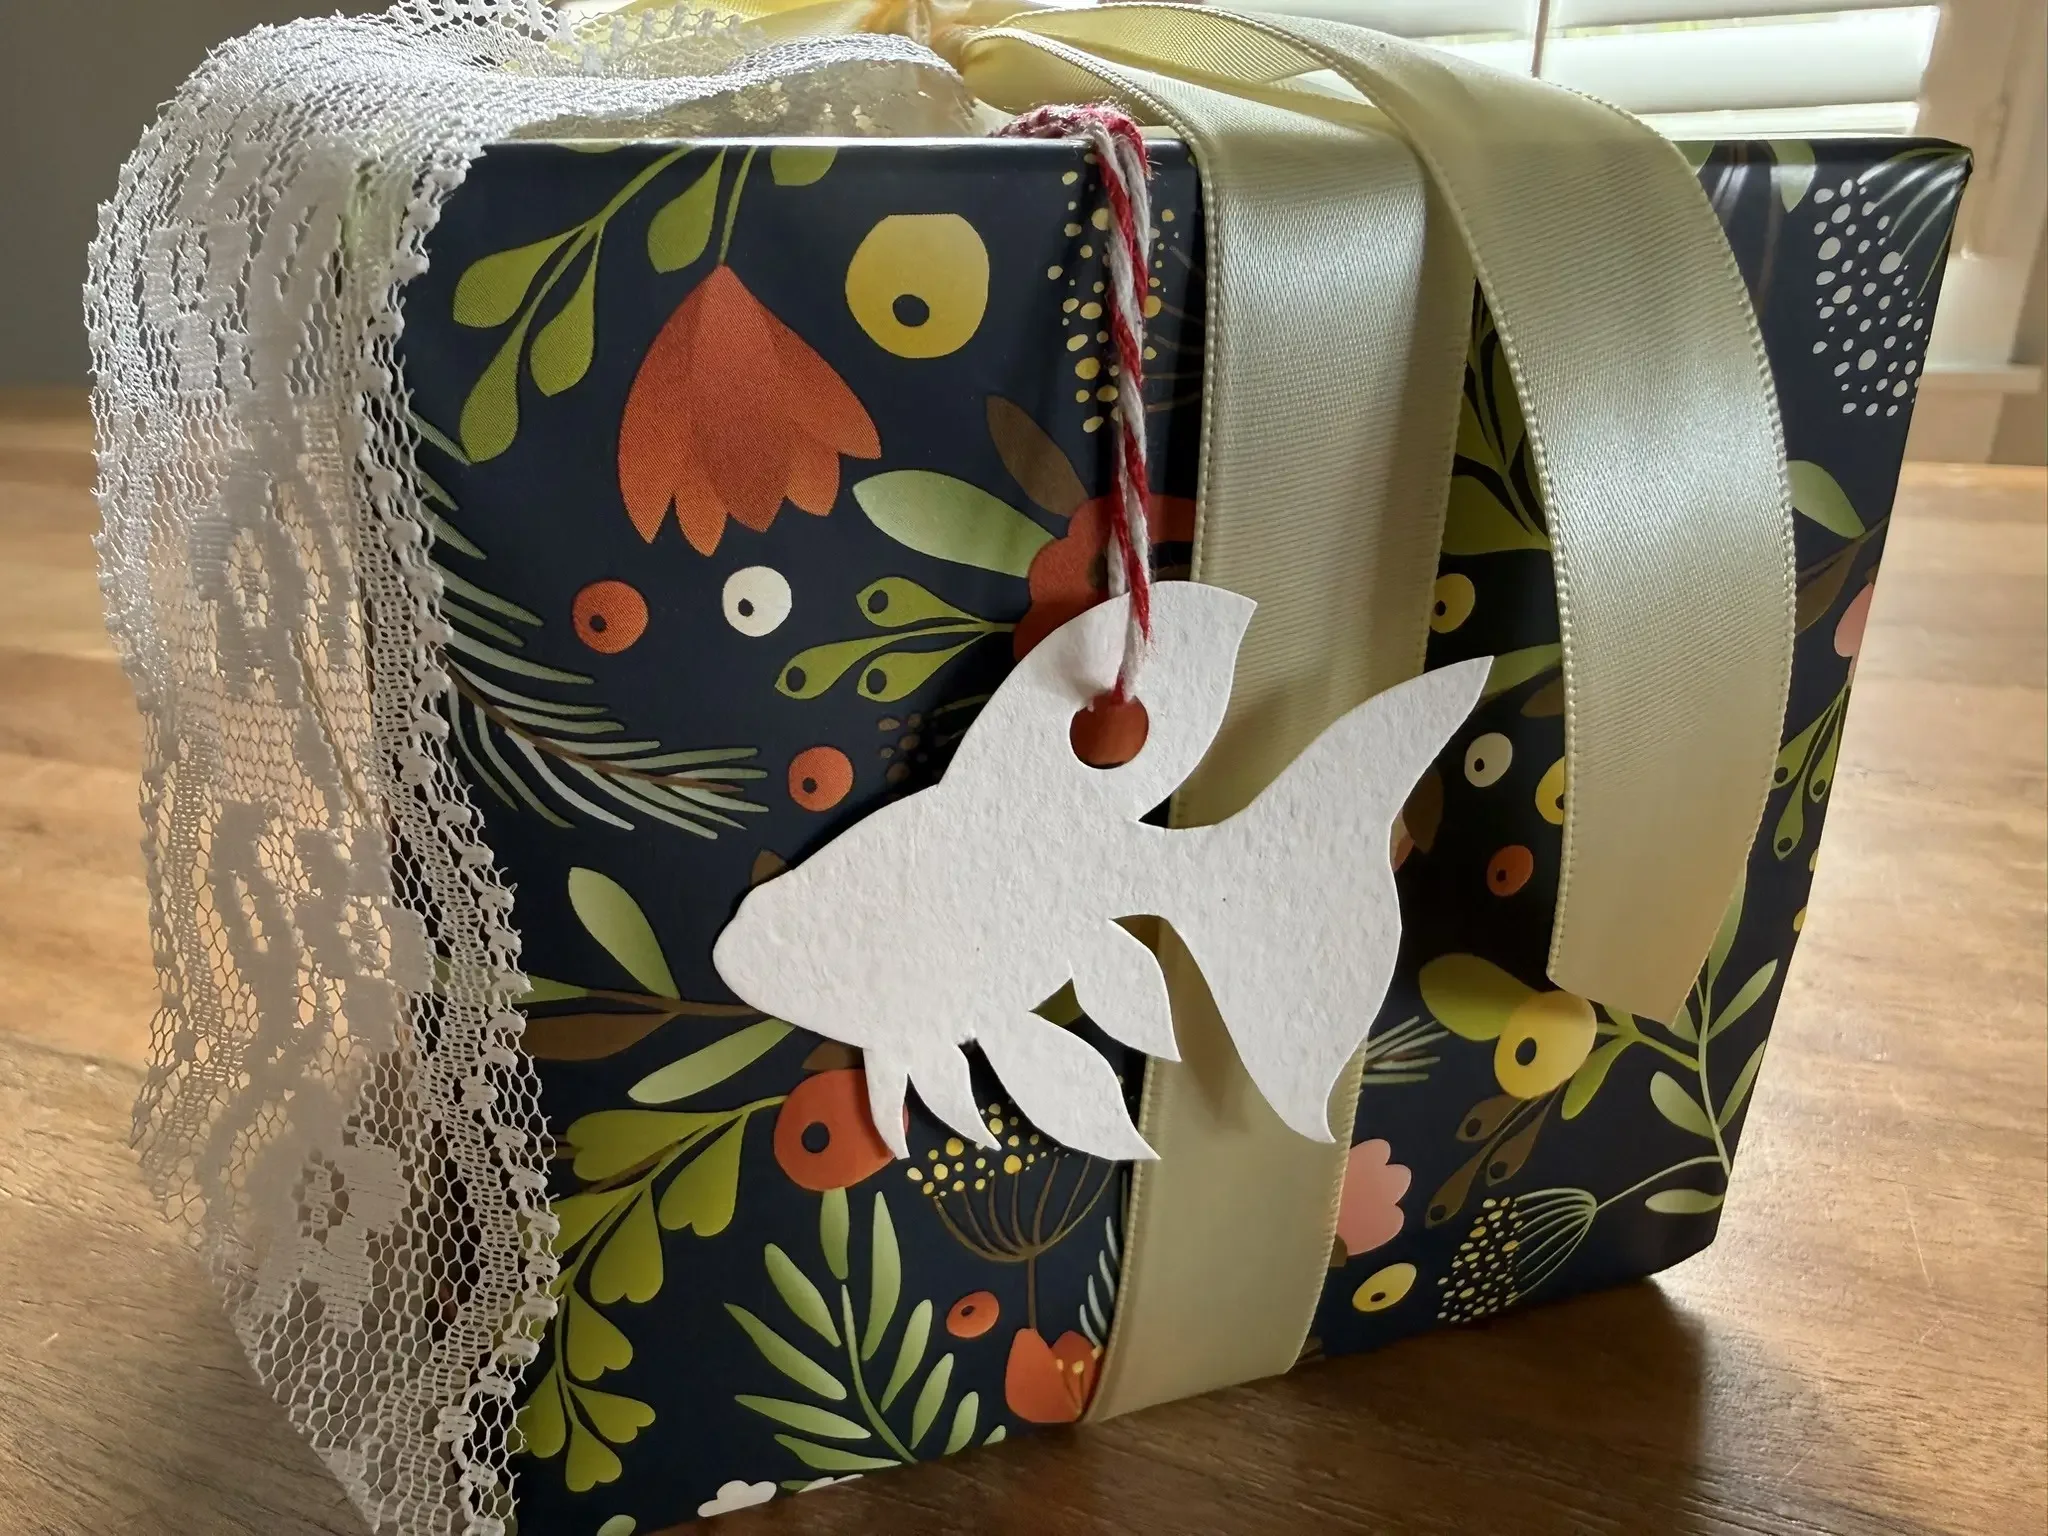
Paper crafting with a favorite past time, as a precursor to today’s scrapbooking and stickers. Decoupage, paper flowers, lacework through piercing and punching, paper weaving, silhouettes picture tracing, and more were all popular past times. An appreciation for complexity and ornate detail made for beautiful crafts with stunning results.
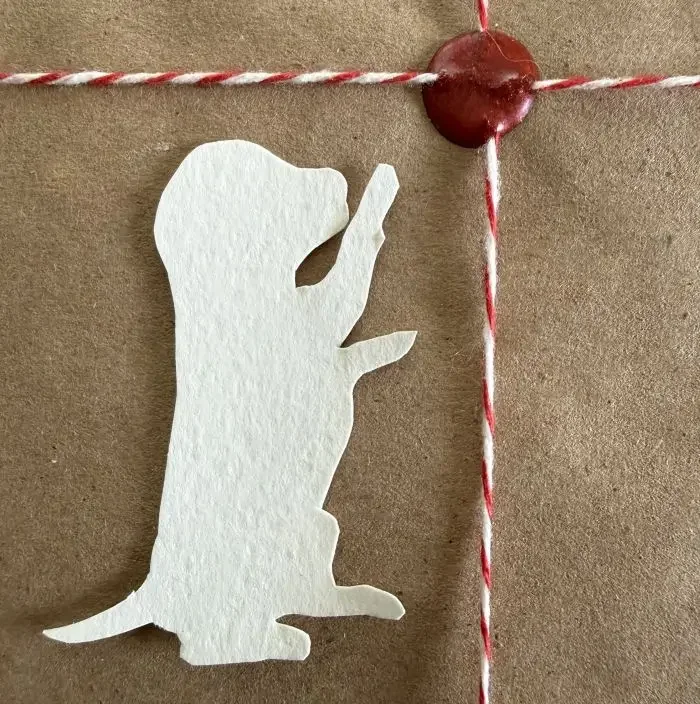
This tutorial of creating custom gift tags leans into the practice of silhouettes and the intricate cutting of such shapes for beautiful hand-crafted works of art to accompany any gift. Here I have chosen the theme of animals in honor of the era’s prizing of organic and living things as art. But you can make them in any shape or theme you can think of.
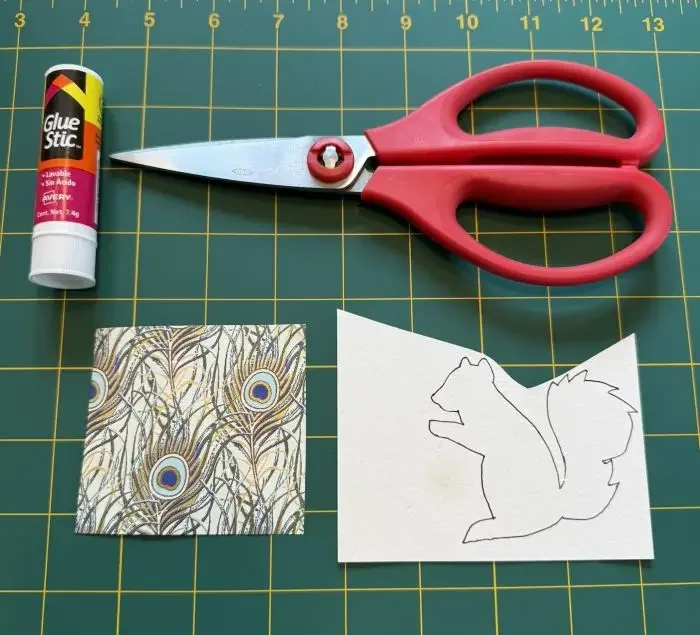
Supplies:
Exacto knife (optional)
Semi-soft surface
Print or wrapping paper of your choice (optional)
Tracing paper (optional)
Hole punch
Design inspiration or templates (printable patterns used in this tutorial available here)

Directions:
Choose your designs
The first step is deciding what you want to create. You can either find your own shape you want to trace and use, or you can also download patterns provided here.
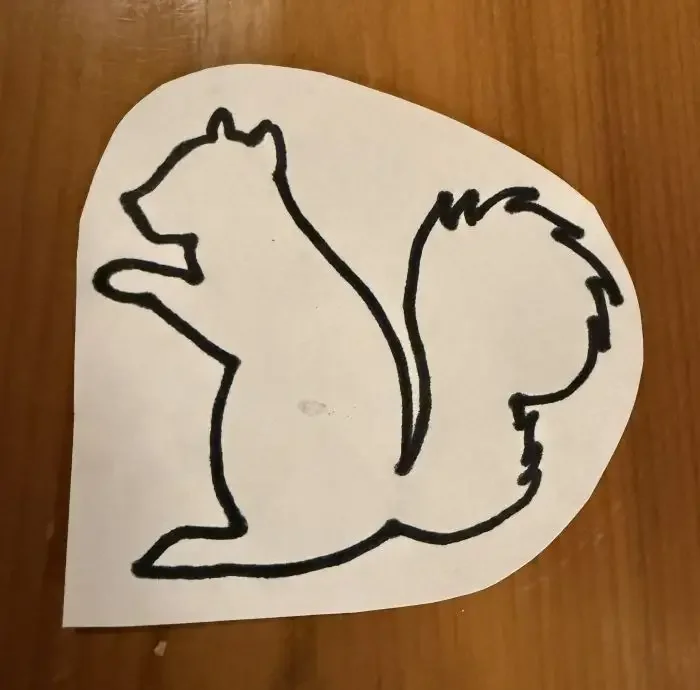
Path A) If designing your own- find an appropriately sized image that would work well in silhouette form, and will still be identifiable without drawings or interior details. Use tracing paper to capture the outline.
Path B) If using a pattern- download the sheet of patterns and print.
Regardless of which path you take, once you have the silhouettes penned/printed, the rest of the steps are the same. Using a scissors and/or exacto knife (depending on the level of detail)- cut out your desired shape, following the outline.
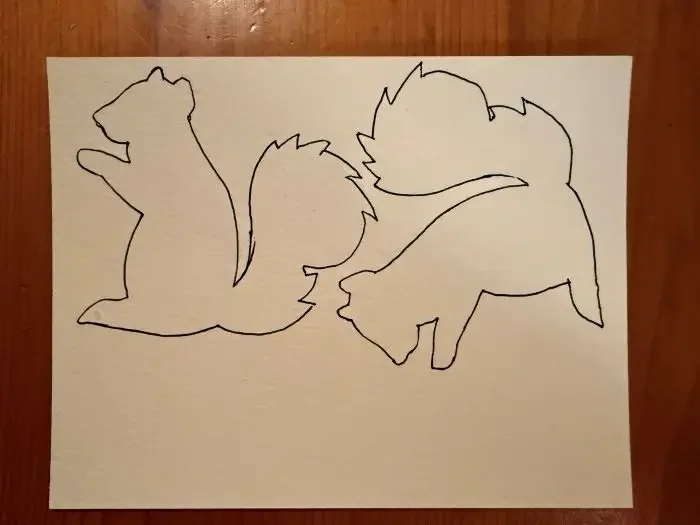
Create your stencil
You will now have either tracing paper or paper cutout, which you will use as the stencil for your actual tags.
Select the material you want for your tags. It could be plain white cardstock, colored stock, or an intricate print or wrapping paper glued on cardstock. If the latter- simply use a glue stick or other glue you have around to apply a think layer over the cardstock, then apply your desired print and smooth out with your hand for even sealing. Do this before you cut so that you can cut once, not twice!
Trace around your stencil on your desired surface, as many times as you want. Perhaps you want to make 10 identical puppies, one for each gift to friends you give out. Or perhaps you want to create a special theme for this year’s season- with each gift showcasing a different shape on that theme.
Then it's time to cut the actual tags out. Turn on some Christmas music, or watch an old movie while you snip. The experience is half the joy!
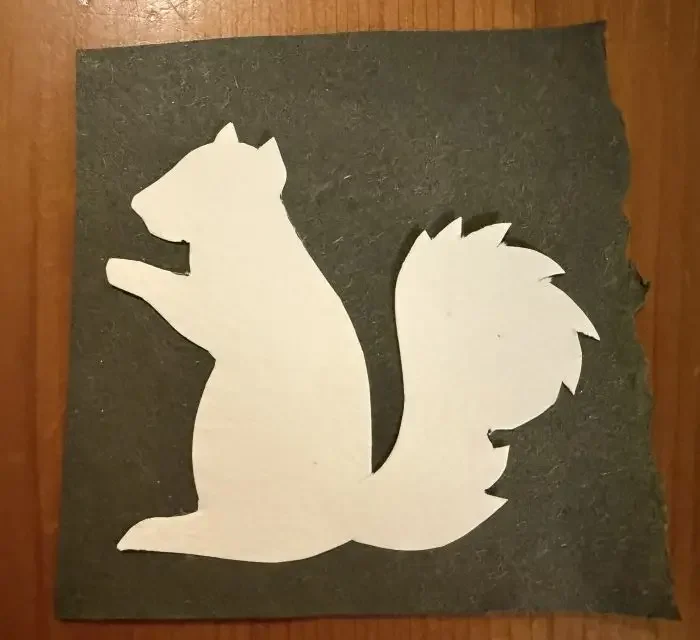
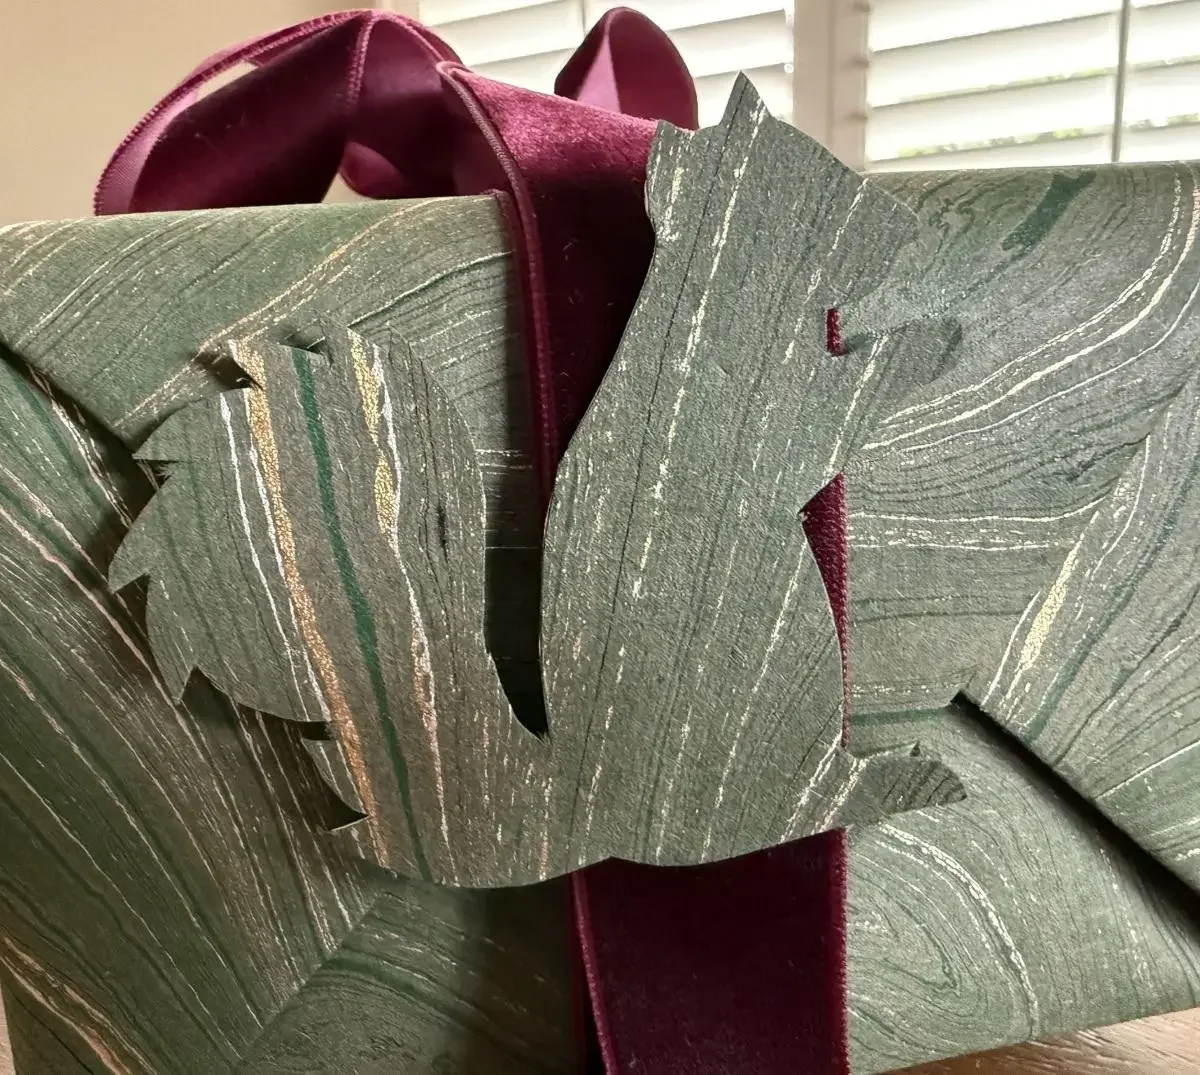
Have fun with the display
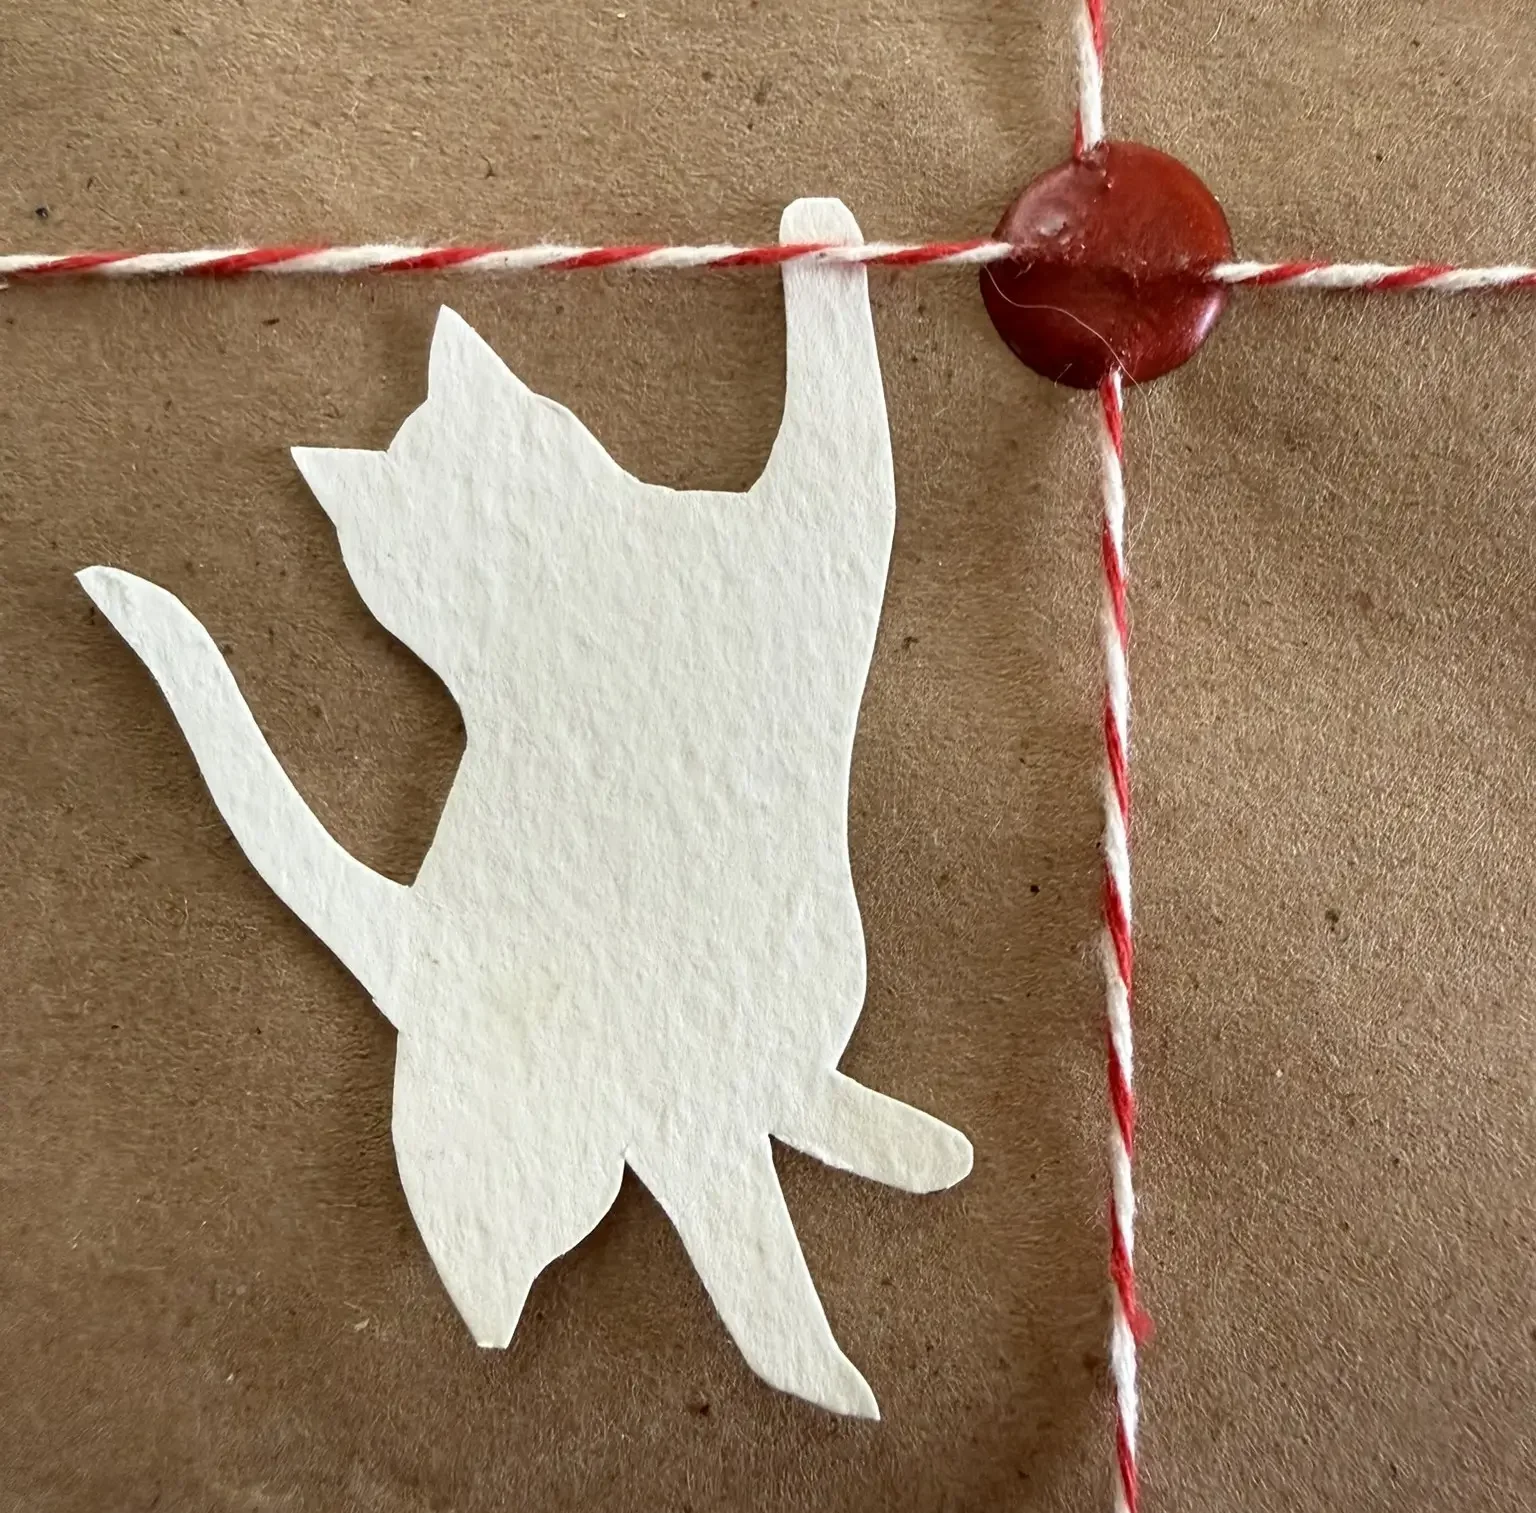
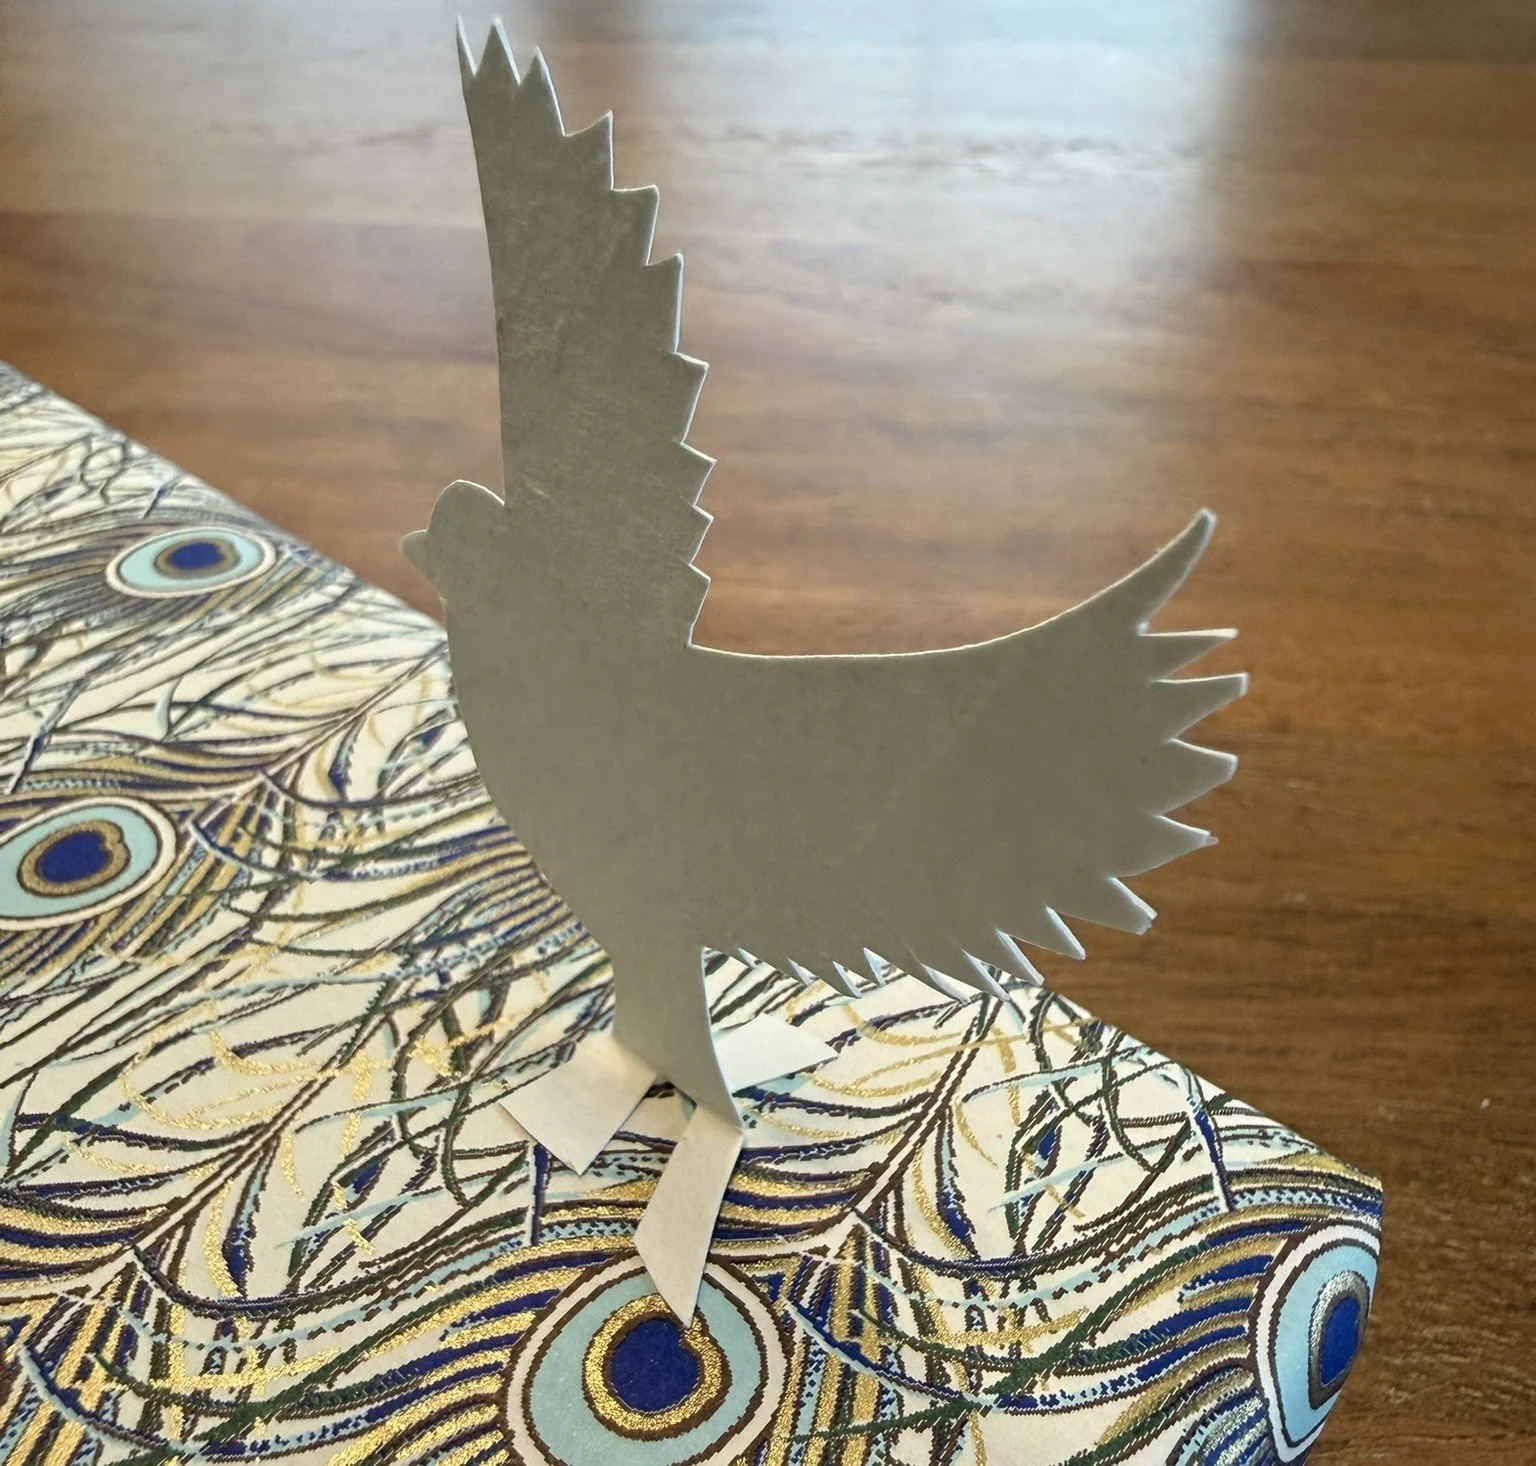
Before punching a hole into each tag, think about how you want to use the tag. Finding creative ways to adhere the tag can be half the fun. You can hang from a string, tuck into a crevice, glue to a flat surface, or fold and glue a small base to have the object become 3D.
For example, in the images here, I had fun with the cat interacting with the string already on the package, and used the bird’s tail feathers to be a base from which it flies into the air.
If you want to extra challenge yourself, you can create a design which incorporates the negative space of the hole punch as part of the design. For example- if you’re gifting to a fisherman in your family, placing the hole punch in the fish’s mouth area and hanging using fishing wire could be clever. Or say you want to create stockings- place the hole so that it becomes the loop that the stockings are hung with, with yarn as the string. Let your imagine run wild!
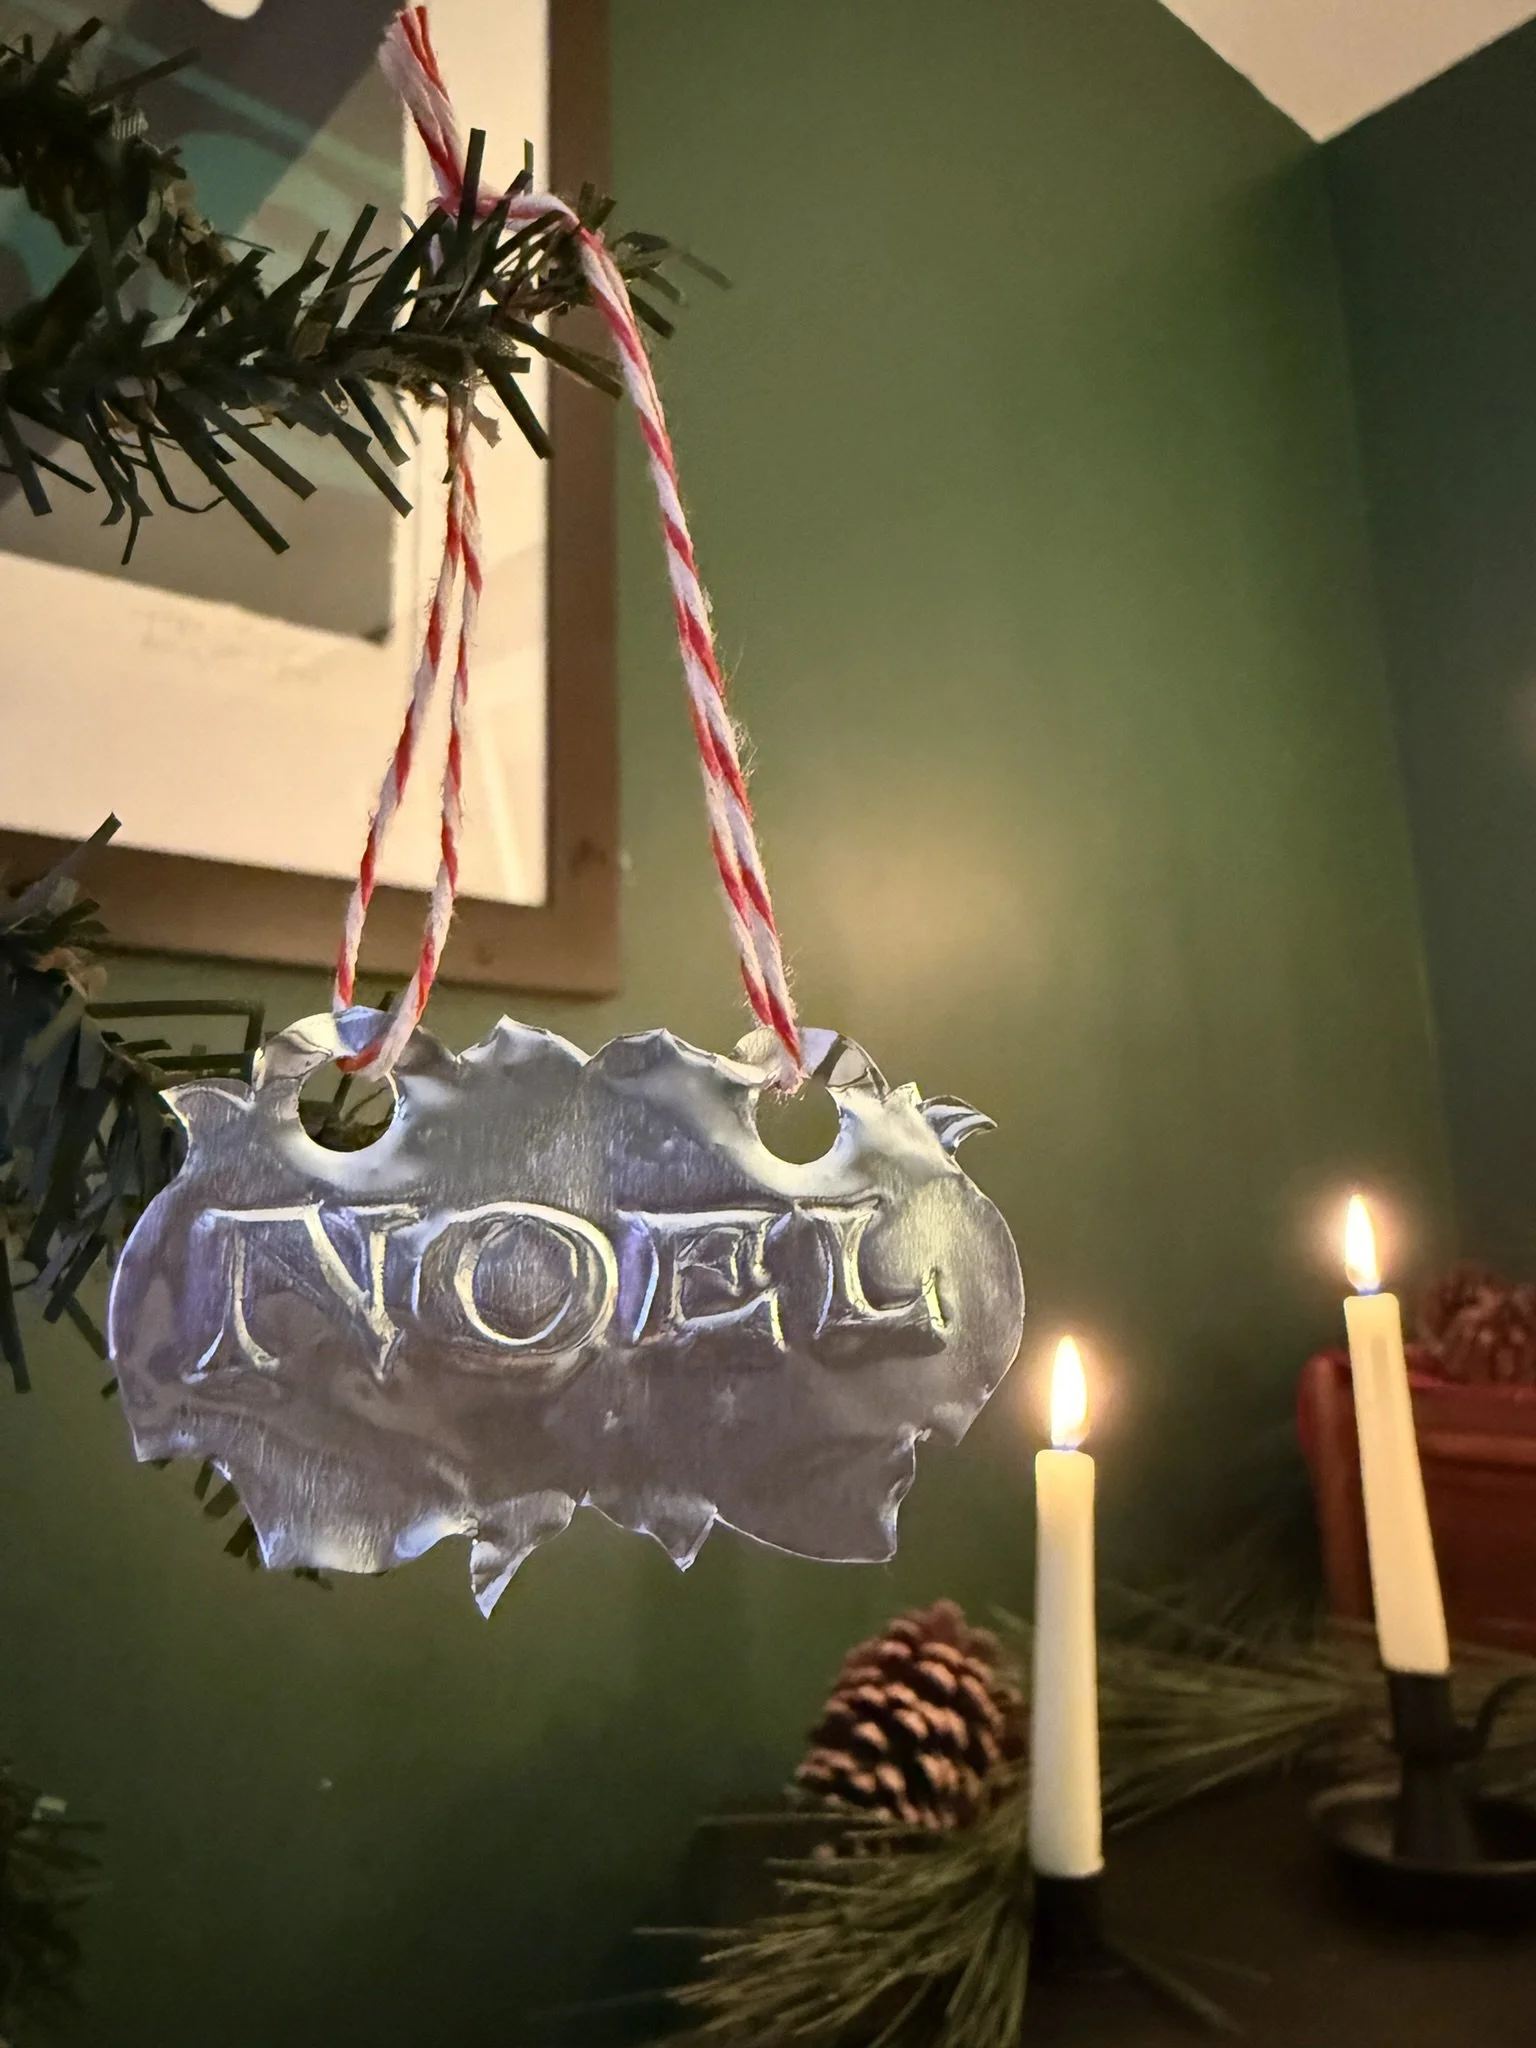
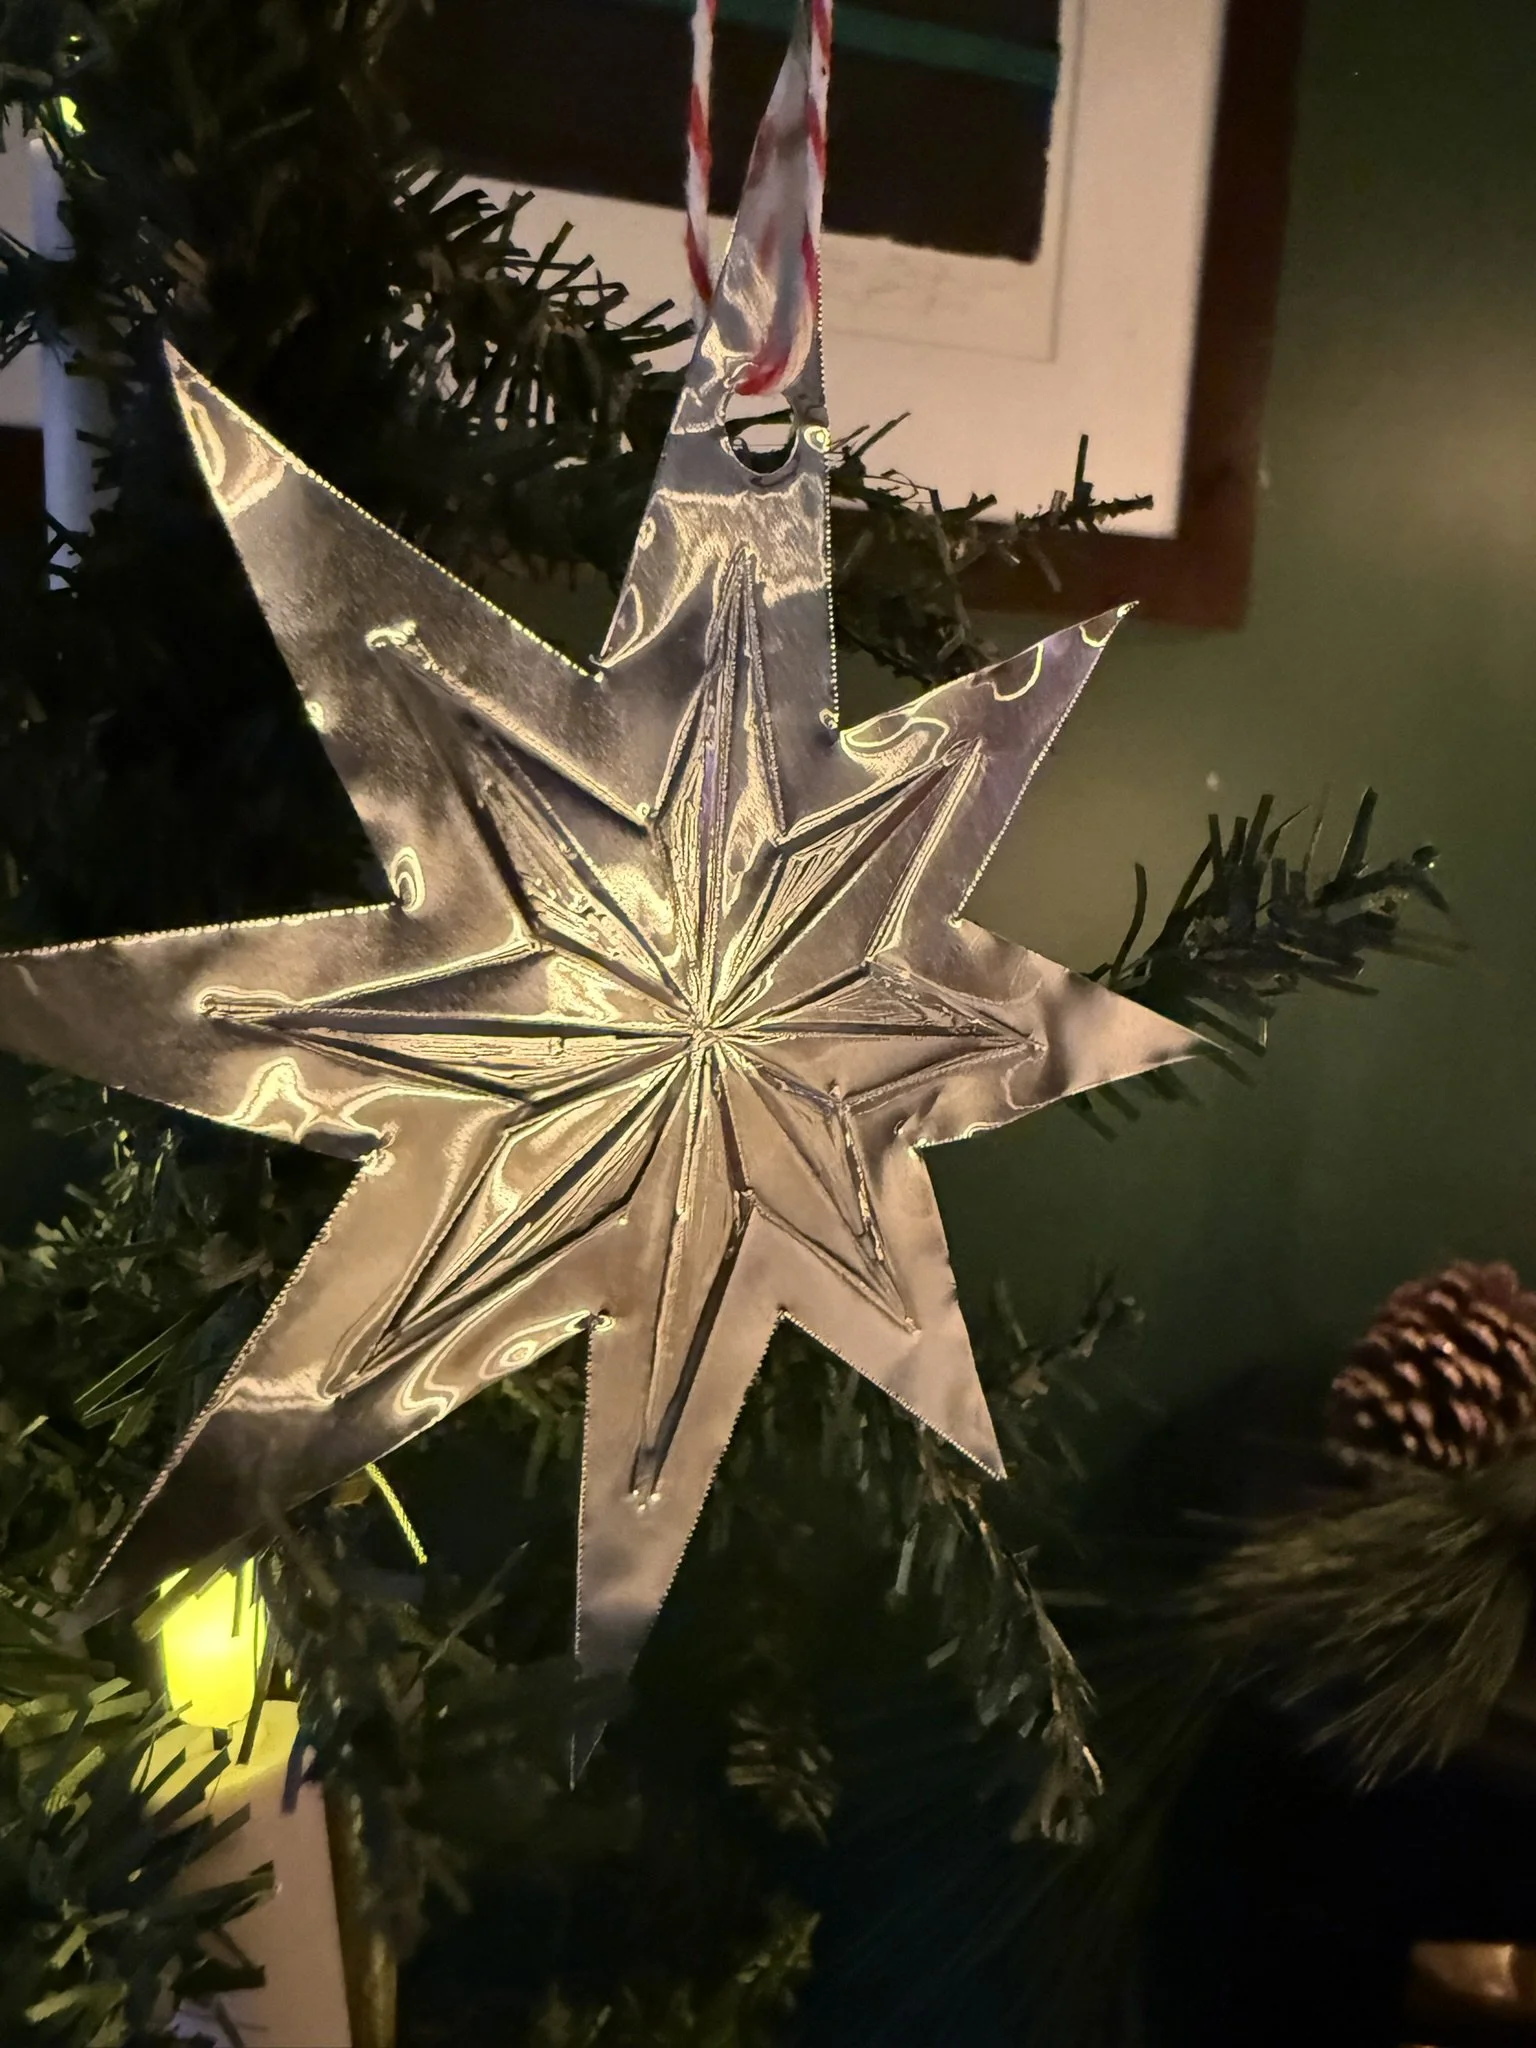
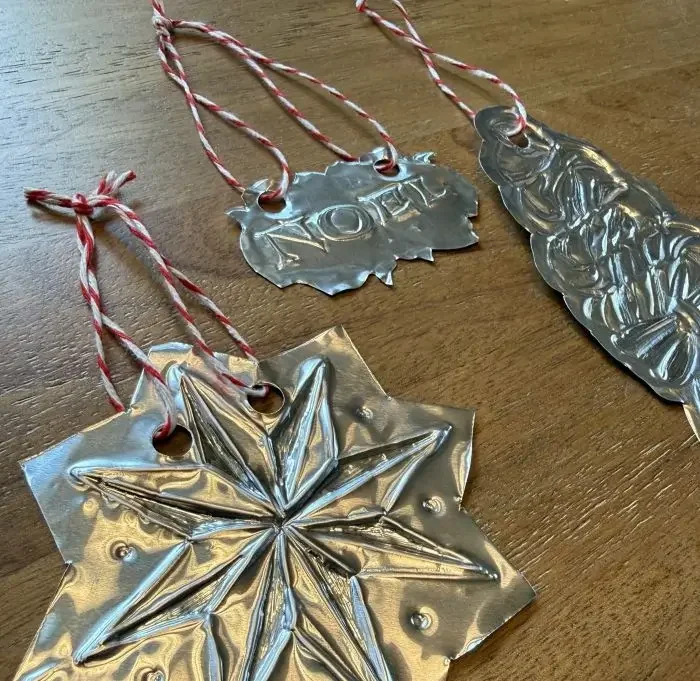
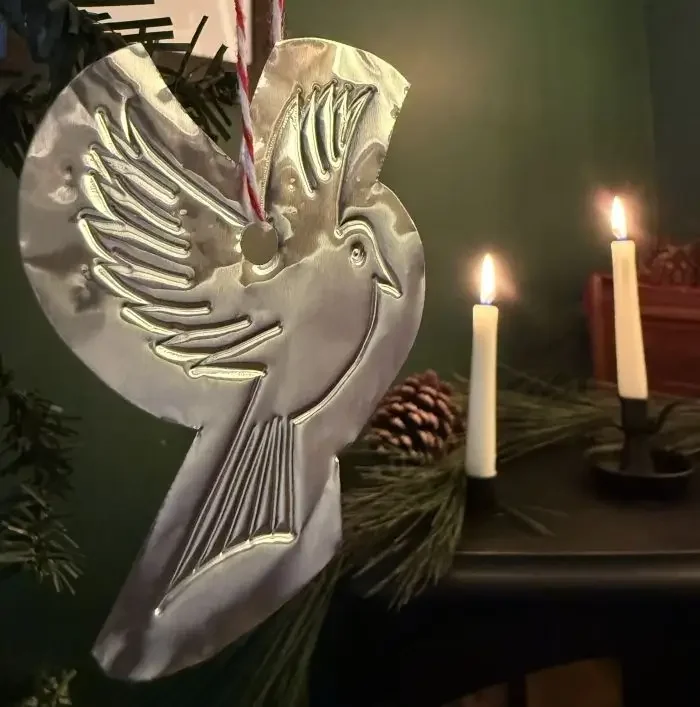
6 | Embossing Foil Ornaments
Recreate an bygone era through hand pressed ornaments
There are few things as satisfying as embossing foil. The feel of the stylus in your hand, and the immediate permanence of every stroke you make.
Metalsmithing sounds like a trade requiring red hot irons and hammers, but actually extends to any shaping or manipulating of metal for functional or decorative purposes. In this activity, we jump back in history to forge metal into hand-made ornaments to enjoy for years to come.
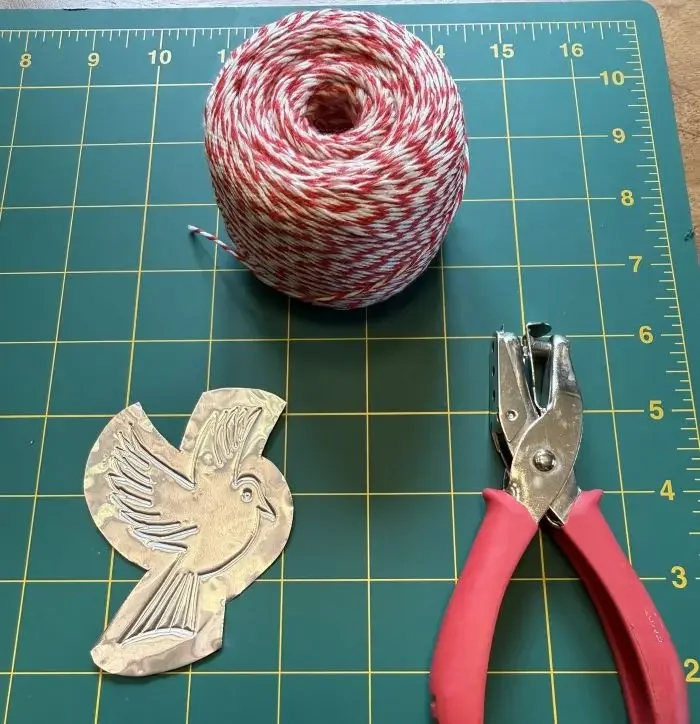
Supplies:
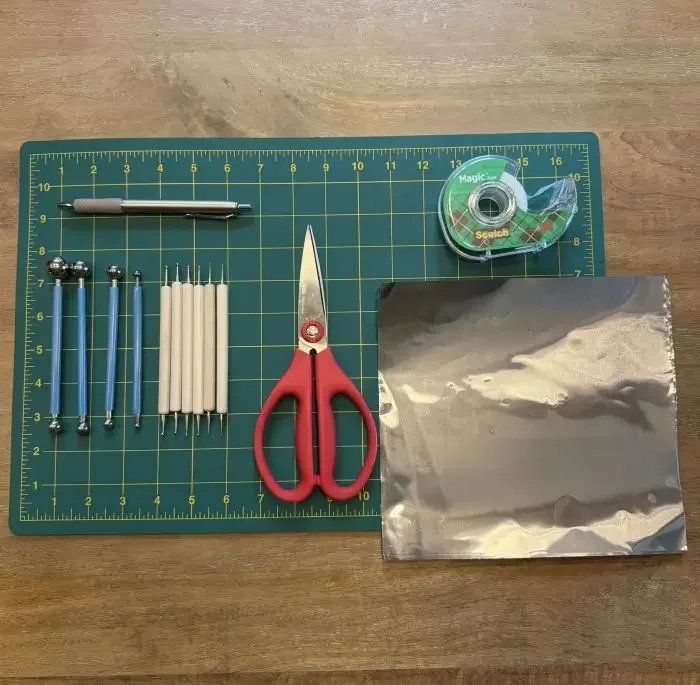
Metal foil sheets (0.1 - 0.2 mm)
0.1mm is easy to manipulate with hand tools and holds detail fairly well
0.2mm is noticeable stiffer- it’s sturdier for longer life without denting, but also takes more pressure
A semi-hard surface that allows some give when pressed
Scissors
Pen or marker (optional)
Tracing paper (optional)
Ruler (optional, depending on your designs)
Hole punch
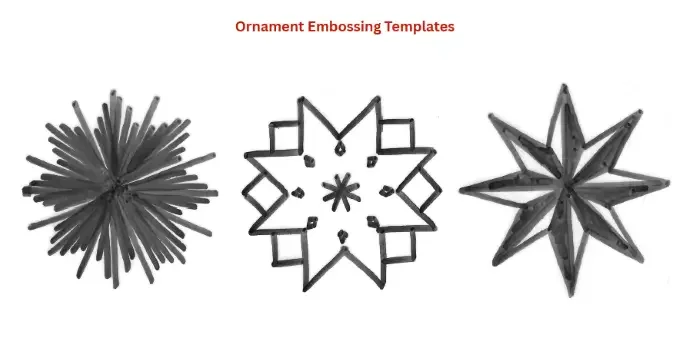
Design inspiration or patterns (printable patterns of stars used in this tutorial available here)
Directions:
Choose your designs
The first step is deciding what you want to create. You can either find your own shape you want to trace and use, or you can also download patterns provided here (free).
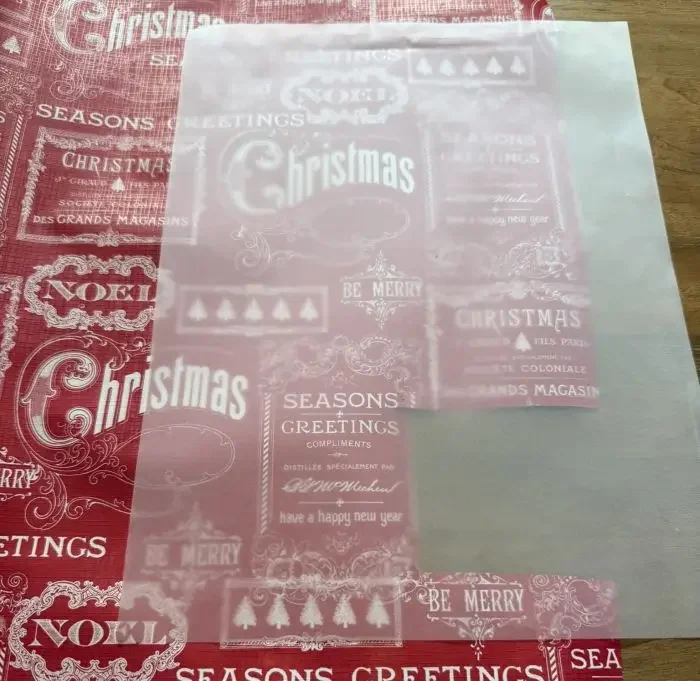
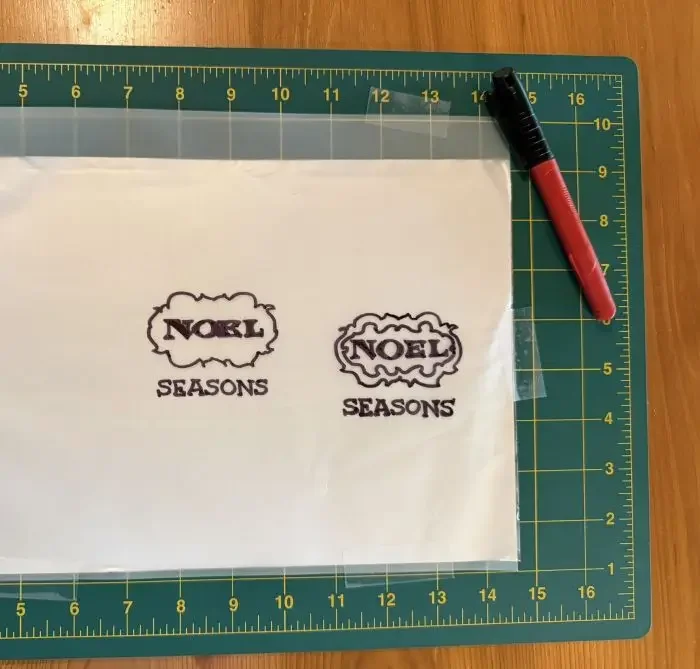
Path A) If designing your own- find an appropriately sized image that would lend itself well to embossing- with interior markings that are fairly clean and will be traceable in metal, while still being able to identify the image. Use tracing paper to draw the outline and any interior details you want to capture.
Path B) If using a pattern- download the sheet of patterns and print.
Regardless of which path you take, once you have the design traced/printed, the rest of the steps are the same.
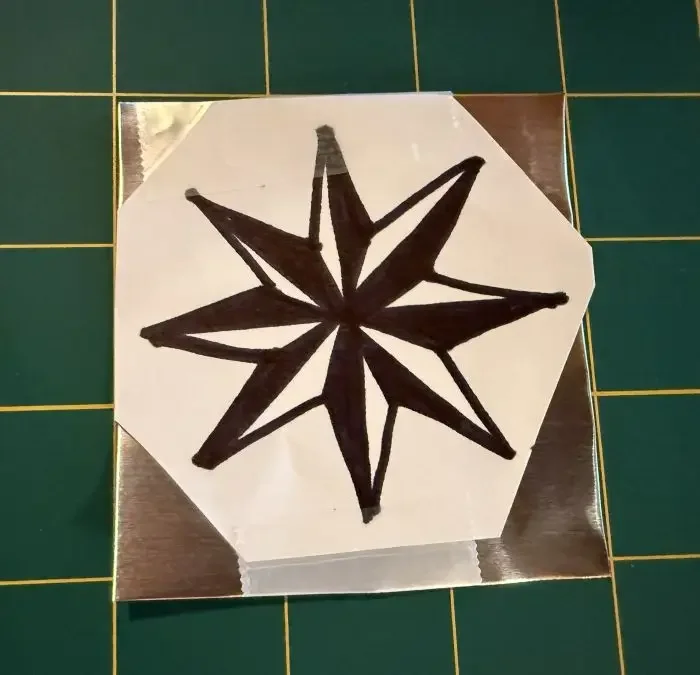
Start embossing
Tape the design onto a sheet of foil. Tip: Cut the sheet of foil to the size of your pattern- saving the rest of the foil for other patterns, to keep it wrinkled free without the pressure of your wrist and movement, pristine for future designs.
Using a stylus, trace over each of the lines of your pattern. You can use any size stylus you want, but a smaller tip can be useful for the first pass.
Place the foil + taped pattern onto a semi-hard, semi-cushiony surface that has some give. This is important because the foil will only be embossed as much as it’s allowed to- a hard surface won’t provide the cushion needed for the metal to flex under the pressure of the tools.
You don’t have to go super hard here, as you’ll have a chance to reinforce your lines again- the purpose of this step is to mark the design into the metal.
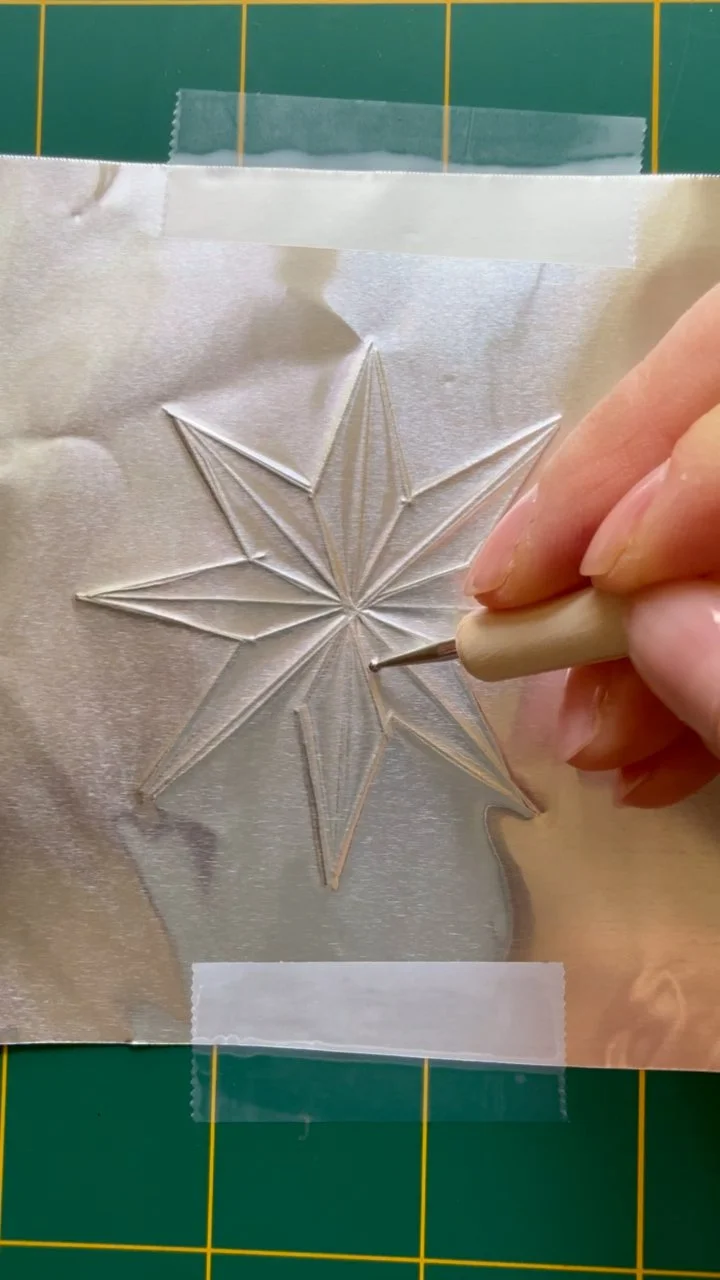
Stylize and add depth
Remove the paper pattern, and retrace your lines (if desired) with either more pressure or a bigger ball tip for a different aesthetic.
Here you have a couple choices:
You can consider the design done
You can fill in entire areas for a uniform indented look
Or you can flip the piece over and fill in areas on the back side, so that when you flip back over to the original side- those areas are raised
The video at the end of the written instructions demonstrates these methods in real time
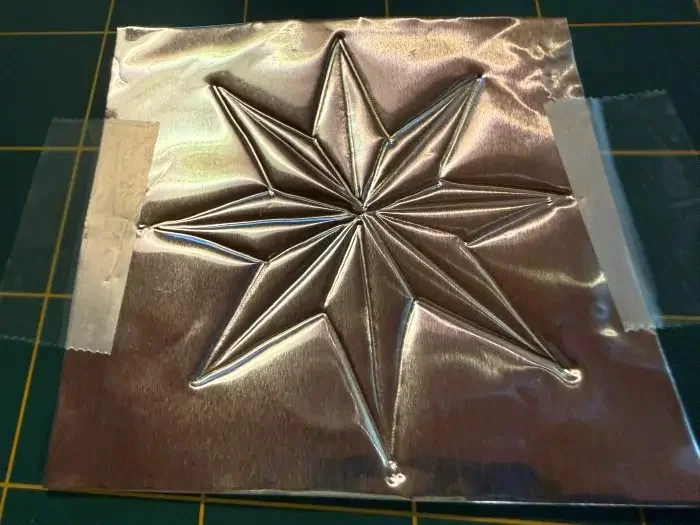
Cut away
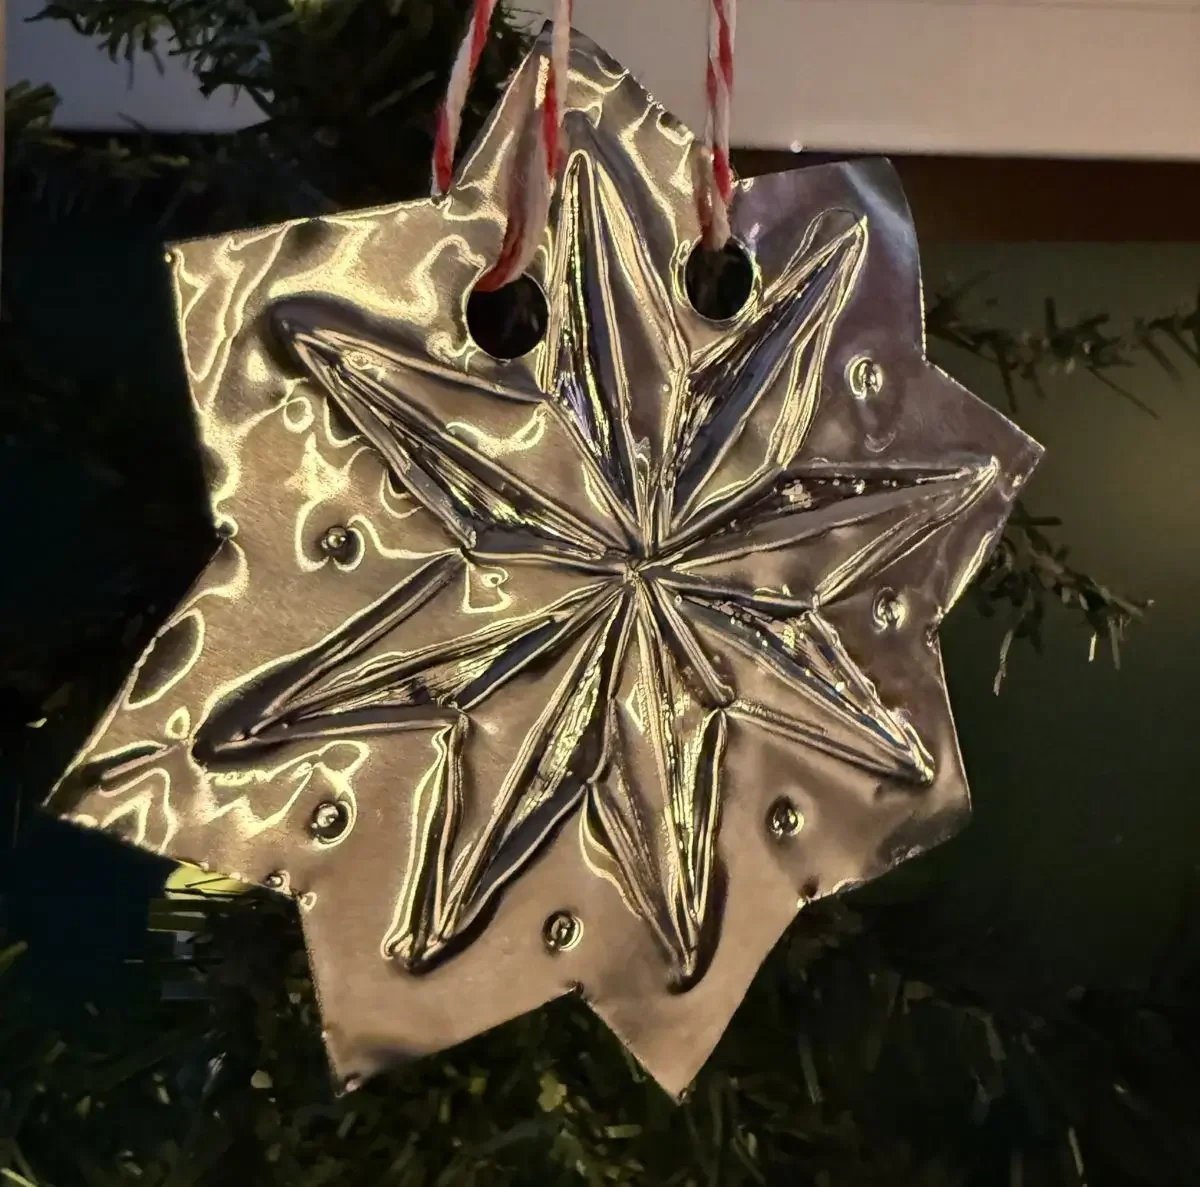
When the embossing is done, it’s time to cut out your design. Feel free to be creative in this step- you can cut whatever shape you want around the pattern- and don’t necessarily have to follow the outline just because it’s there. Some of the most interesting ornaments emerge as the interaction between the design itself and the shape of the ornament.
As an example- in the image here, I made a mistake in the cutting of what supposed to be star, but went with it, and the result ended up an even more interesting snowflake. Even mistakes can create great results!
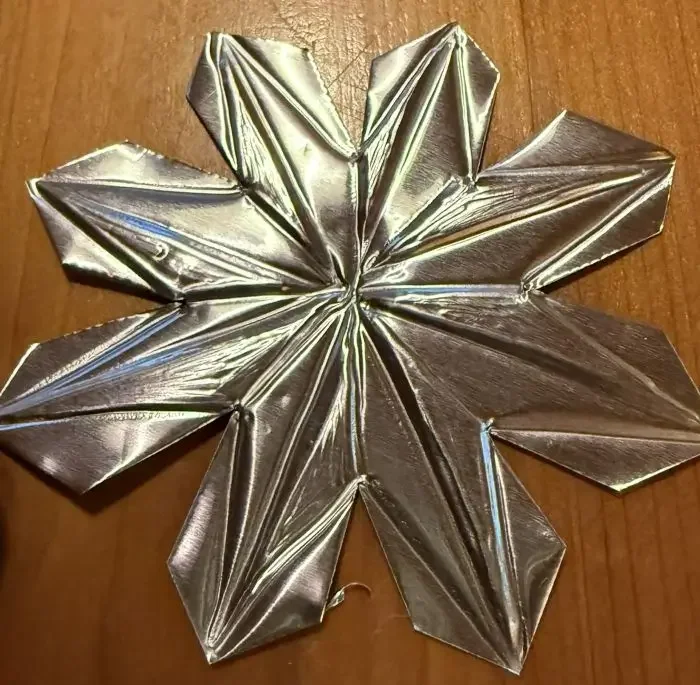
Displaying & Storage
As a last step, punch a hole or holes wherever in the design you think they will look best and hang properly.
I like the two-hole aesthetic for the Victorian theme personally but any design works.
Tie with string, yarn, or ribbon and voila.
For safe keeping for years to come, it’s best to pad with a couple layers of paper towels on both sides and place in a flat place with firm protections on all sides- like a flat jewelry box, even between pieces of cardboard.
Video Demonstration Coming Soon
To buy additional patterns:
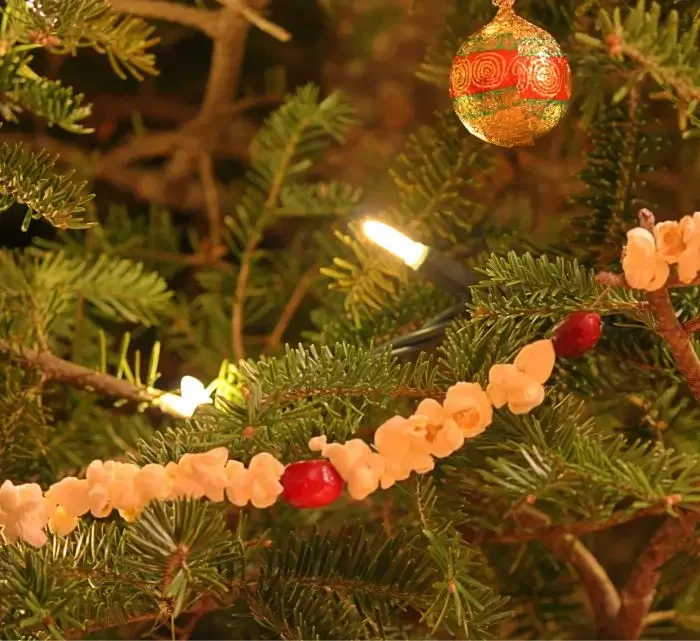
If looking for other ways to create a Victorian Christmas tree- consider:
Edible-themed decor (cranberry, citrus, or popcorn garlands)
Hanging ribbon bows
Decorating only with materials authentic to the era:
paper
wood
metal
textiles like cotton, wool and twine
plant-based fibers like straws, nuts, dried flowers, and pinecones
glass
leather
ceramics
organic collectibles like feathers or shells
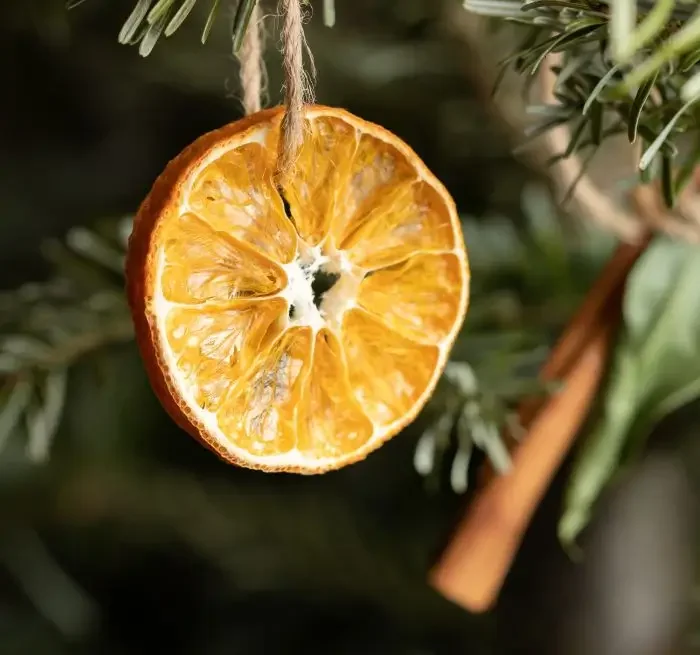
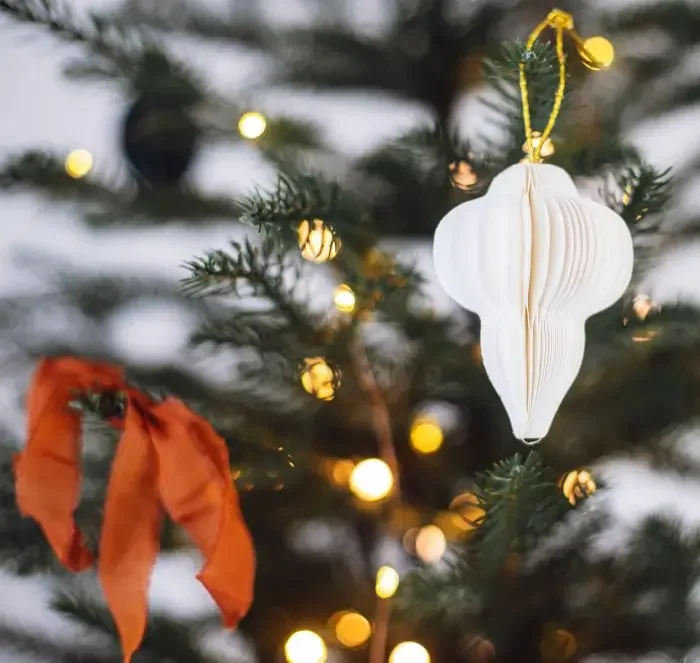
To continue building your Victorian decor this season:
While lit candles are era authentic, it’s hard to conceive of how flammable that would be have been. Instead, the modern day equivalents out there may not be as grand, but are much, much safer!
To make them look more authentic, you can create vintage-looking dripping tins to place over the faux candles which doubly helps hide the clips underneath. Simply cut a criss-cross mark inside wax melt tins with a utility knife, and slip over each candle.