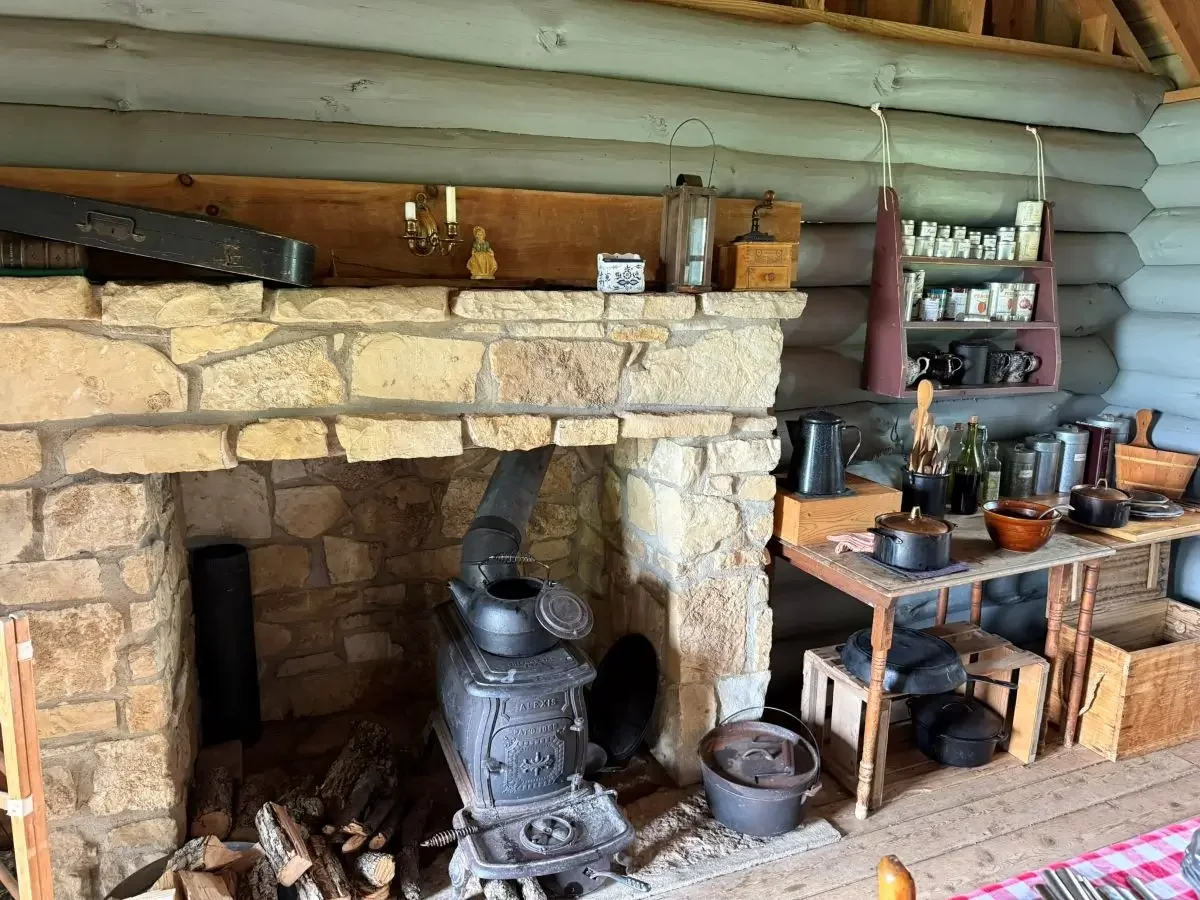
A Frontier Winter
There is something about the American pioneer days that calls to us in this busy, modern time. A simpler life, a slower pace, the satisfaction of creating and using tangible goods and a closer connection to the land.
This collection features ways for you also to recreate this cozy time and place- through satisfying crafts, authentic treat, and the search for modest pleasures.
Hands-On Activity
Aesthetics
Nourishment
Growing up in the cold winter climate of Minnesota, and inspired by Little House of the Prairie, it was easy to put oneself in the daydream of a hundred and fifty years earlier where survival was a mainstay of everyday life. We lived in Mankato, the “Big City” a day’s carriage ride away featured in the show, further fueling the parallels .
The idea of recreating the day to day activities, and environment Laura Ingalls Wilder also experienced has always had a special place in my heart. This is obviously a nostalgic view, but nevertheless a very enjoyable to dream of, and participate in, no matter the year or location.
This site intentionally avoids intrusive ads. Links are provided to relevant products used in the tutorials as an Amazon Associate. I do so when there is value in knowing the specific product, and to learn more about or continue experiencing the mood.
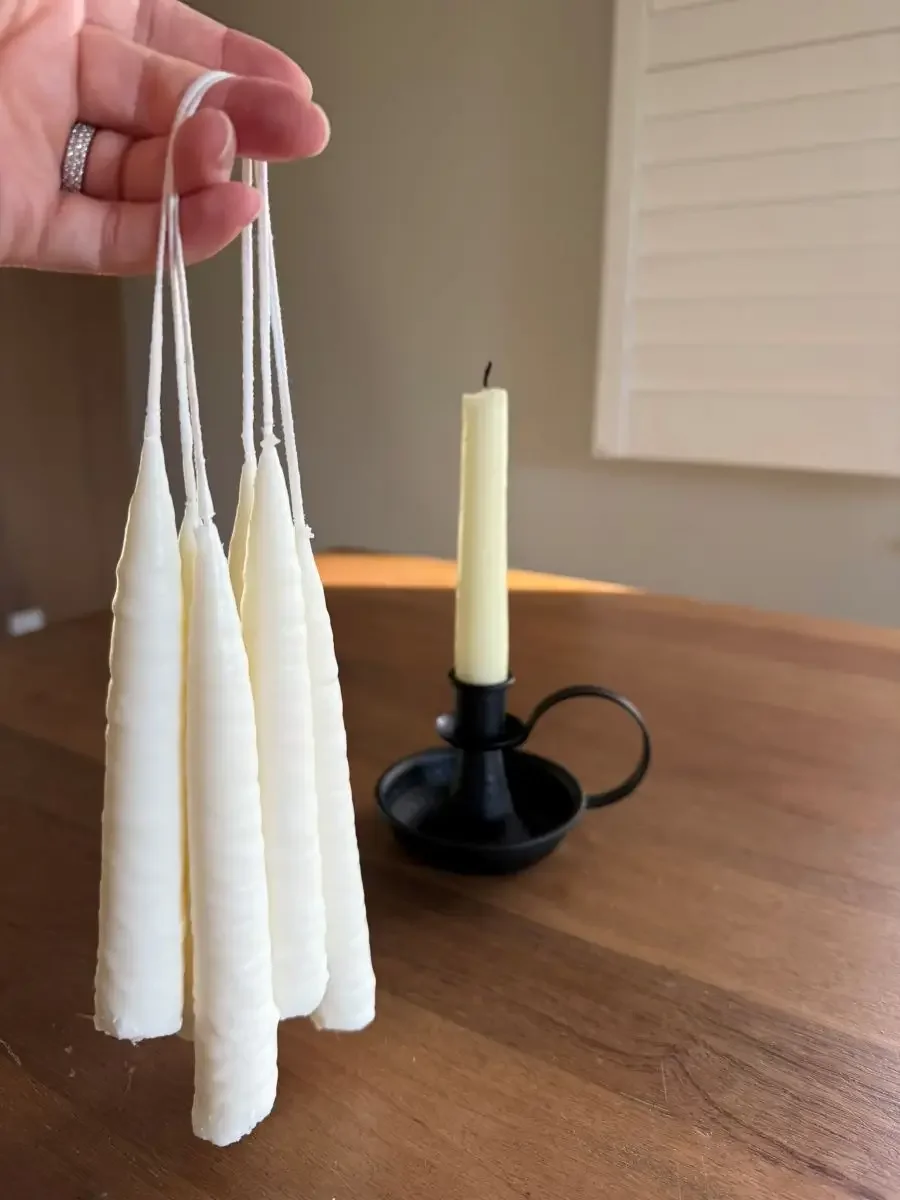
1 | Dipping Candles
A patient, rewarding craftivity
Supplies:
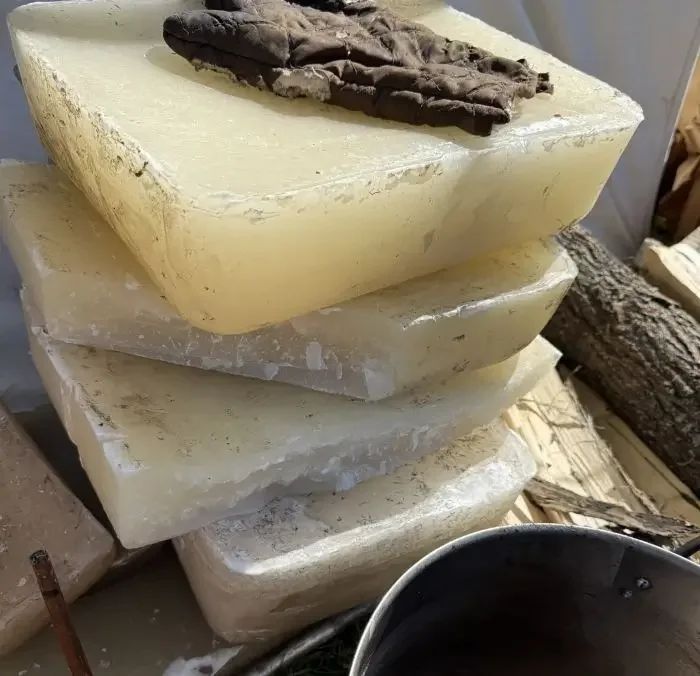
Wax (beeswax or paraffin is best for dipping, while soy is better for poured candle making)
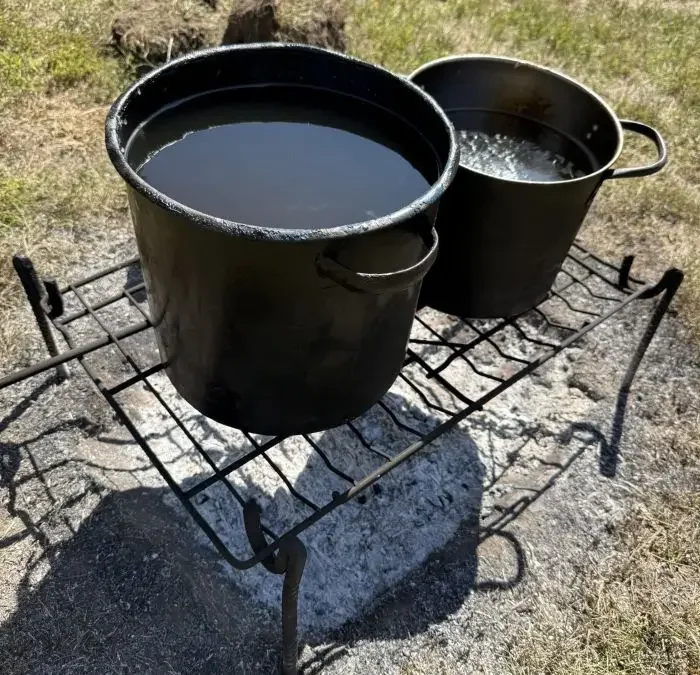
Tall melting container (you can also use recycled large, metal cans, like coffee containers)
Stovetop Pan
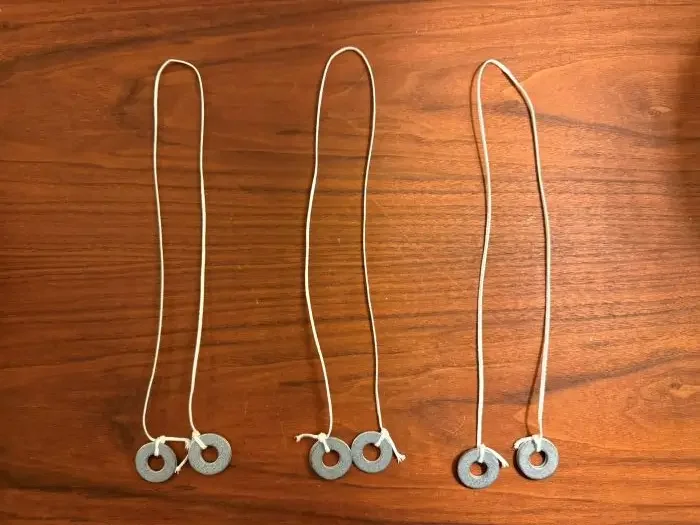
Metal washers or bolts
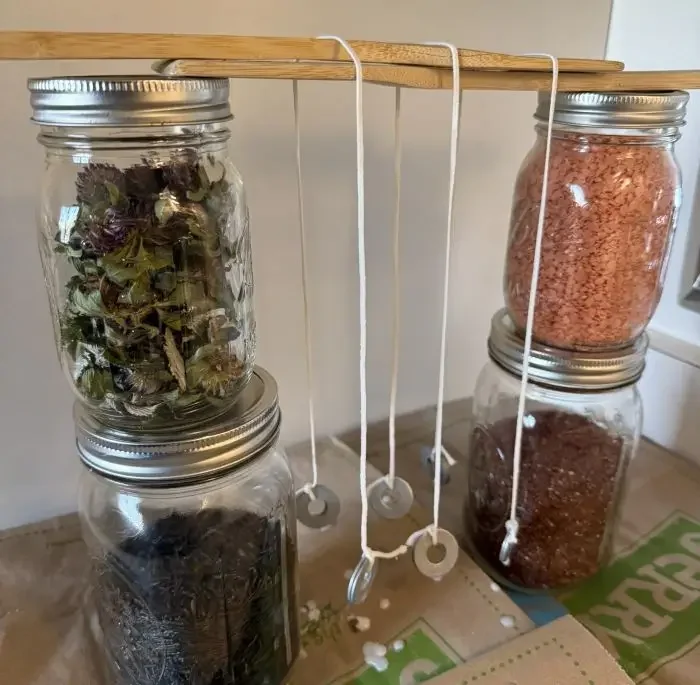
Something to create a drying ‘rack’ (I used stacked jars and flat serving utensils)
Paper grocery bags, parchment paper, or other disposable surface to catch wax
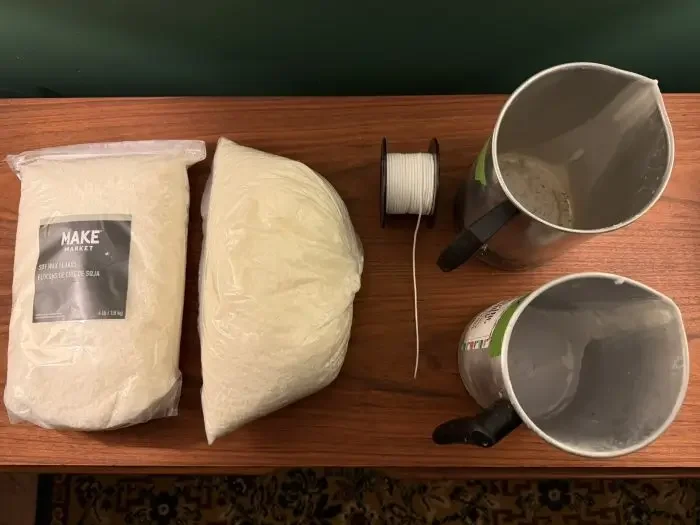
Directions:
The Set-up
Create a double boiler system by placing the tall melting container inside a pan of water on the stovetop.
Stack any household items so that you can place a ‘hanging rod’ between them for drying. It’s incredibly helpful to place multiple wick pairs on a single rod, and just transfer the rod between the pan and the dryer station.
Create a rod to hold multiple pairs of wicks- it will infinitely scale up the volume, and is easier to transfer.
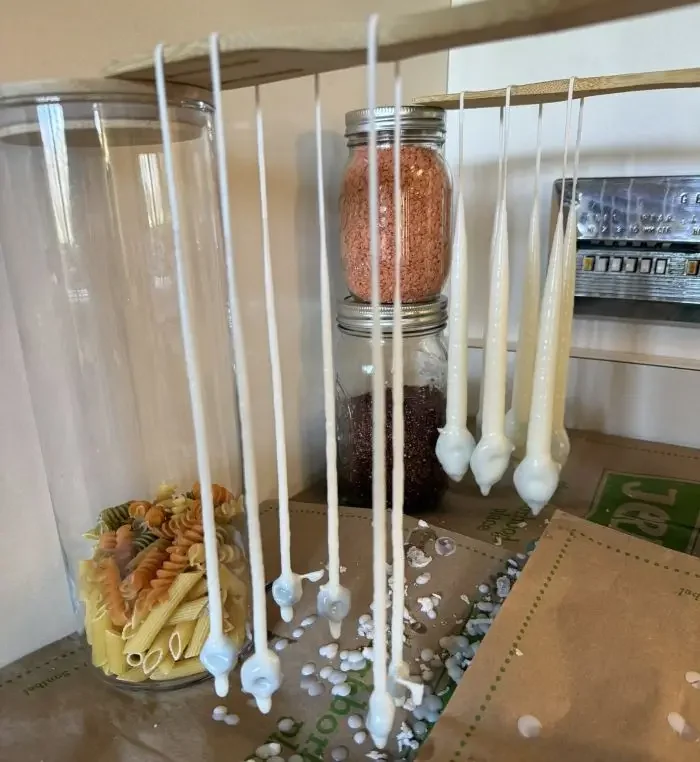
Melting & Dipping
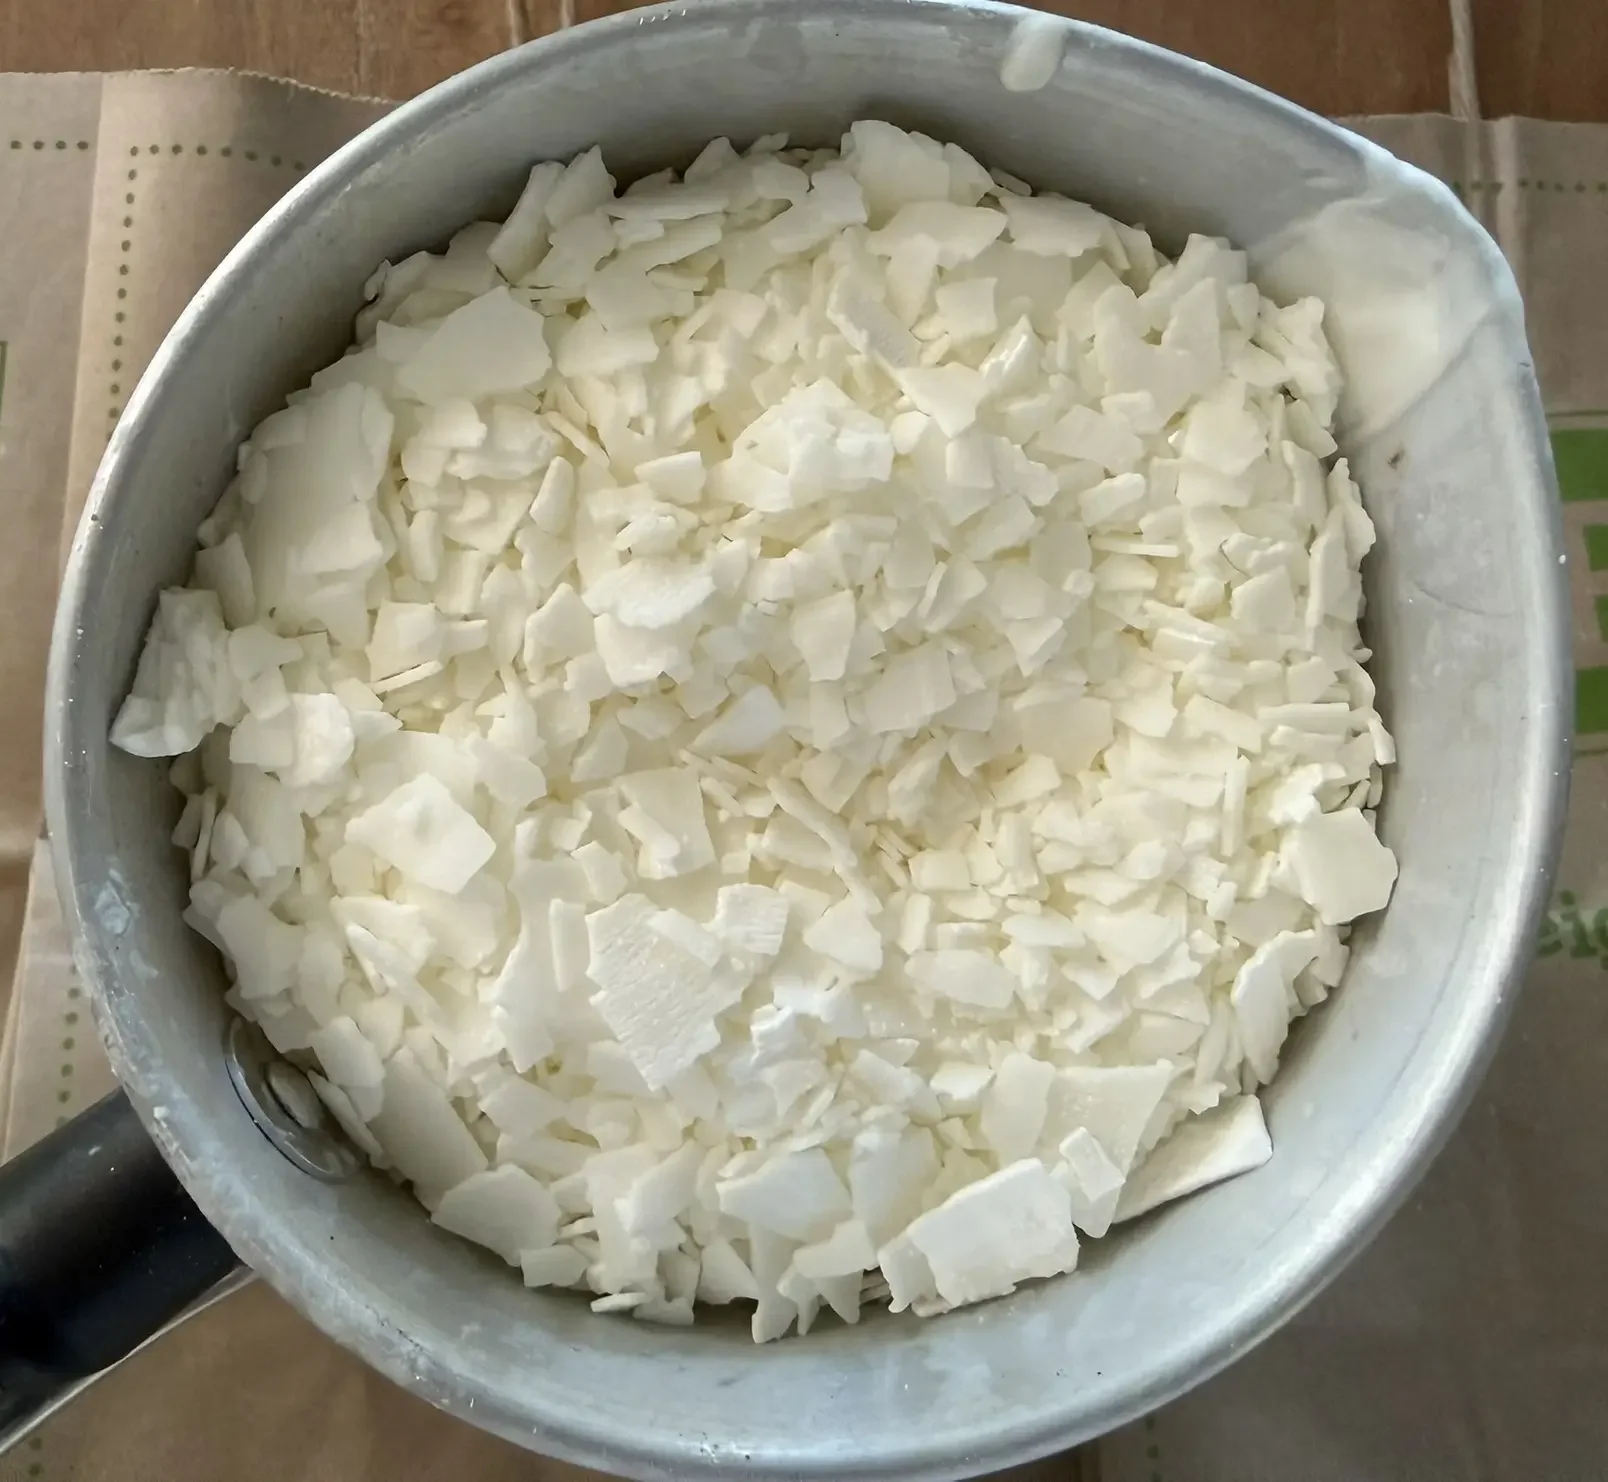
Pour wax flakes or blocks into the melting container over medium heat, until all wax has melted.
While wax is melting, create your wicks, measuring and cutting same length pieces, long enough to create 2 candles and with extra space for hanging at the top, and creating knots at the bottoms.
Tie either 2 washers or a single nut to both ends of the wick. (The weight keeps the wax straight while dipping).
Use the thermometer to adjust temperature as needed for the wax to reach between 120 and 140 degrees F. Hotter than that, each dip will add substantially less wax, and beyond that, you’ll undo previous dips!
Holding the rod (with multiple wicks), dip the group into the canister as far as the canister will allow. (You can see my candles are shorter as my canister is not super tall).
Place on the dryer station, and let cool for a couple minutes between dips.
Replenish the wax as needed.
When candle achieves the right size, let cool completely. Then cut off the excess drippings from the bottoms (and toss back into the wax pot).
Enjoy your hand made treasures!
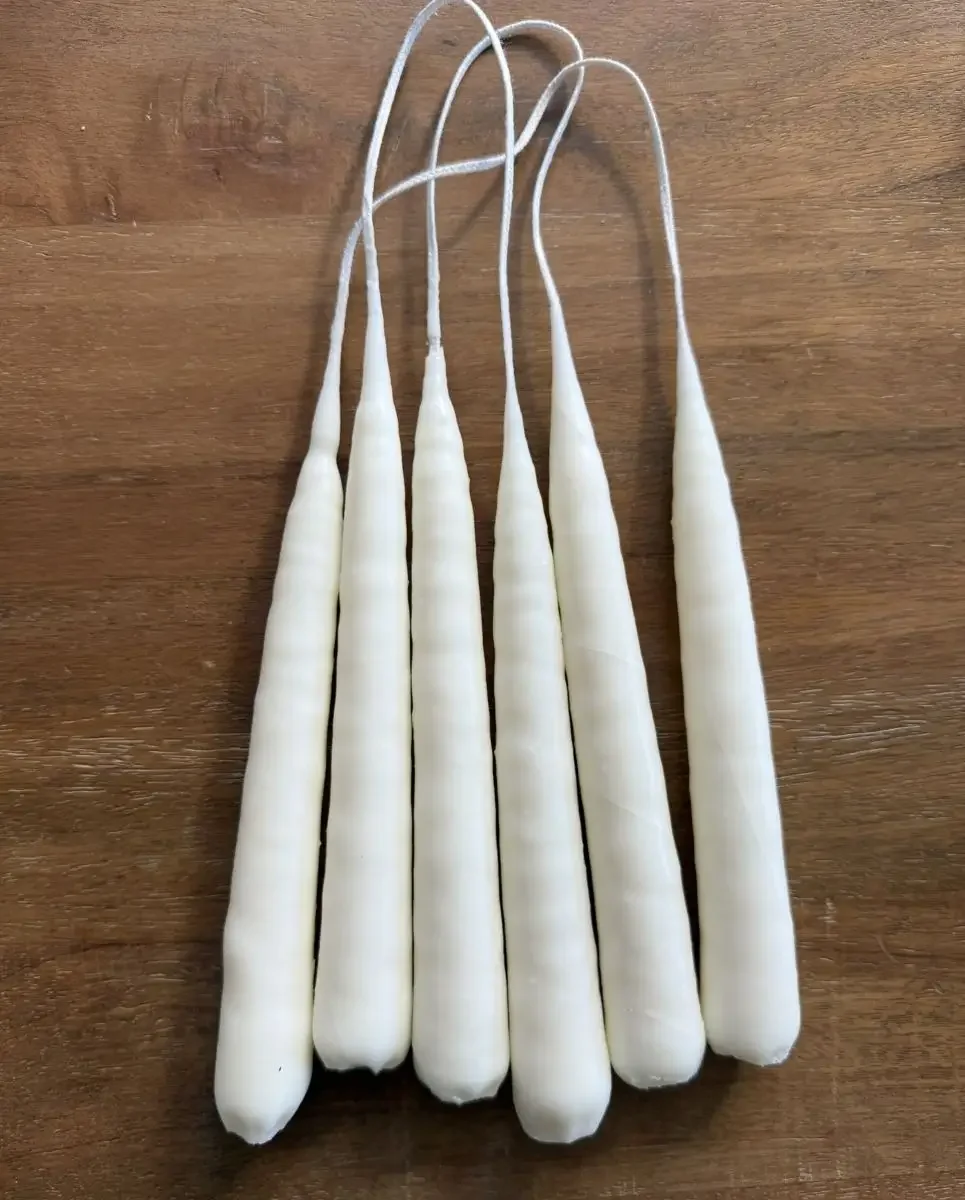
Related Goods (to shop the look:)
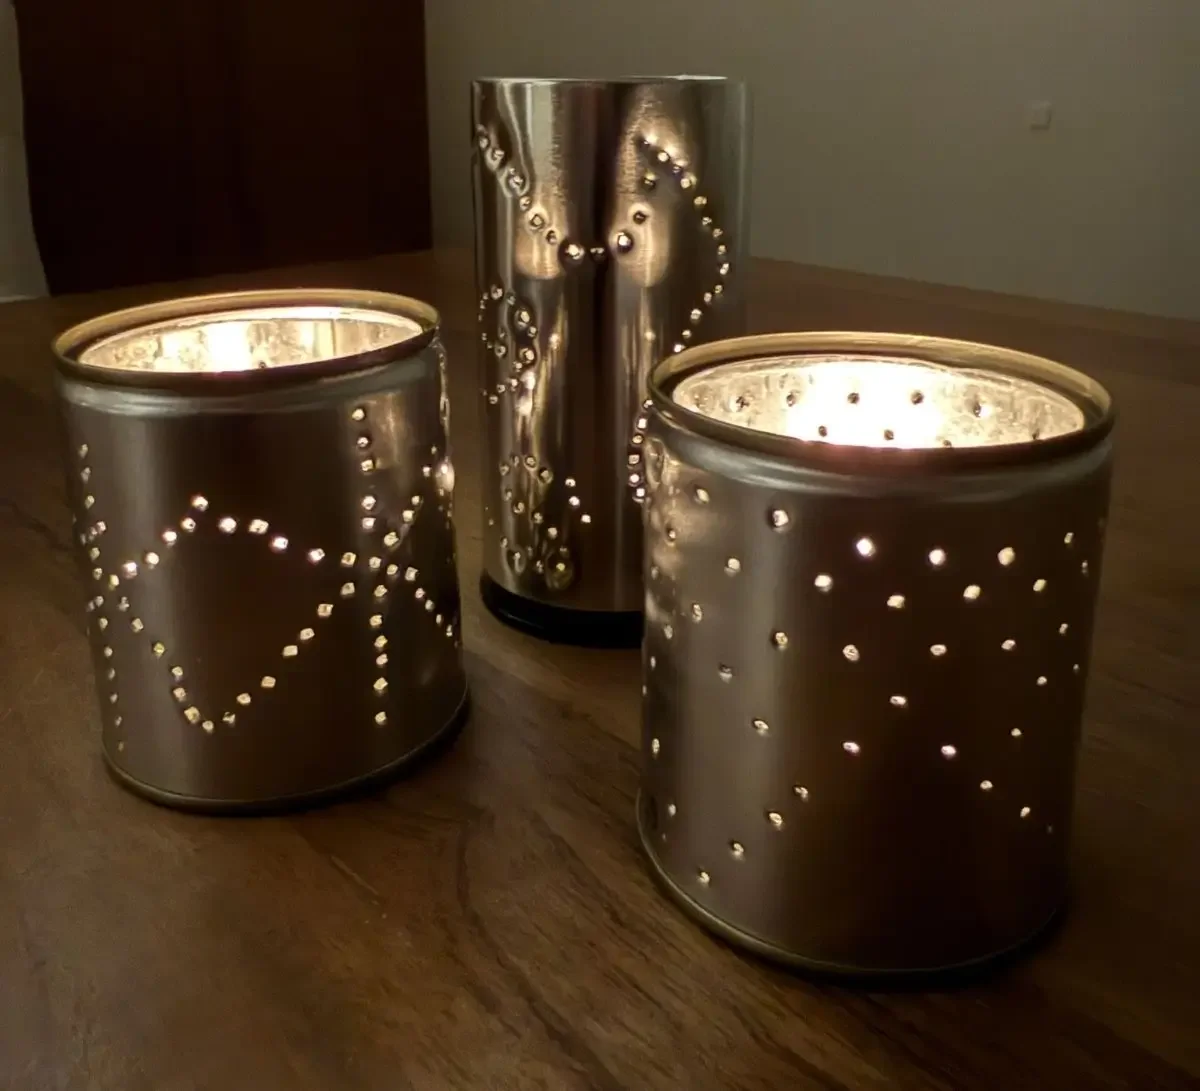
2 | Make a Punch Lantern
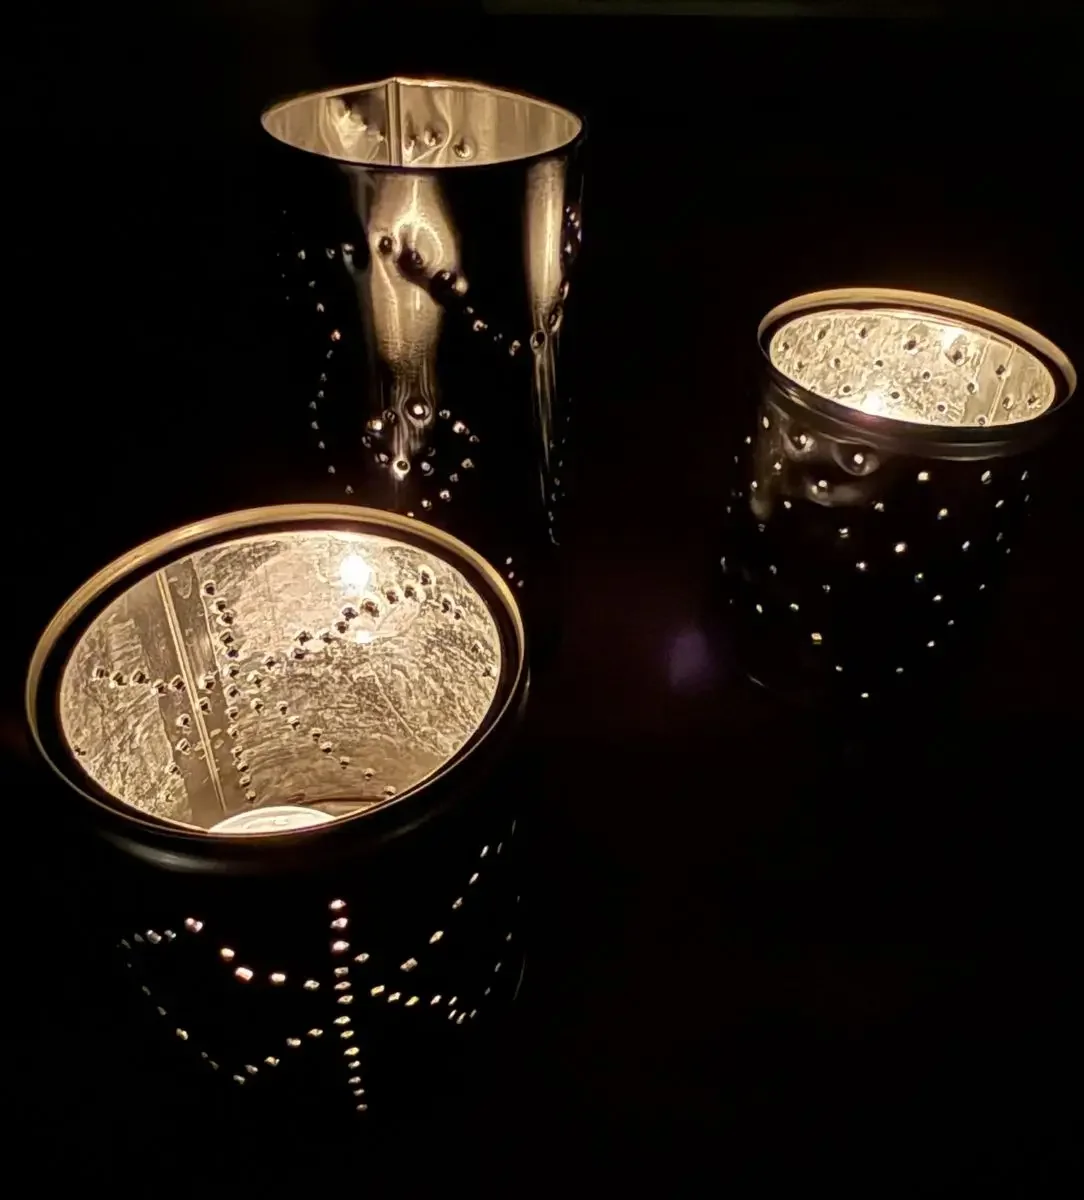
A magical way to enjoy dancing candle light
Supplies:
Smooth (non-ribbed) metal canned goods
Large nail/s
Hammer
Towel
Water
Gloves (to handle the frozen cans)
Safety goggles (optional, but never a bad idea)
Directions:
Choosing the right materials
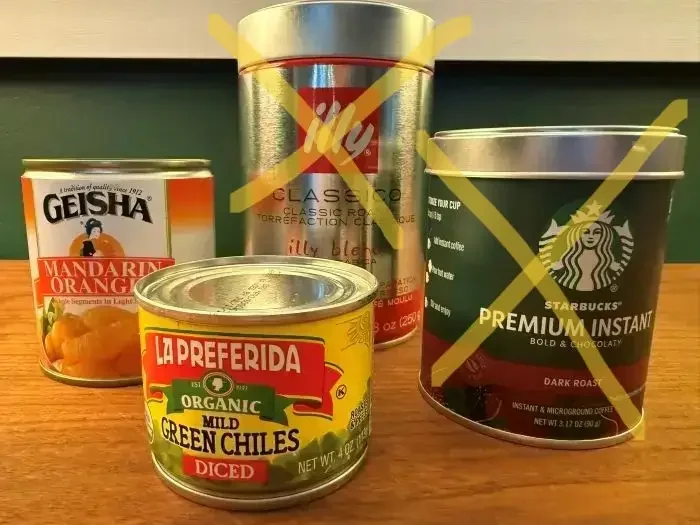
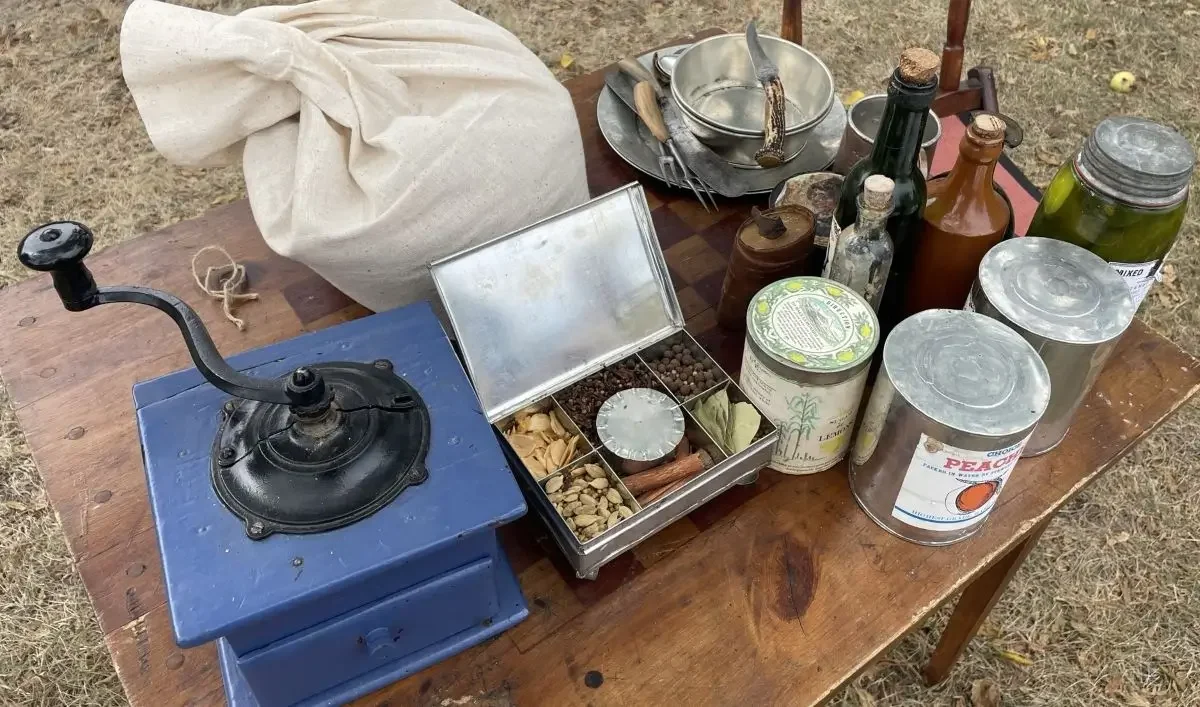
I find using smooth cans a much more pleasing outcome than ribbed cans. The goal is to look like something authentic to the 19th century, not something that came off a manufacturing line.
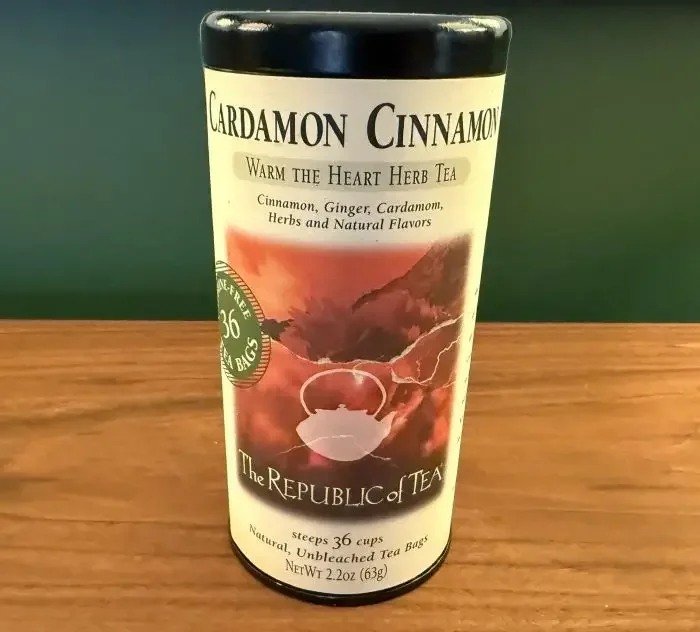
I’ve searched for the best options for this and recommend 3 products- see image to the left.
Peel off the labels. Each of these brands’ labels come off easily,
Watch out for smooth, metal canisters that look perfect (higher end coffee bands like Illy and Starbucks have beautiful containers but the labels are screen printed directly on to the metal, so you can’t remove the label).
(If needed) If there’s any remaining adhesive residue, that can be removed using Goo Gone or similar product.
Freeze
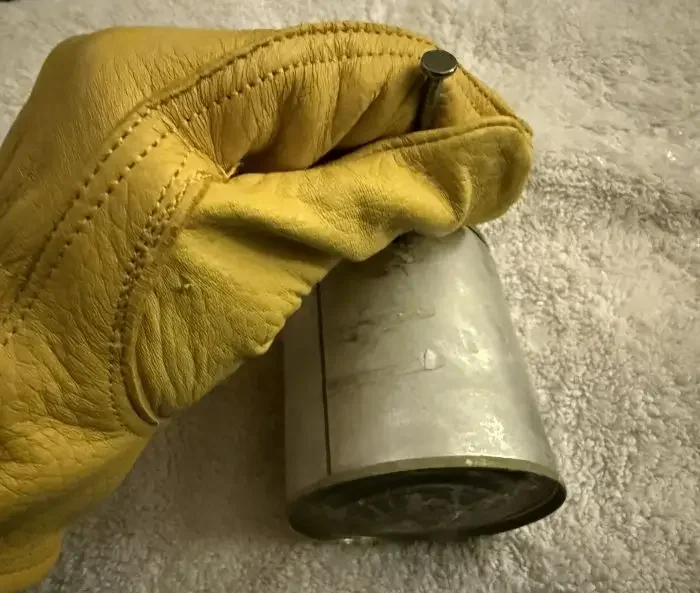
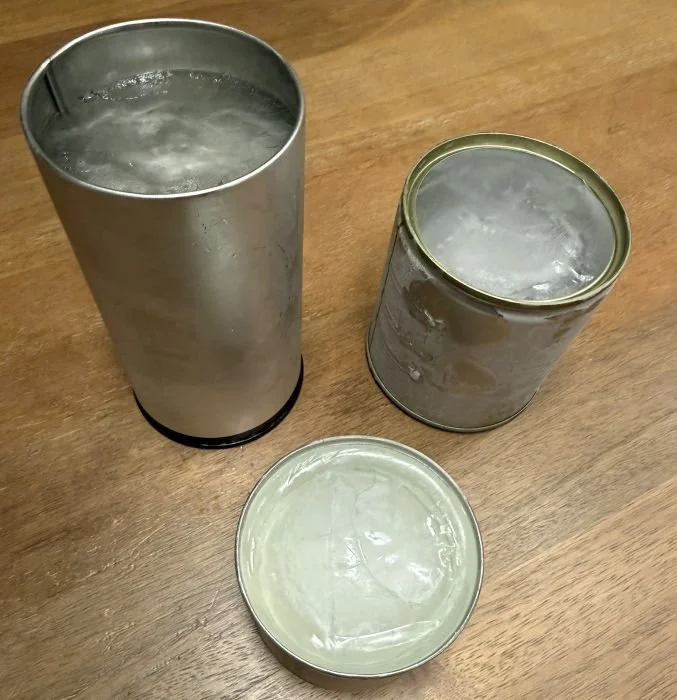
Fill your container/s with water to the top, and put in the freezer.
Punch
Layout out a folded towel on your working surface (to protect your surface from the punching and metal rubbing, and also to absorb moisture as the ice thaws.
Decide the pattern you want to achieve.
Place the can on it’s side, on the towel.
Gently place a nail against the the metal, and lightly tap using the hammer, until you achieve the desired size hole.
Continue on with your pattern until complete.
Insert tea or votive candles and appreciate the light show!
To shop the look:
(If you want the look without the project)
3 | A Simple Pantry
Clean organization for encouraging clean, real eating
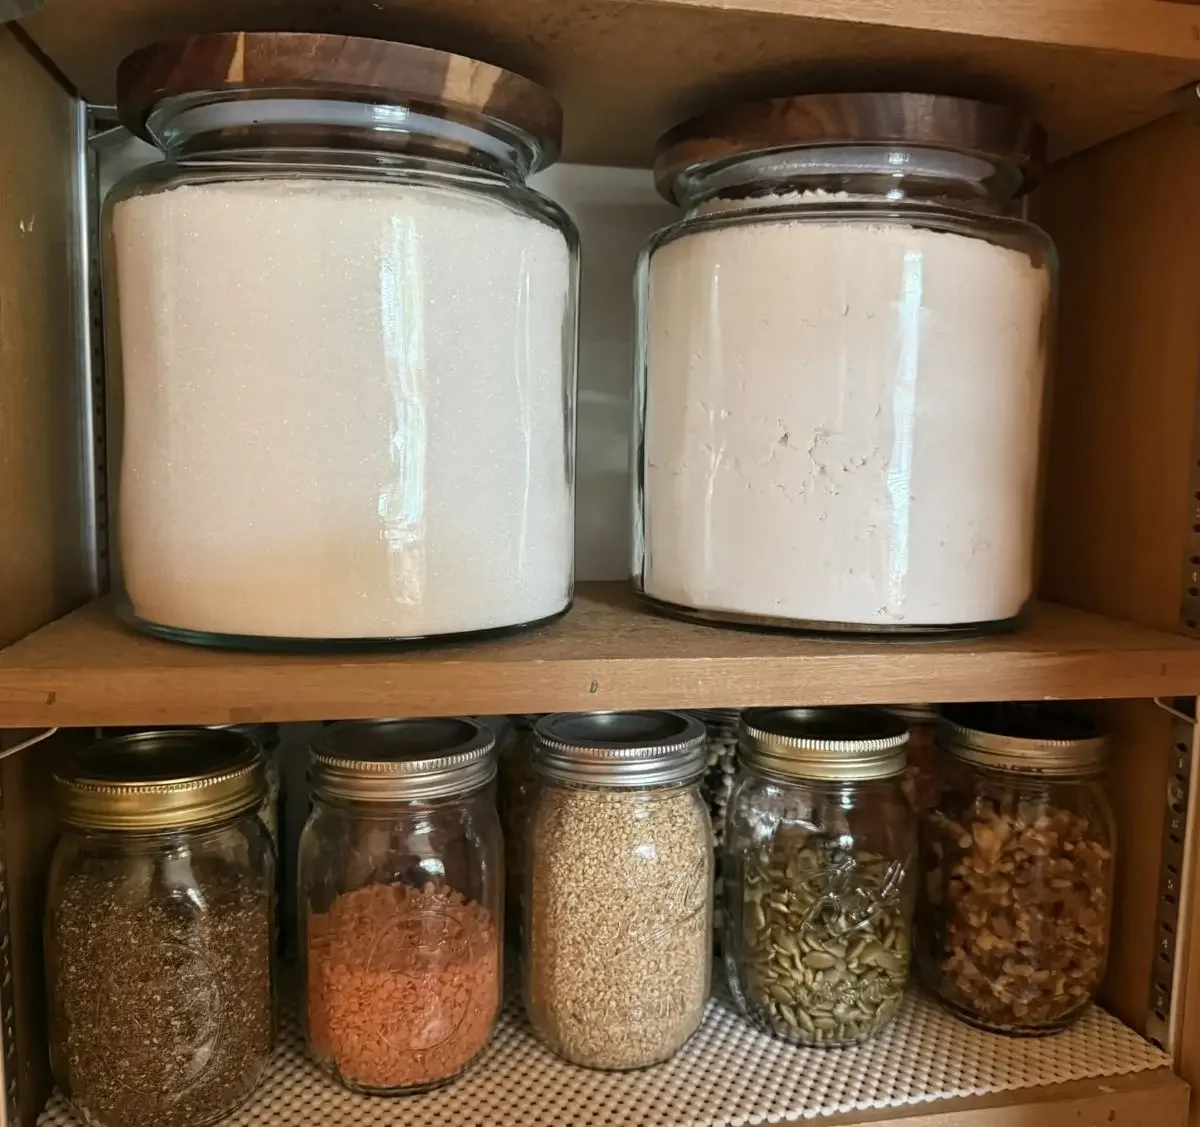
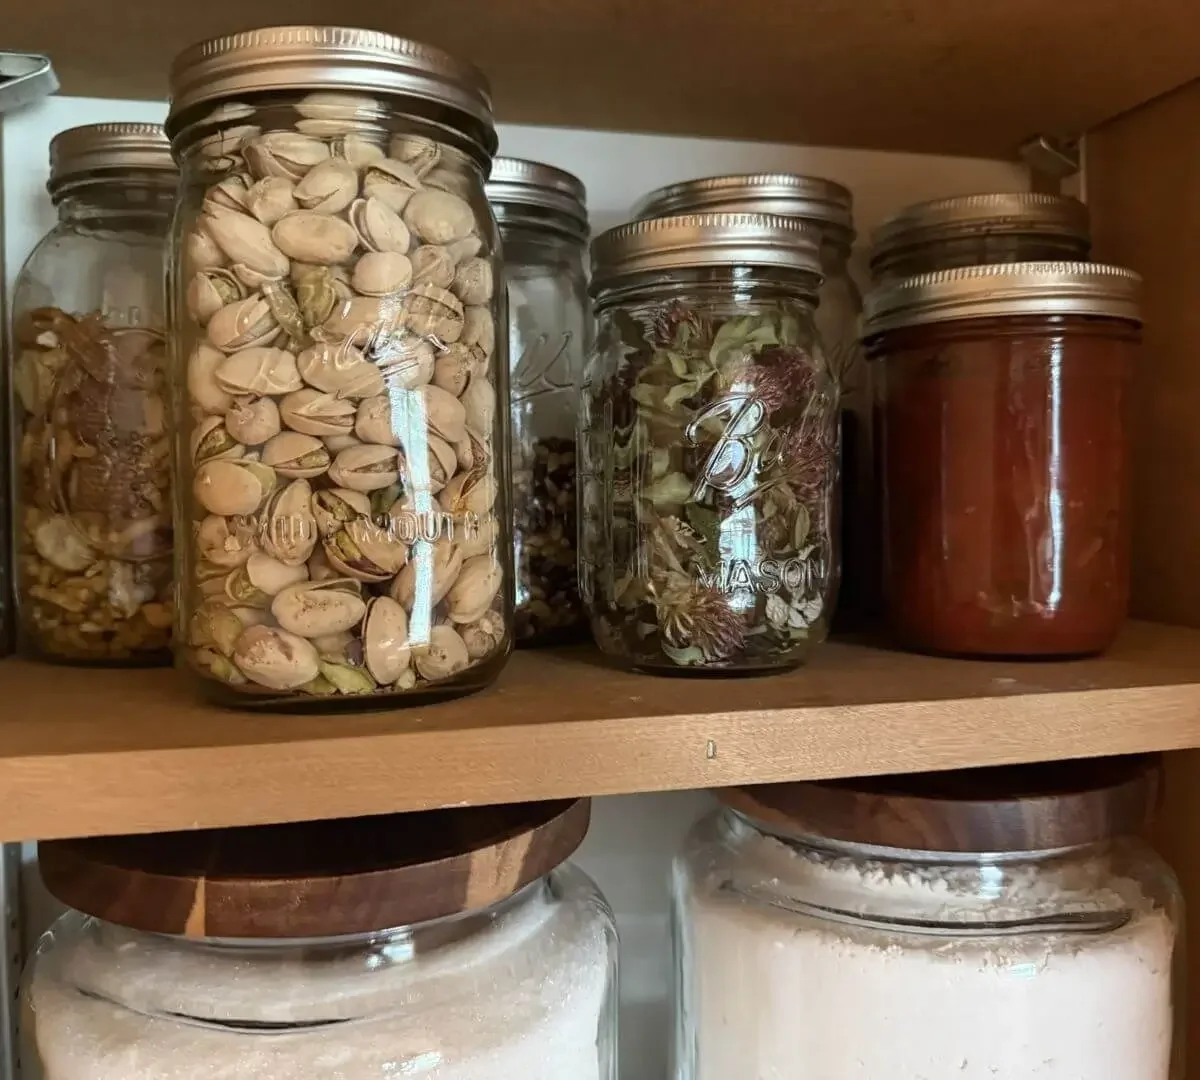
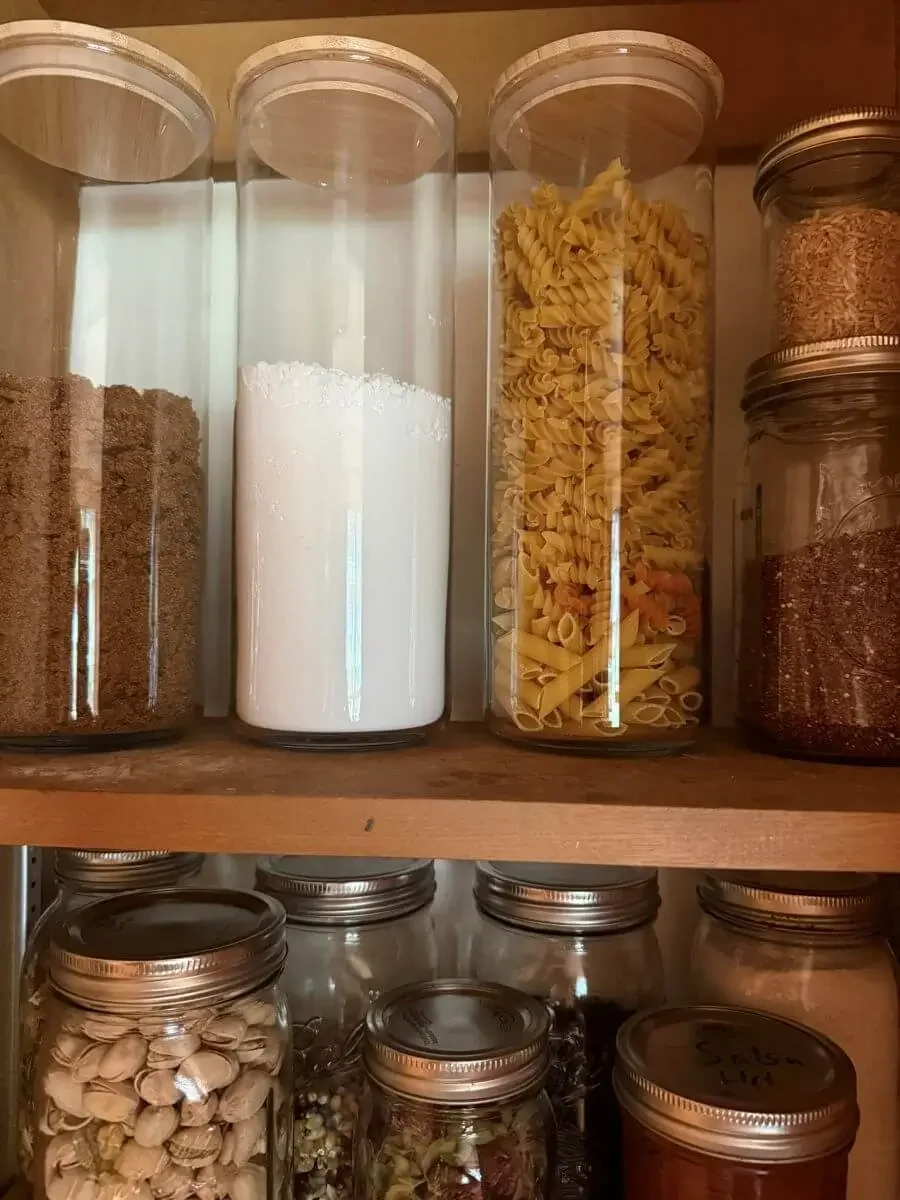
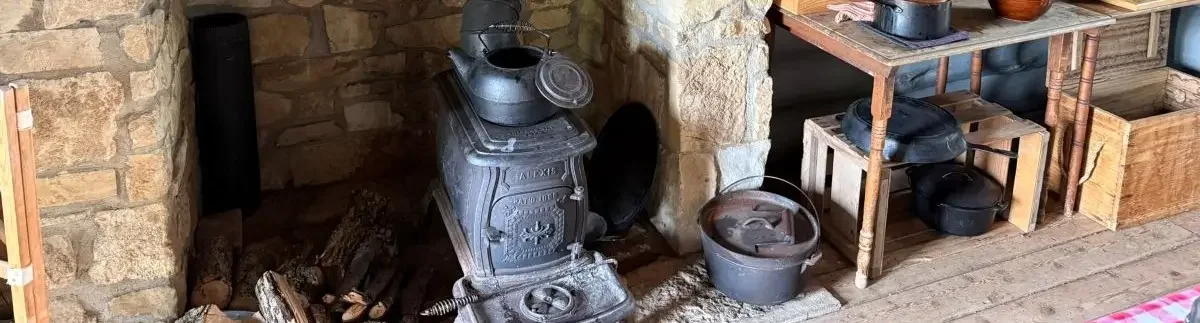
The appeal of living in a simpler time is partly about the zen of less chaos. Fewer options, less waste, real food, One way to embrace the sensibility of lower lifestyle is to create yourself a pioneer kitchen.
The goal is to create a calming, functional, and easy-to-see method of organizing and storing food. By removing packaging, and storing goods in clear, glass containers- you can instantly see what you have, have much, and without the constant marketing in your cupboard. It becomes a lot easier to resist the temptation of processed foods without the idealized image on the packaging, also helping to return to real food and a time when that’s all there was!
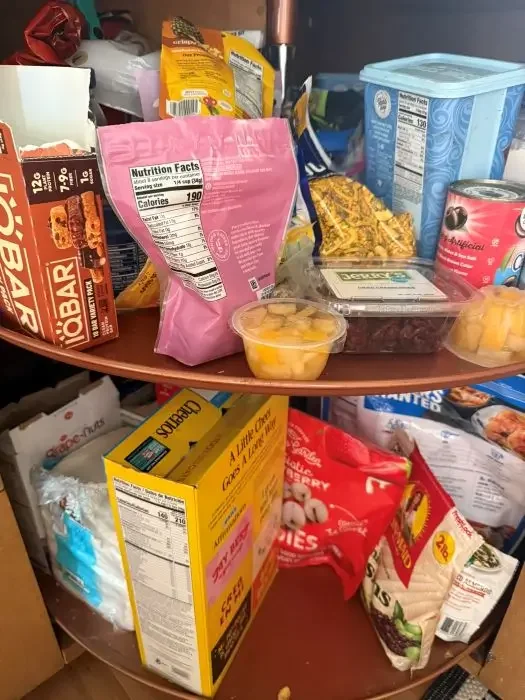
Before:
Supplies:
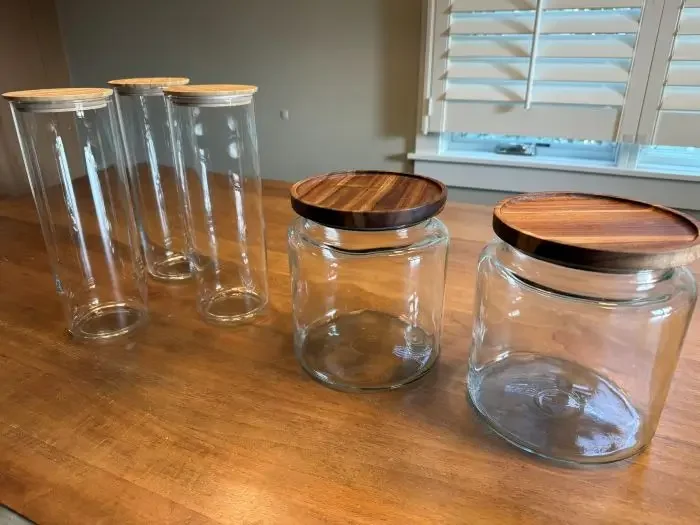
Glass mason jars or glass containers (large)
Directions:
Determine how big of an investment you want to make and what foods would functionally work for this system.
For example- do you want to focus on one type of ingredient- like baking goods and spices, or do for most dried goods? Will it be worth the effort to transfer cereals and pastas, or does it make more sense for you to focus on raw ingredients? There’s no right way- it all depends on your preferences and cooking and eating style.
Go through your cupboards, purge, combine, and feel the sense of relief!
After:
4 | Foraged Winter Arrangements
Gorgeous, found nature
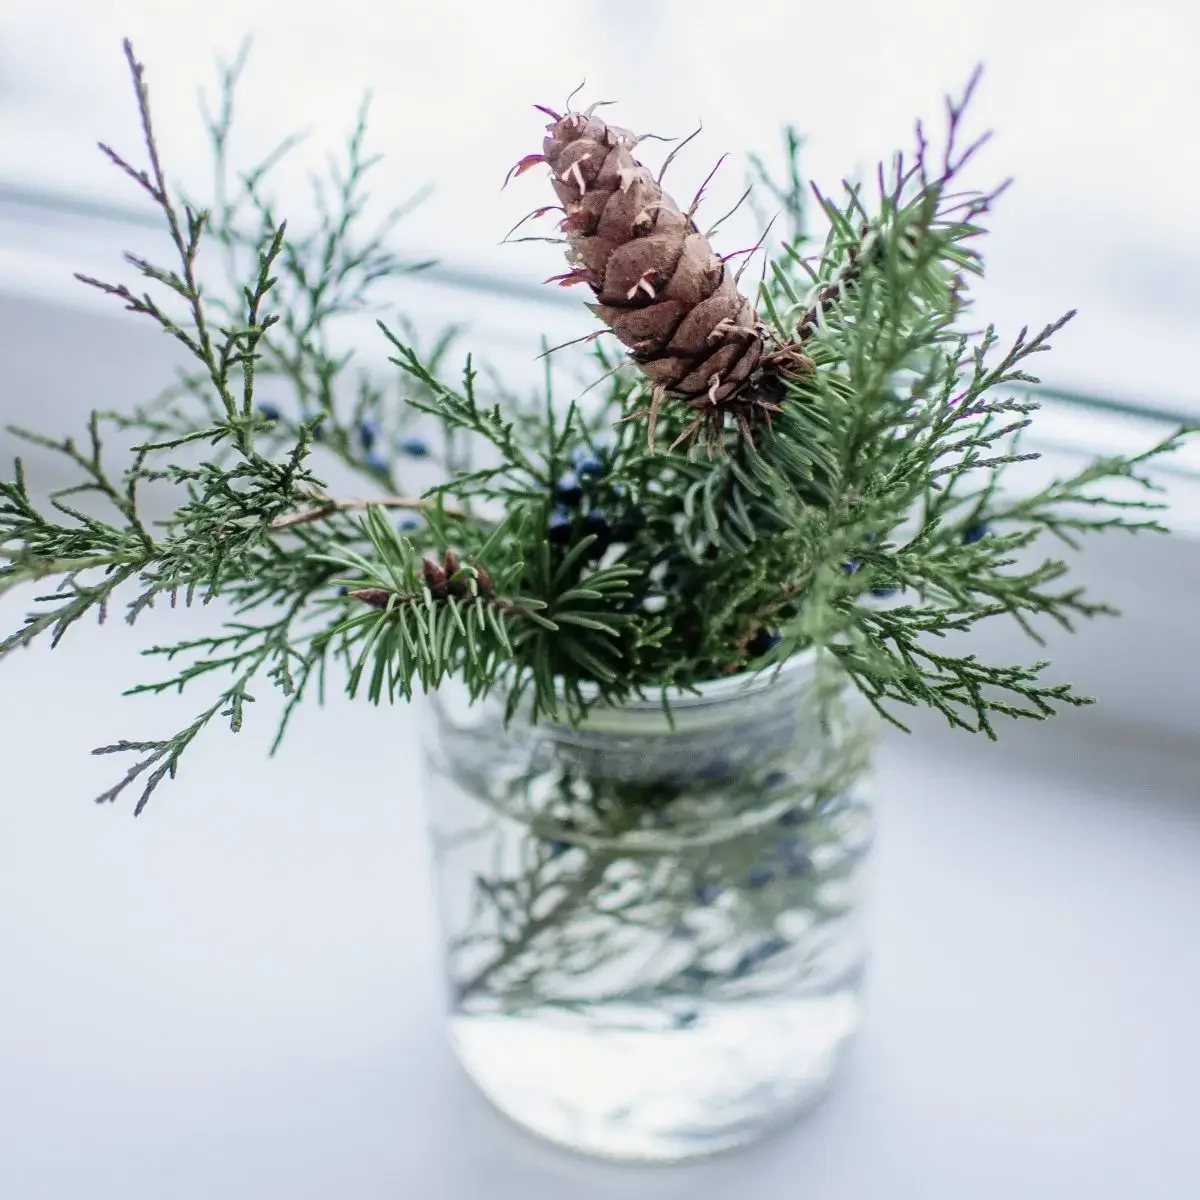
Nineteenth century decor often was focused around the natural world - appreciating the beauty of nature and simple found organic objects as worthy of collection. In pioneer camps, small encampments, and homesteads- found natural prizes were often the only thing available.
This winter, regain an appreciation for the simplest of joys, the most humble of offerings the barren season has to offer. You’ll be surprised at how much it still brightens your table, fragrances your room, and reminds you to slow down and be thankful.
Supplies:
Remnants of nature, found where you live
Hint: This doesn’t need to be just seasonal! Enjoy throughout the year regardless of the temperature.

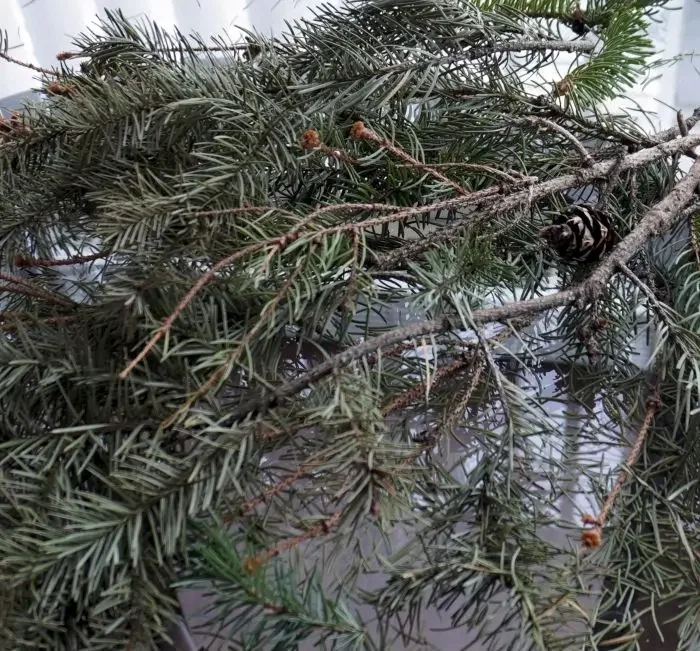
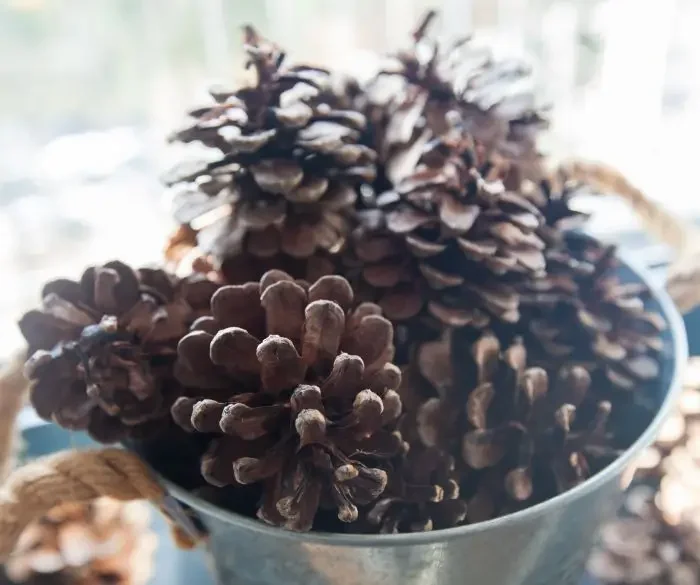
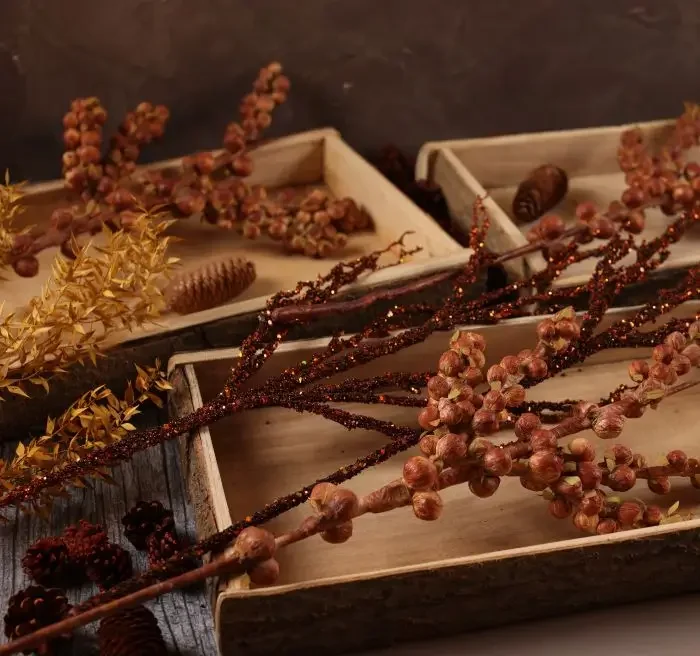
Tips for bouquets and arrangements:
Aim for contrast- in colors, textures, shapes, or materials.
Odd numbers are ideal- for example- 5 stems, 7 pinecones.
Off balance is ok, and even preferable. A perfectly equal arrangement looks boring, or even odd- since nature is anything but orderly.
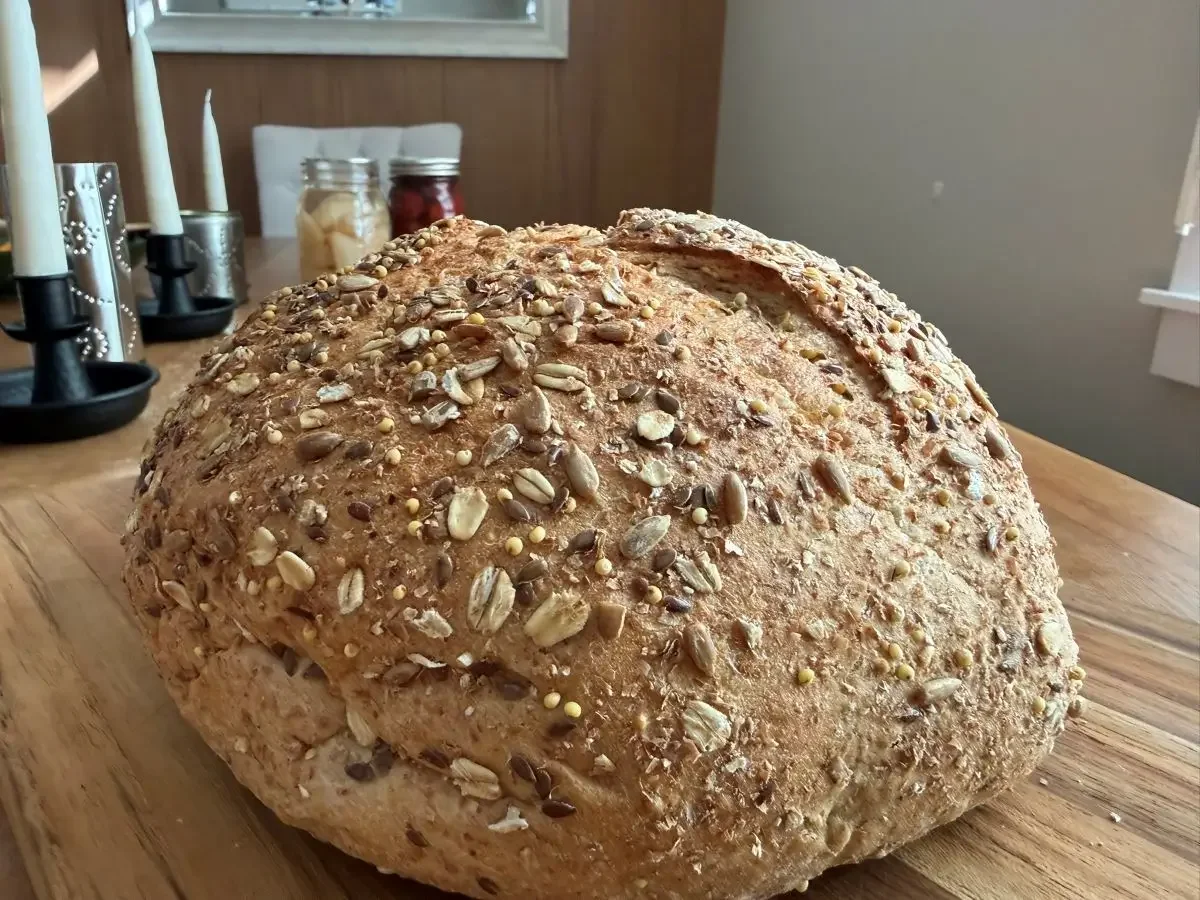
5 | Bake Bread
If comfort has an aroma, this is it
There are thousands of bread recipes out there, so I won’t try and provide the perfect recipe here. Find your favorite kind of bread you buy, and learn how to make at home. Maybe you have a family recipe, or a new style you’ve been meaning to try one of these years.
The important thing is to enjoy the process, and give yourself grace if it doesn’t turn out perfectly this first time. It will someday!
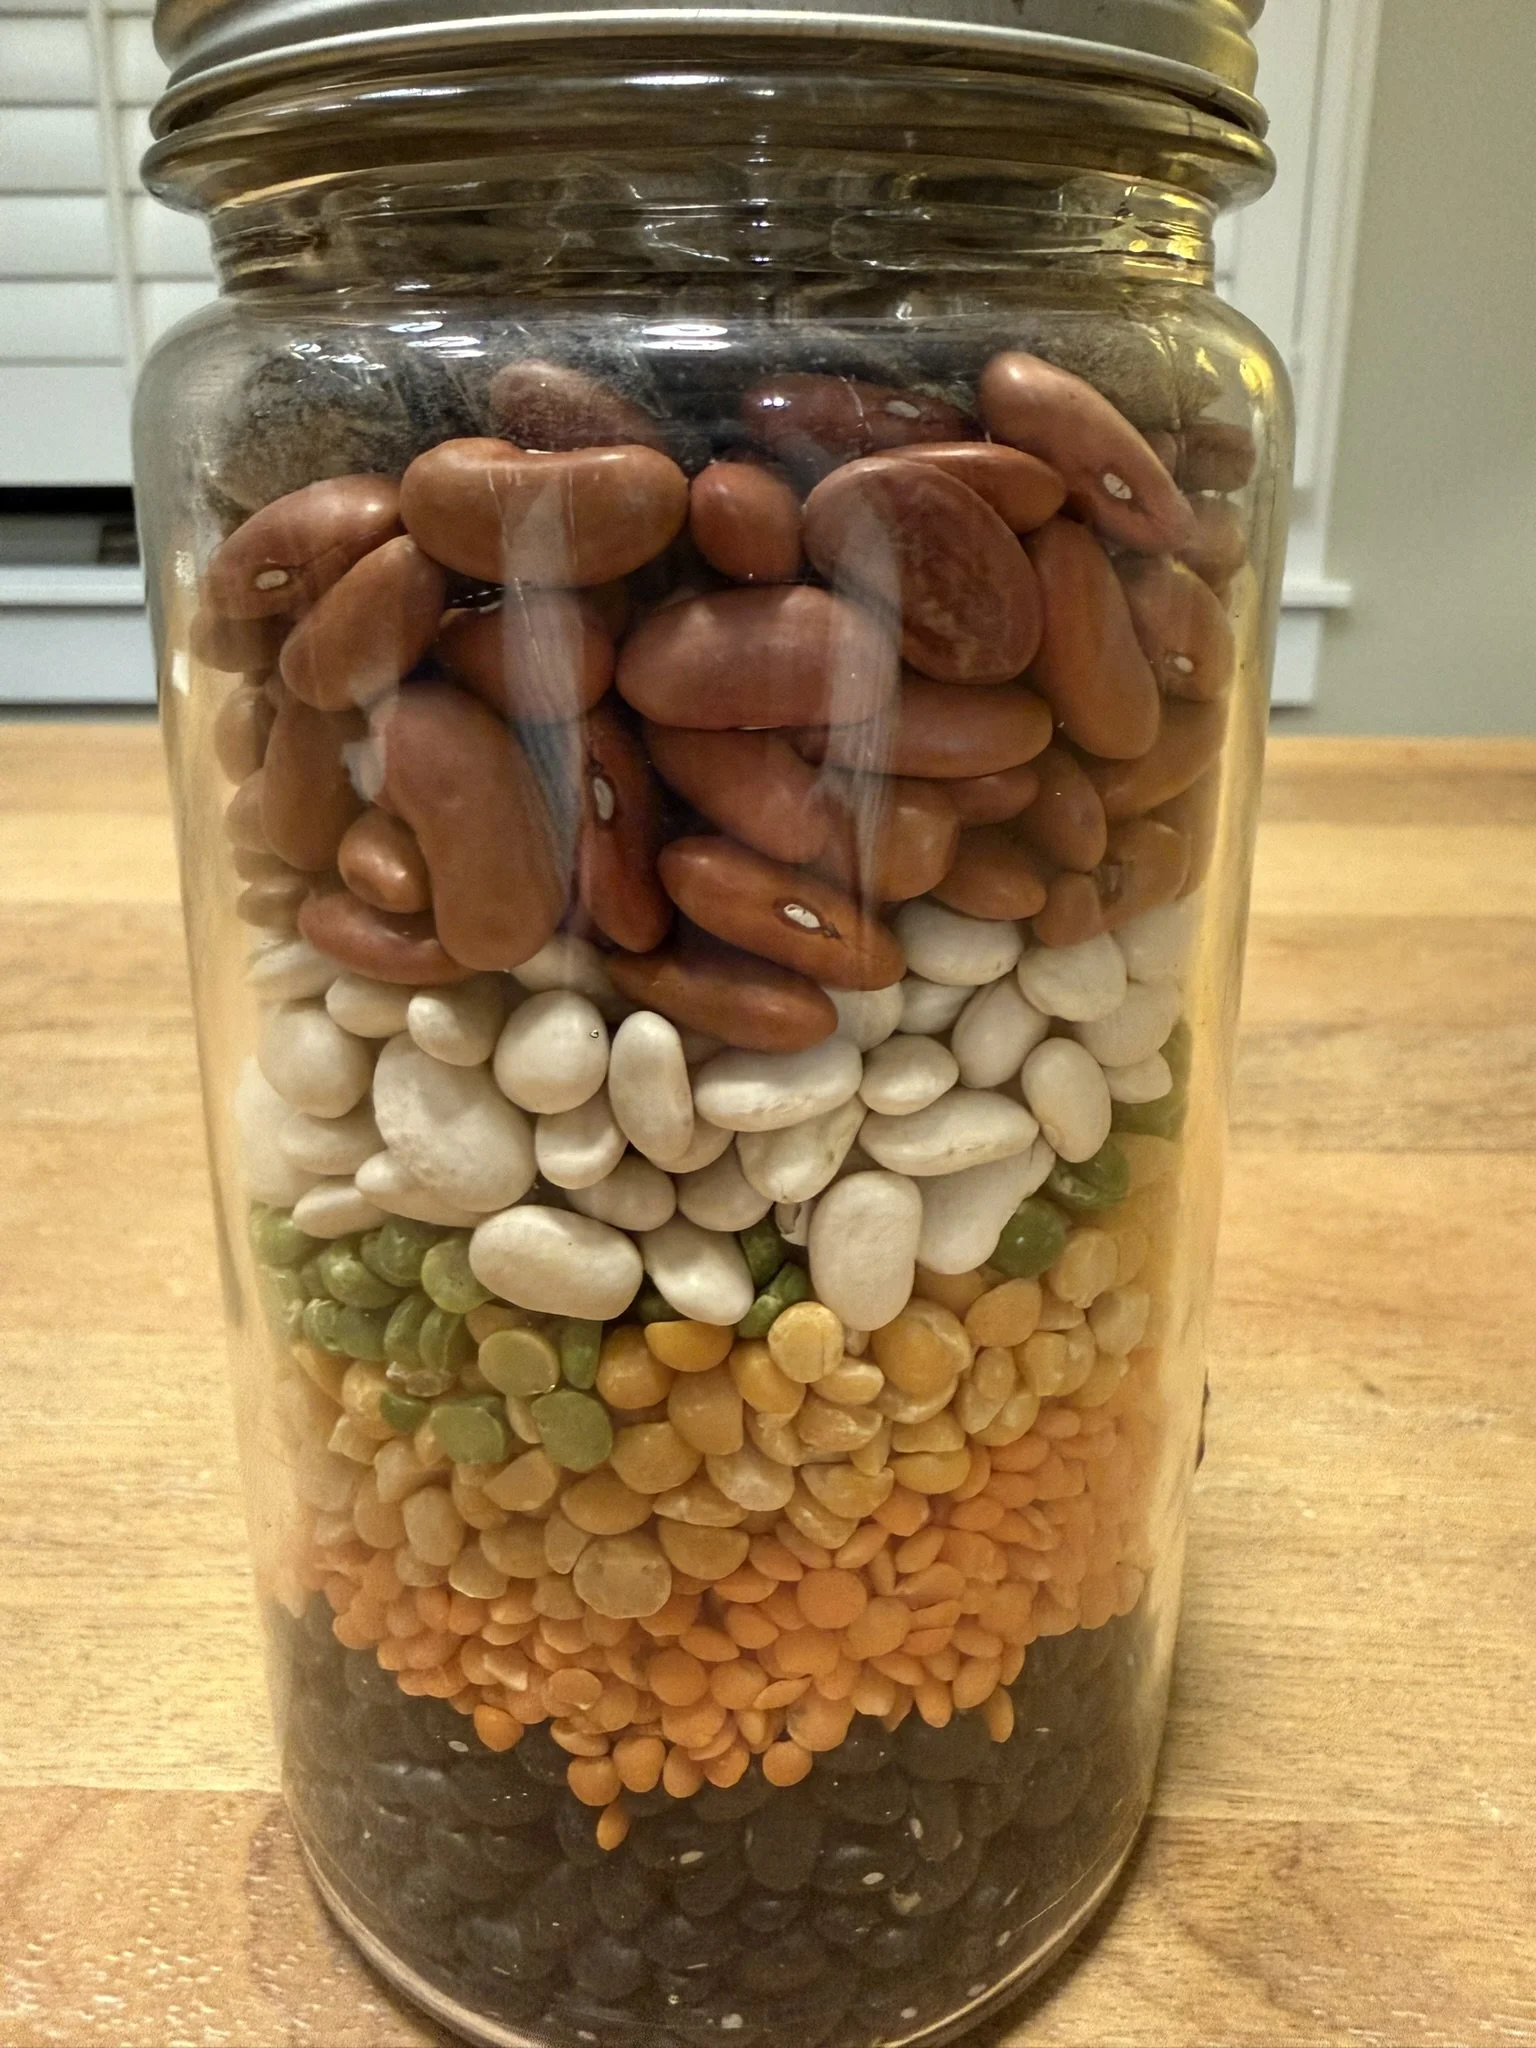
6 | Preserve the Harvest: Dried Soup Mixing
Stocking up goodness for the long winter
Homesteading on the frontier meant eating by the seasons, and preserving the summer and fall’s bounty for the long winter ahead. Vegetables, fruits, squash, legumes, and starches, and meats had to be preserved to keep food on the table until the next season’s harvest.
Here we honor that tradition and prepare for winter’s dinner table by gathering ingredients for nourishing soups- either for your own pantry, or as a gift. Many recipes can be modified to store dried as we are doing here, but below are two recipes to start.
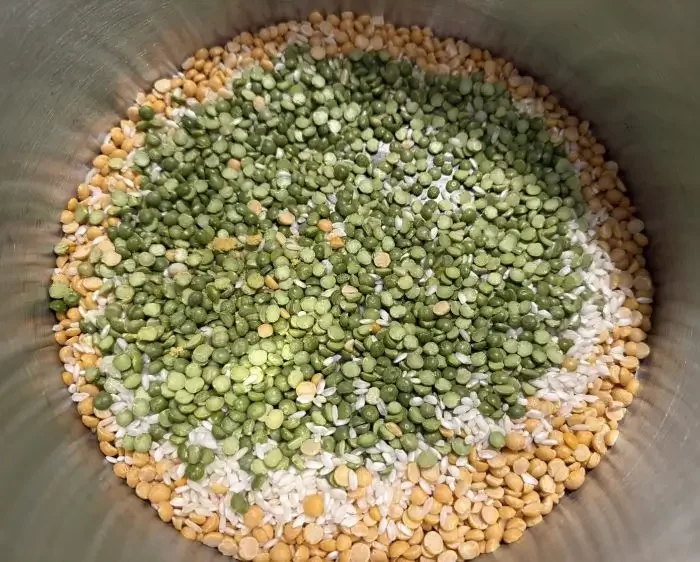
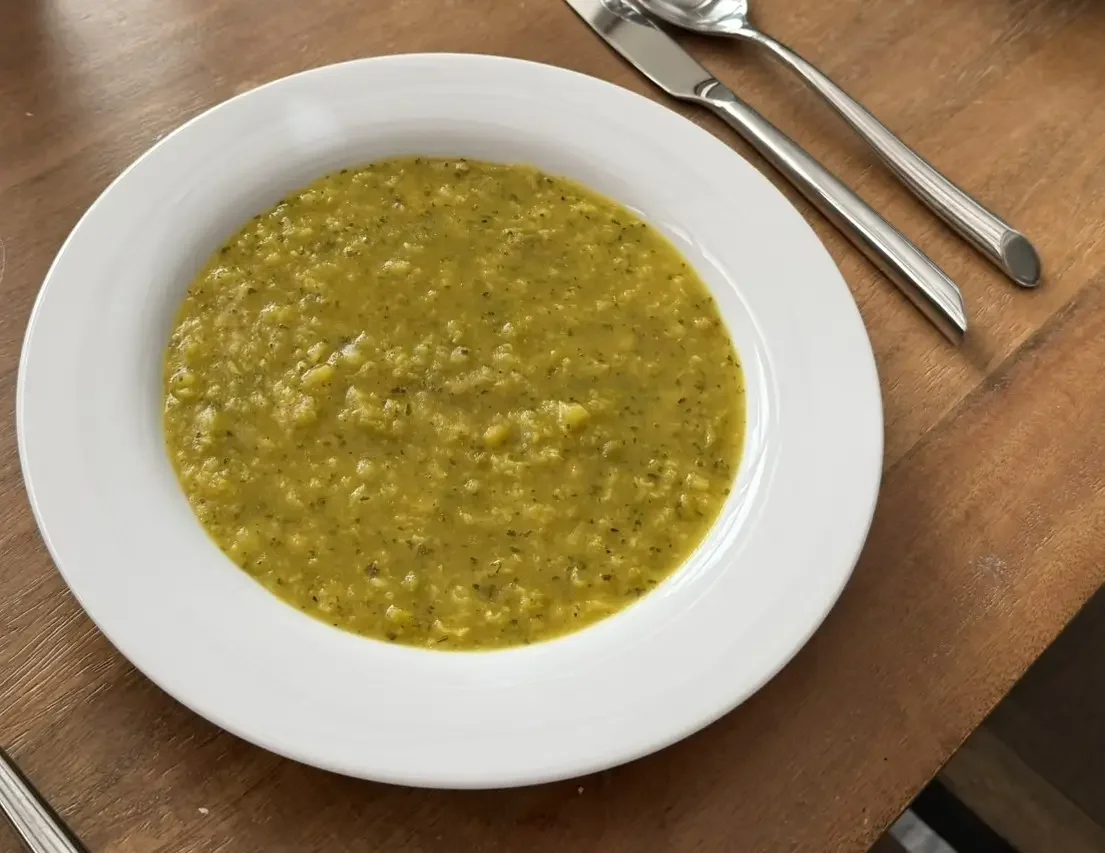
Yellow Split Pea Soup
Ingredients
¾ cup Split Green Peas
½ cup Split Yellow Peas
½ cup Rice (any kind)
2 Tbsp. Vegetable broth powder
1 Tbsp. Dried Parsley
1 ½ tsp. Onion powder
1 tsp. Dried Mustard
1 tsp. Turmeric
1 tsp. Salt
½ tsp. Black pepper
2 Bay leaves
1 Tbsp. Nutritional Yeast (Optional)
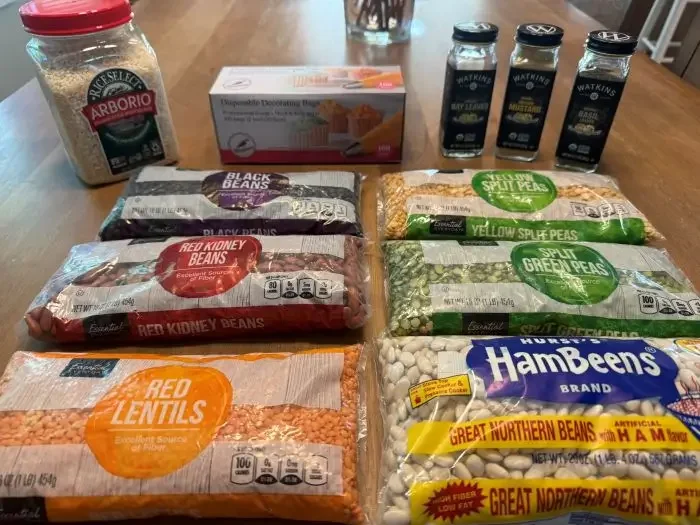
Preparing the Mix:
Add to the jar all ingredients in the order listed above. Screw on lid and you’re done!
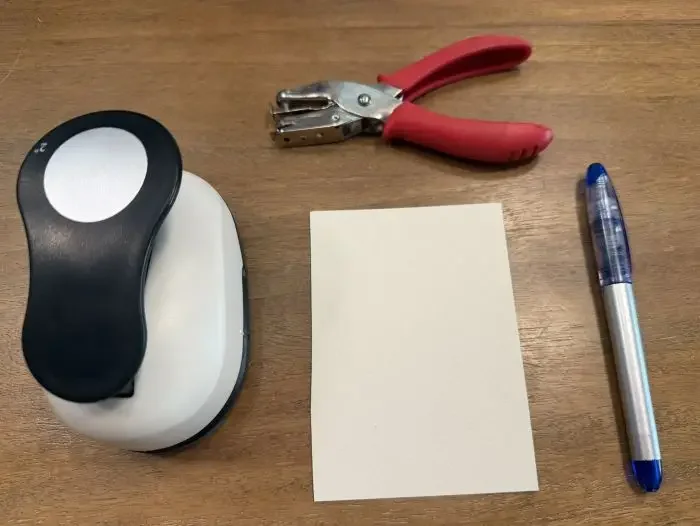
If you’re giving as a gift- create a small recipe card with directions how to use (below). You can make as plain or decorative as you like. Craft paper punched with a hole and tied with string or twine would be very Frontier appropriate.
Preparing for Storage:
For both recipes- start with a clean a 500 ml jar or other container. (Running through the dishwasher is a great and easy way to ensure 100% clean- dry thoroughly).
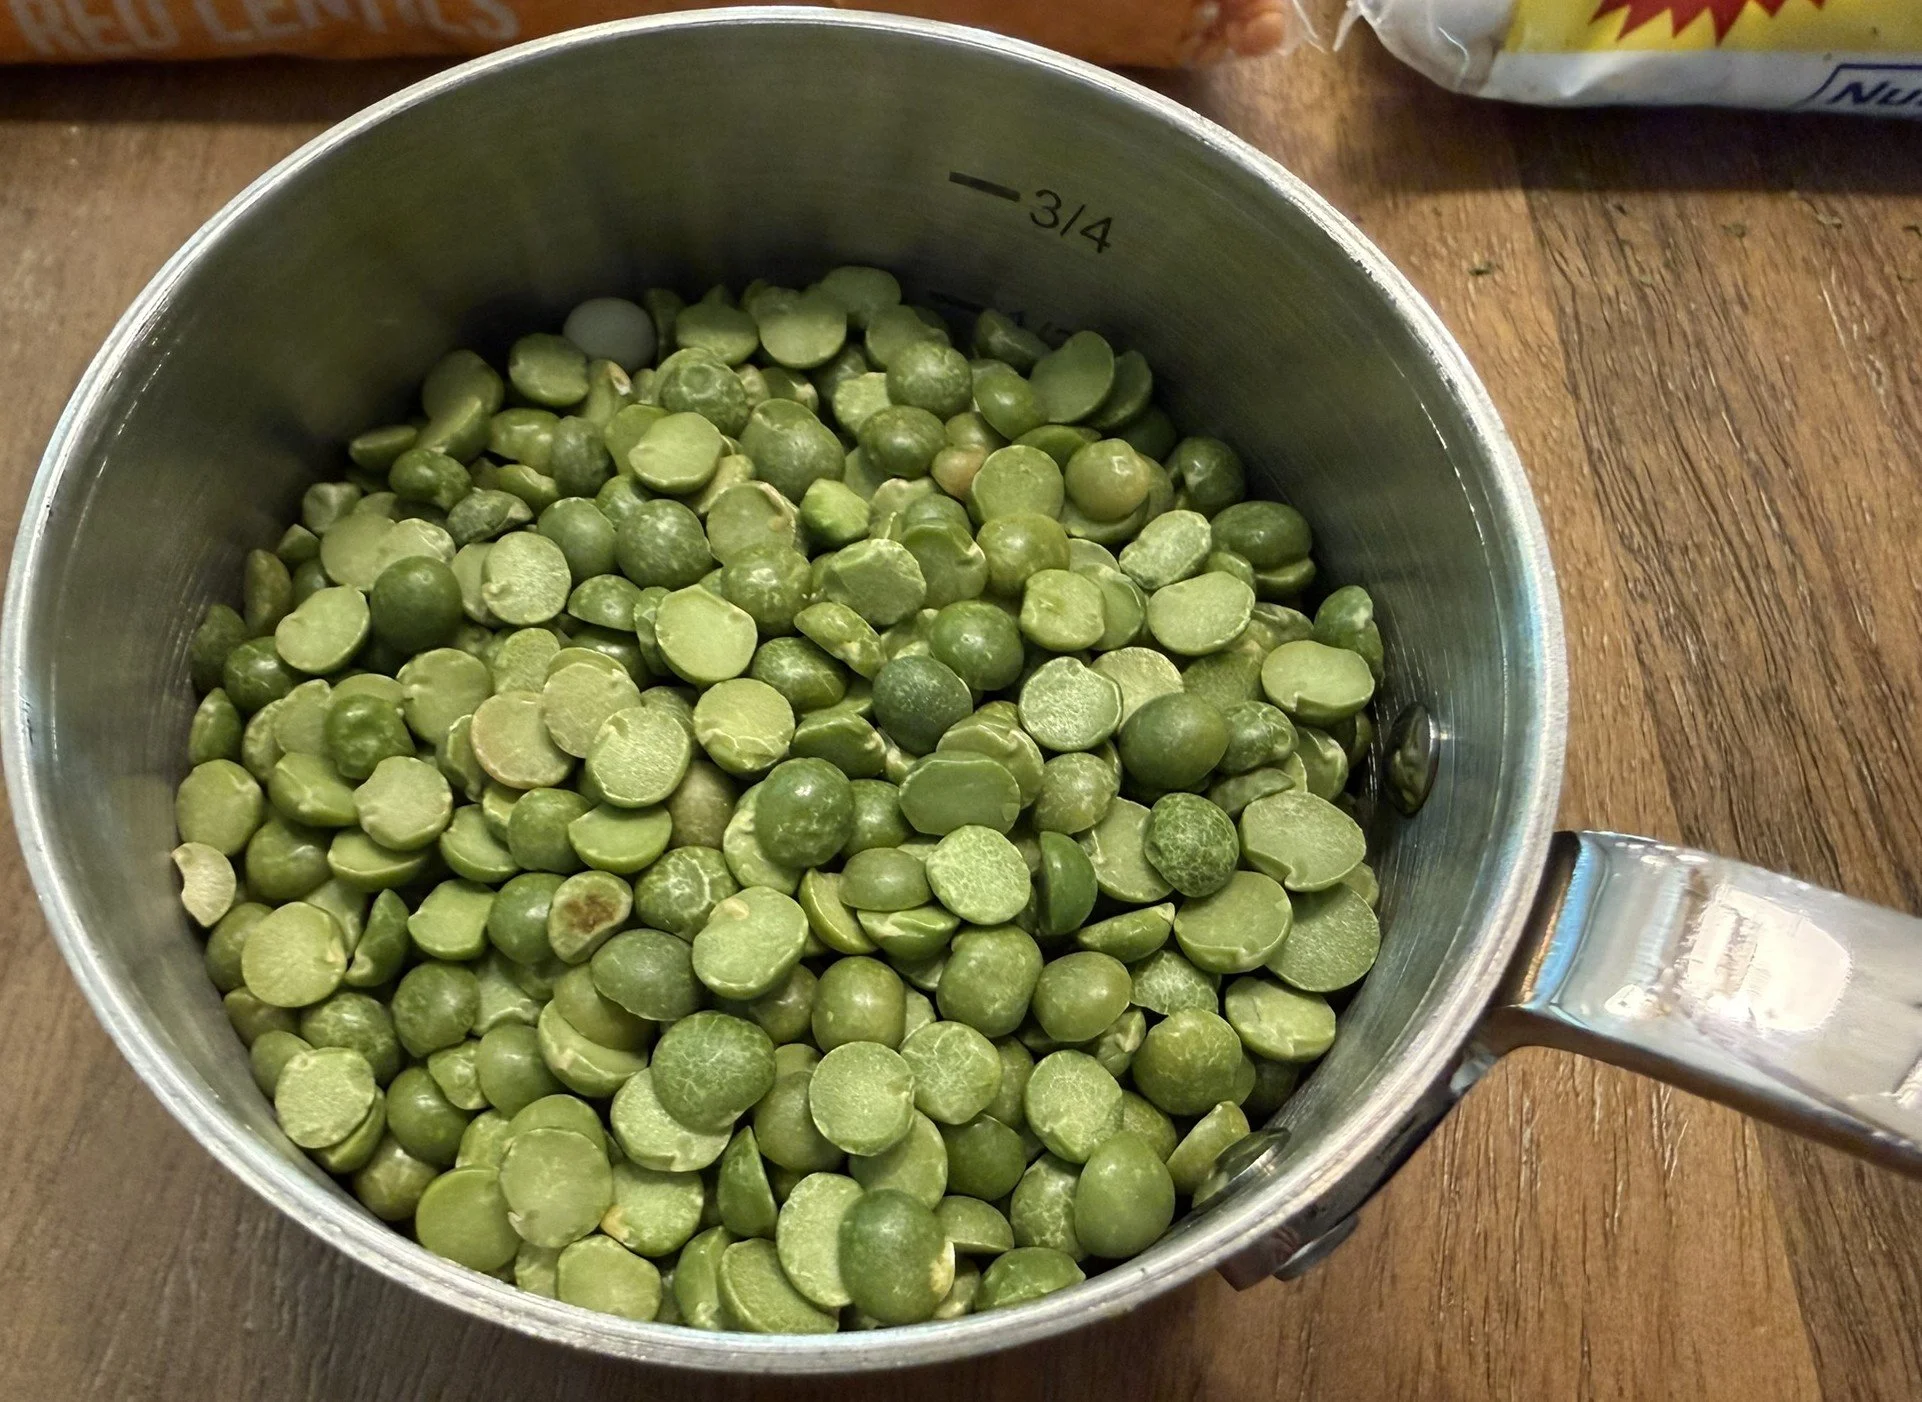
Making Soup with the Mix:
Add to a large pot all the contents from the jar plus 12 cups water.
Bring to a boil and then reduce to a simmer for 60-90 minutes, stirring frequently,
Ingredients
For the Jar:
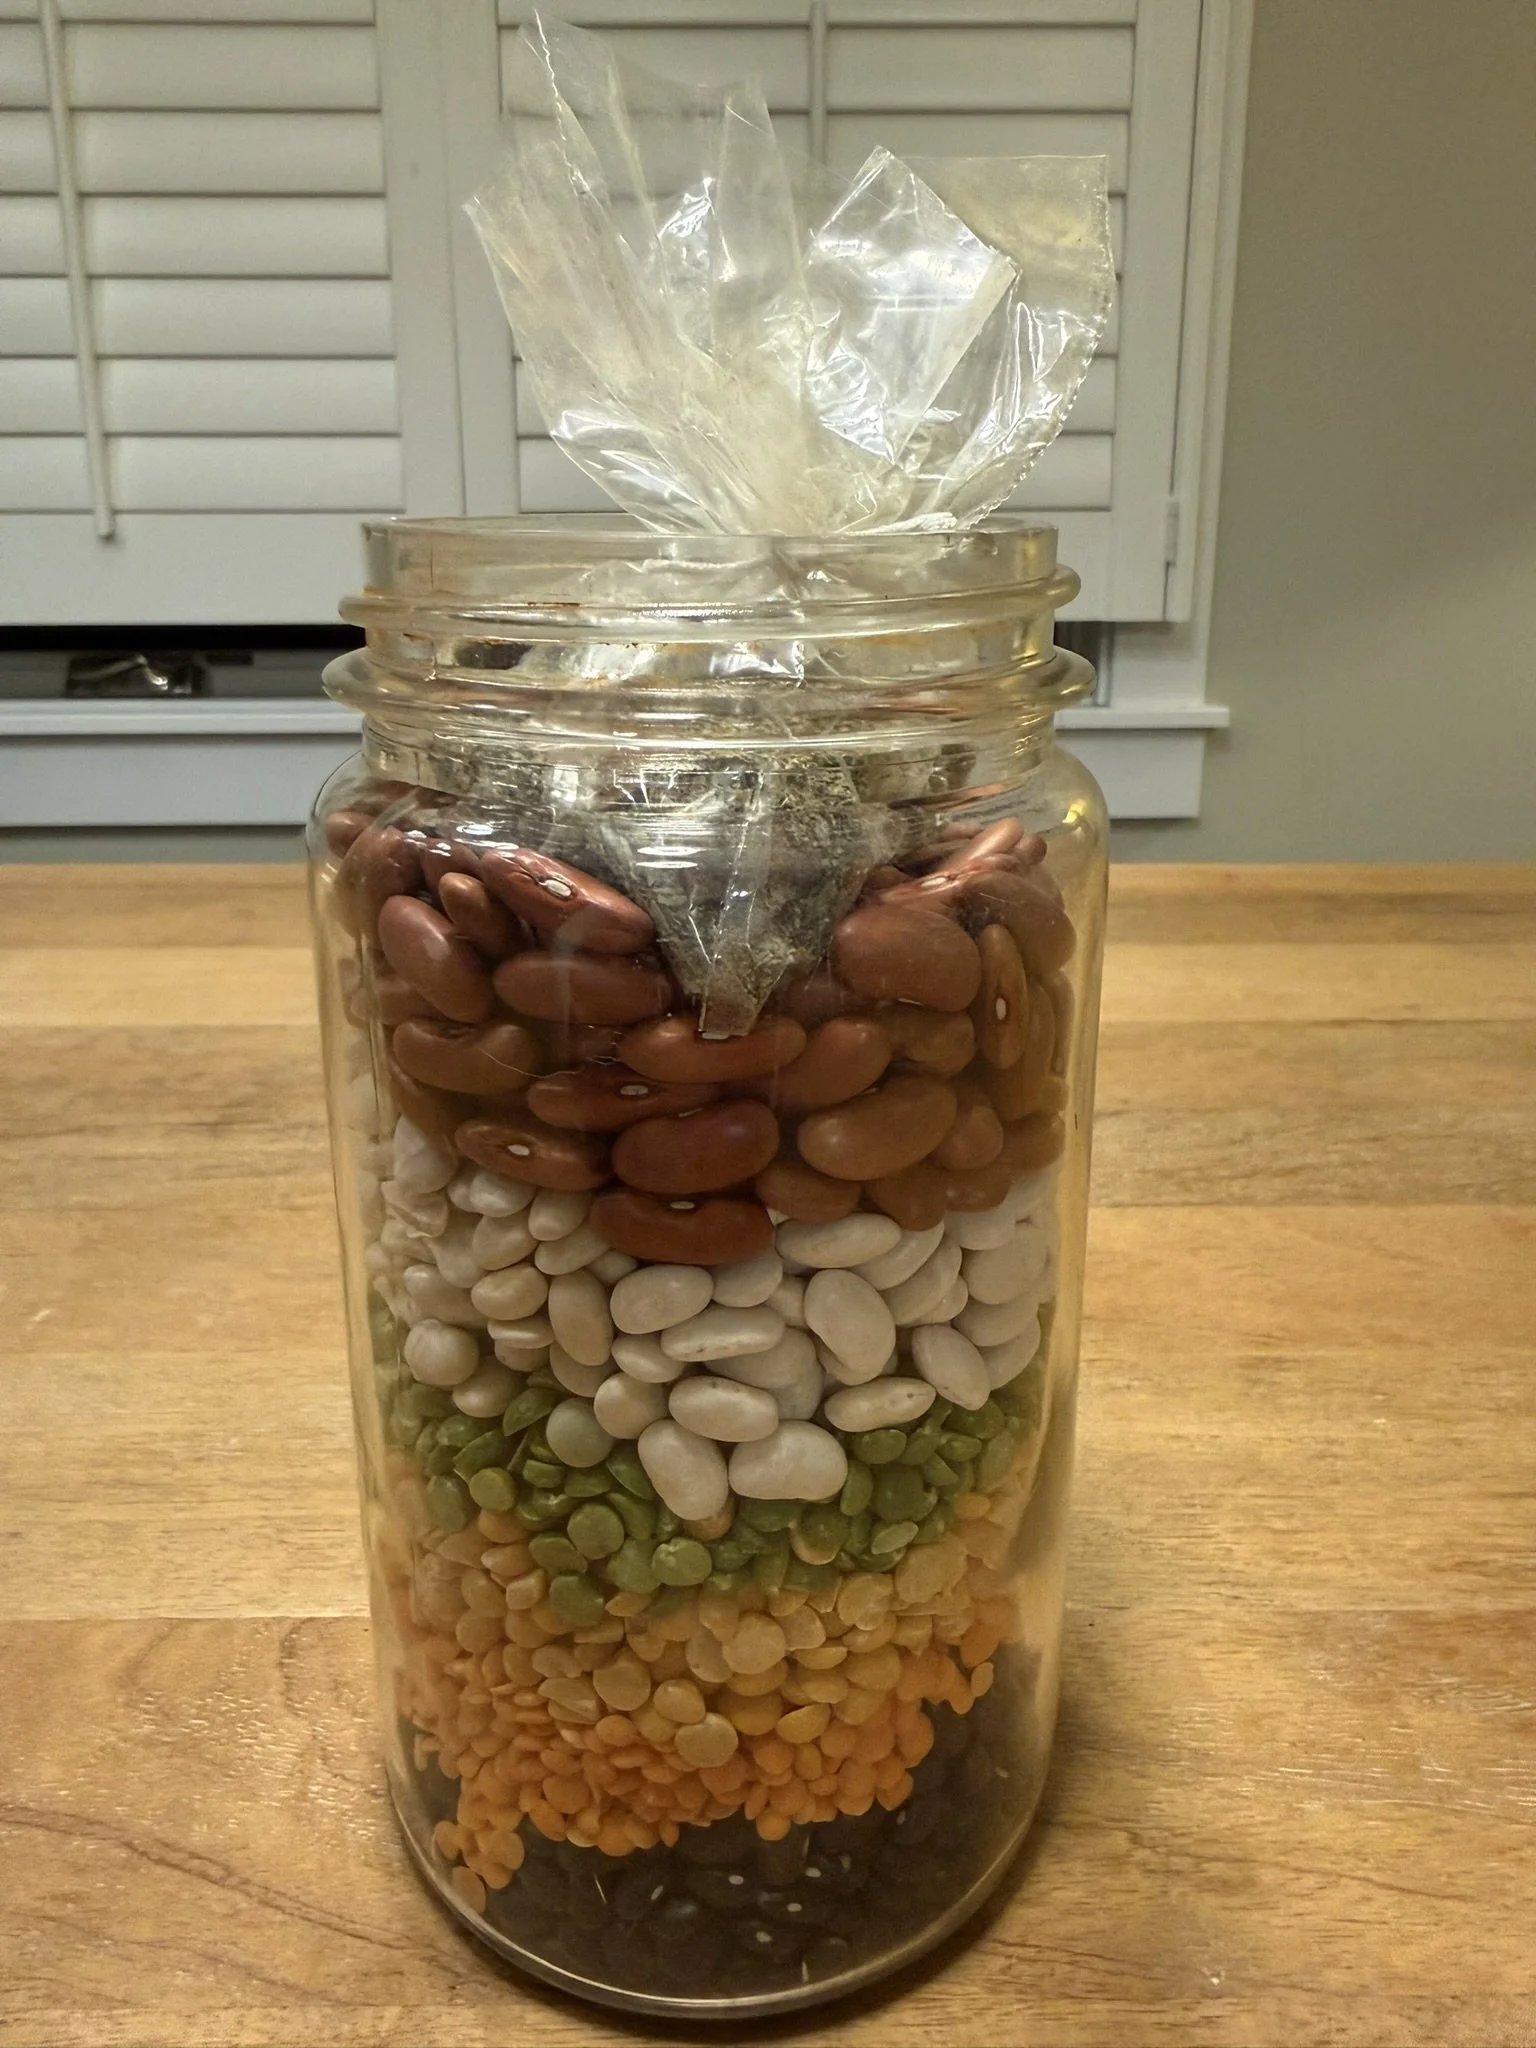
¾ cup Dried Red Beans
¾ cup Dried Great Northern Beans
¾ cup Dried Black Beans
¾ cup Dried split Peas
¾ cup Lentils (any color, but opting for red, orange or yellow brightens the happy mix)
Colorful Bean Soup
For the Seasoning Satchel:
2 Tbsp. Dried Onion flakes
2 Tbsp. Beef bouillon (granules or equivalent amount in cubes)
2 Tbsp. Dried Parsley flakes
2 tsp. Dried Basil
2 tsp. Lemonade powder
1 ½ tsp. Chili powder
1 tsp. Garlic powder
1 tsp. Ground Pepper
1 tsp. Dried Oregano
Preparing the Mix:
Add to the jar all the “Jar” ingredients from the top through Lentils.
In a plastic or small paper bag (whatever you prefer in your kitchen), add the “satchel” ingredients.
Tuck the satchel in to the top of the jar before closing the lid.
Making Soup with the Mix:
Remove season satchel.
Rinse beans/lentils and place on the stovetop.
Add the beans & lentils plus 8 cups water to a large pot, and bring to a boil.
Add seasoning from the satchel, and reduce heat to a simmer.
Cover the pot and let simmer for 60-90 minutes, stirring occasionally.
Alternate Packaging
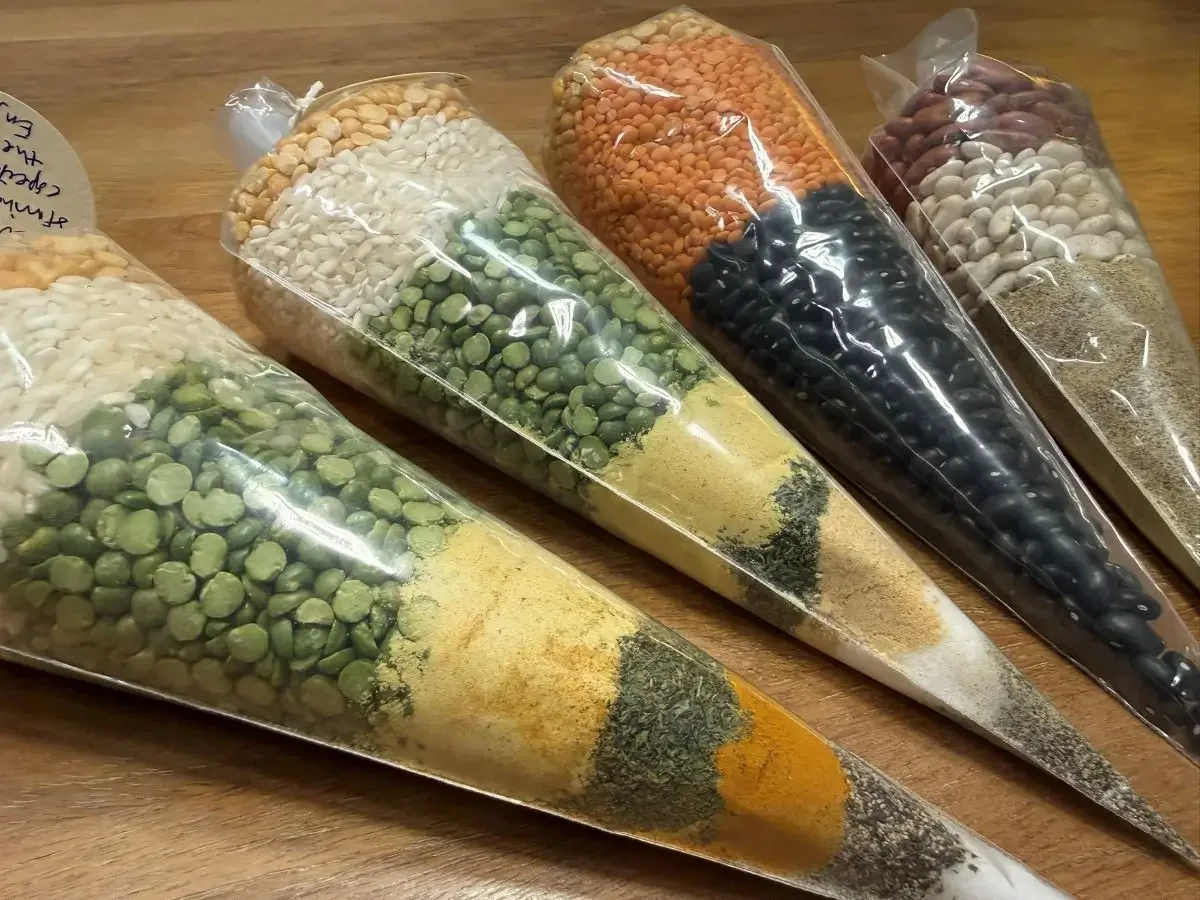
If you like the tactile feel of materials under hand like I do, or just want a little more creative packaging options- you can also store the mixes in plastic sleeves. Pictured here are pastry bags, which work especially well because the spices fit neatly into the point, removing the need for a separate satchel. When making the soup, just pinch the bag where the spices begin.
If Gifting
Create a small recipe card with directions how to use (below). You can make as plain or decorative as you like. Craft paper punched with a hole and tied with string or twine would be very Frontier appropriate.
To shop the materials used for gifting:
7 | Maple Pan Candies
An authentic stove-top treat
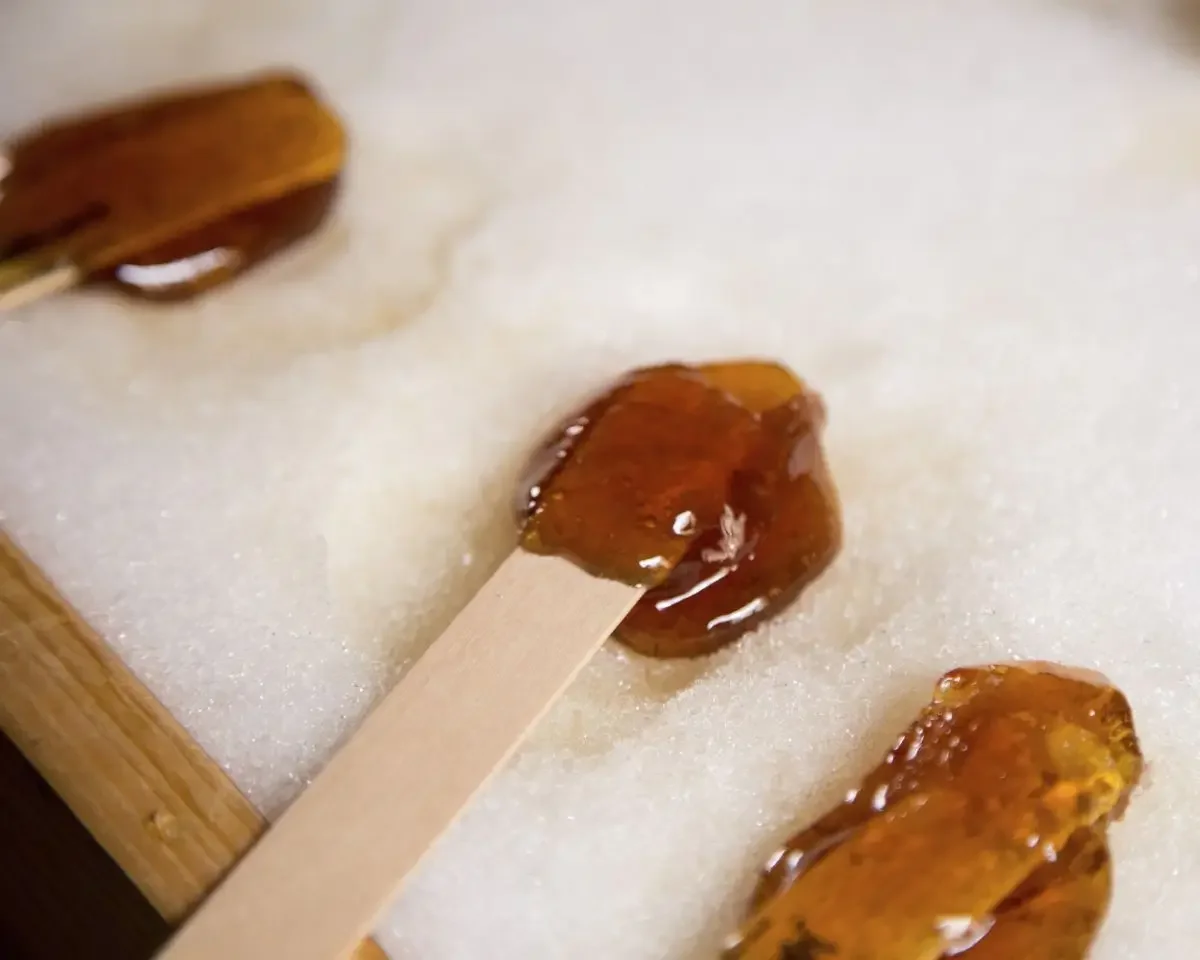
Making maple hard candies on the griddle was a favorite treat of Laura Ingalls Wilder, as storied in Book Title. The girls would make them in the warm kitchen, then freeze them in the cold snow, which you can recreate just as authentically, or using a cold cookie sheet.
Ingredients:
1 cup Real maple syrup
Stovetop pan
Cookie sheet
A freezer (or snow)
Parchment paper (optional)
Popsicle sticks (optional)
Directions
Decide how you’ll cool the candies. If you live in colder climates, you can use real snow or alternately, you can just as easily freeze a cookie sheet in the freezer with a layer of parchment paper.
Depending on how you want your candies to turn out- you can either pour directly on the sheet/snow for little individual candies or over a popsicle stick.
Add genuine maple syrup to a stovetop pan and heat on medium. Cast iron pans work great, just as they did back in the day.
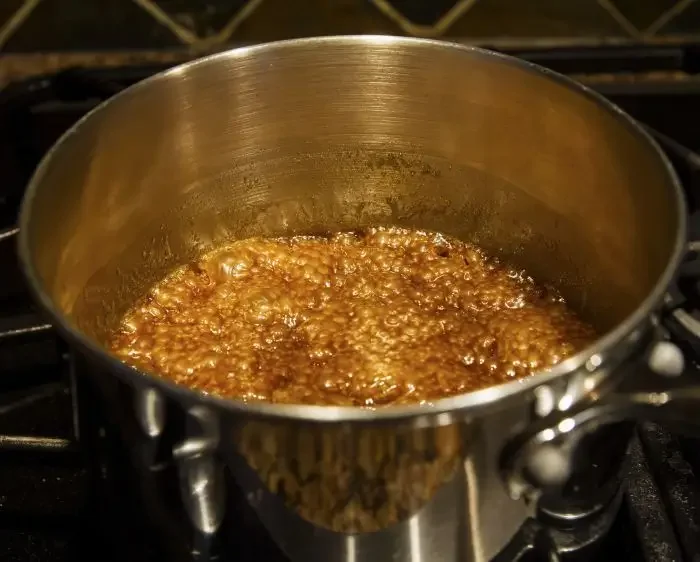
What matters is the temperature of the syrup, not the heat setting on the knob. Use a candy thermometer to test regularly. You want to get to the ‘hard crack’ stage.
Bring the syrup to a steady boil..
When the syrup reaches 250 degrees F, reduce the heat to low (so you can get the temperature of the syrup right).
For hard maple candy, get the syrup to 300 degrees F and immediately remove the pan from the heat once it does. (It may not look ready, but trust the temperature).
Immediately pour your candies- in which ever form you prefer. Laura Ingalls Wilder and her sisters used to make an art of it, creating little shapes in the frozen iron pan.
Allow to cool completely before lifting off. Enjoy!
Related full adventure tracks:
A Victorian Christmas: Crafts & Decor
Harvesting the Autumn: Embracing the Season by Foraging Nature’s Pantry
To continue the Frontier mood in your home (shopping options):
Already made, actual punched lantern
Little House in the Big Woods (children’s book) by Laura Ingalls Wilder
Little House on the Prairie (children’s book) by Laura Ingalls Wilder