Harvesting Autumn
Embracing the Season by Foraging Nature’s Pantry
Food & Nourishment
Decor & Ambiance
This site intentionally avoids intrusive ads. Links are provided to relevant products used in the tutorials as an Amazon Associate. I do so when there is value in knowing the specific product, and to learn more about or continue experiencing the mood.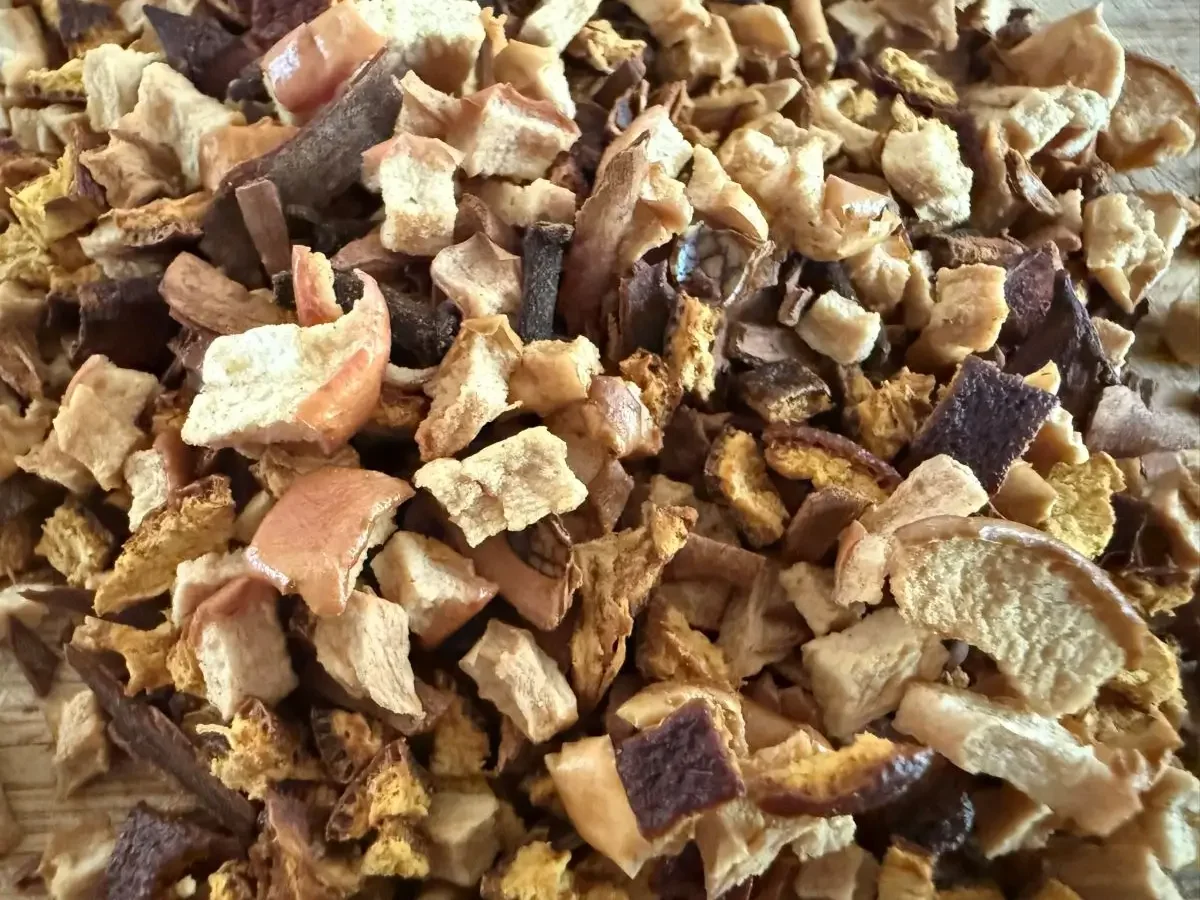
Create Your Own Autumnal Tea
Sipping the intoxicating aroma and taste of cinnamon, cloves and apples is made all the more enjoyable when it’s your custom blend. Creating your own tea- whether for fall or any other season- is a beautiful way to appreciate the plant to table connection.
Teas made with fruits and herbs are actually tisanes, or fruit infusions, but are identical to traditional teas for the purposes of enjoying. The process is simple- cut, dry, and store.
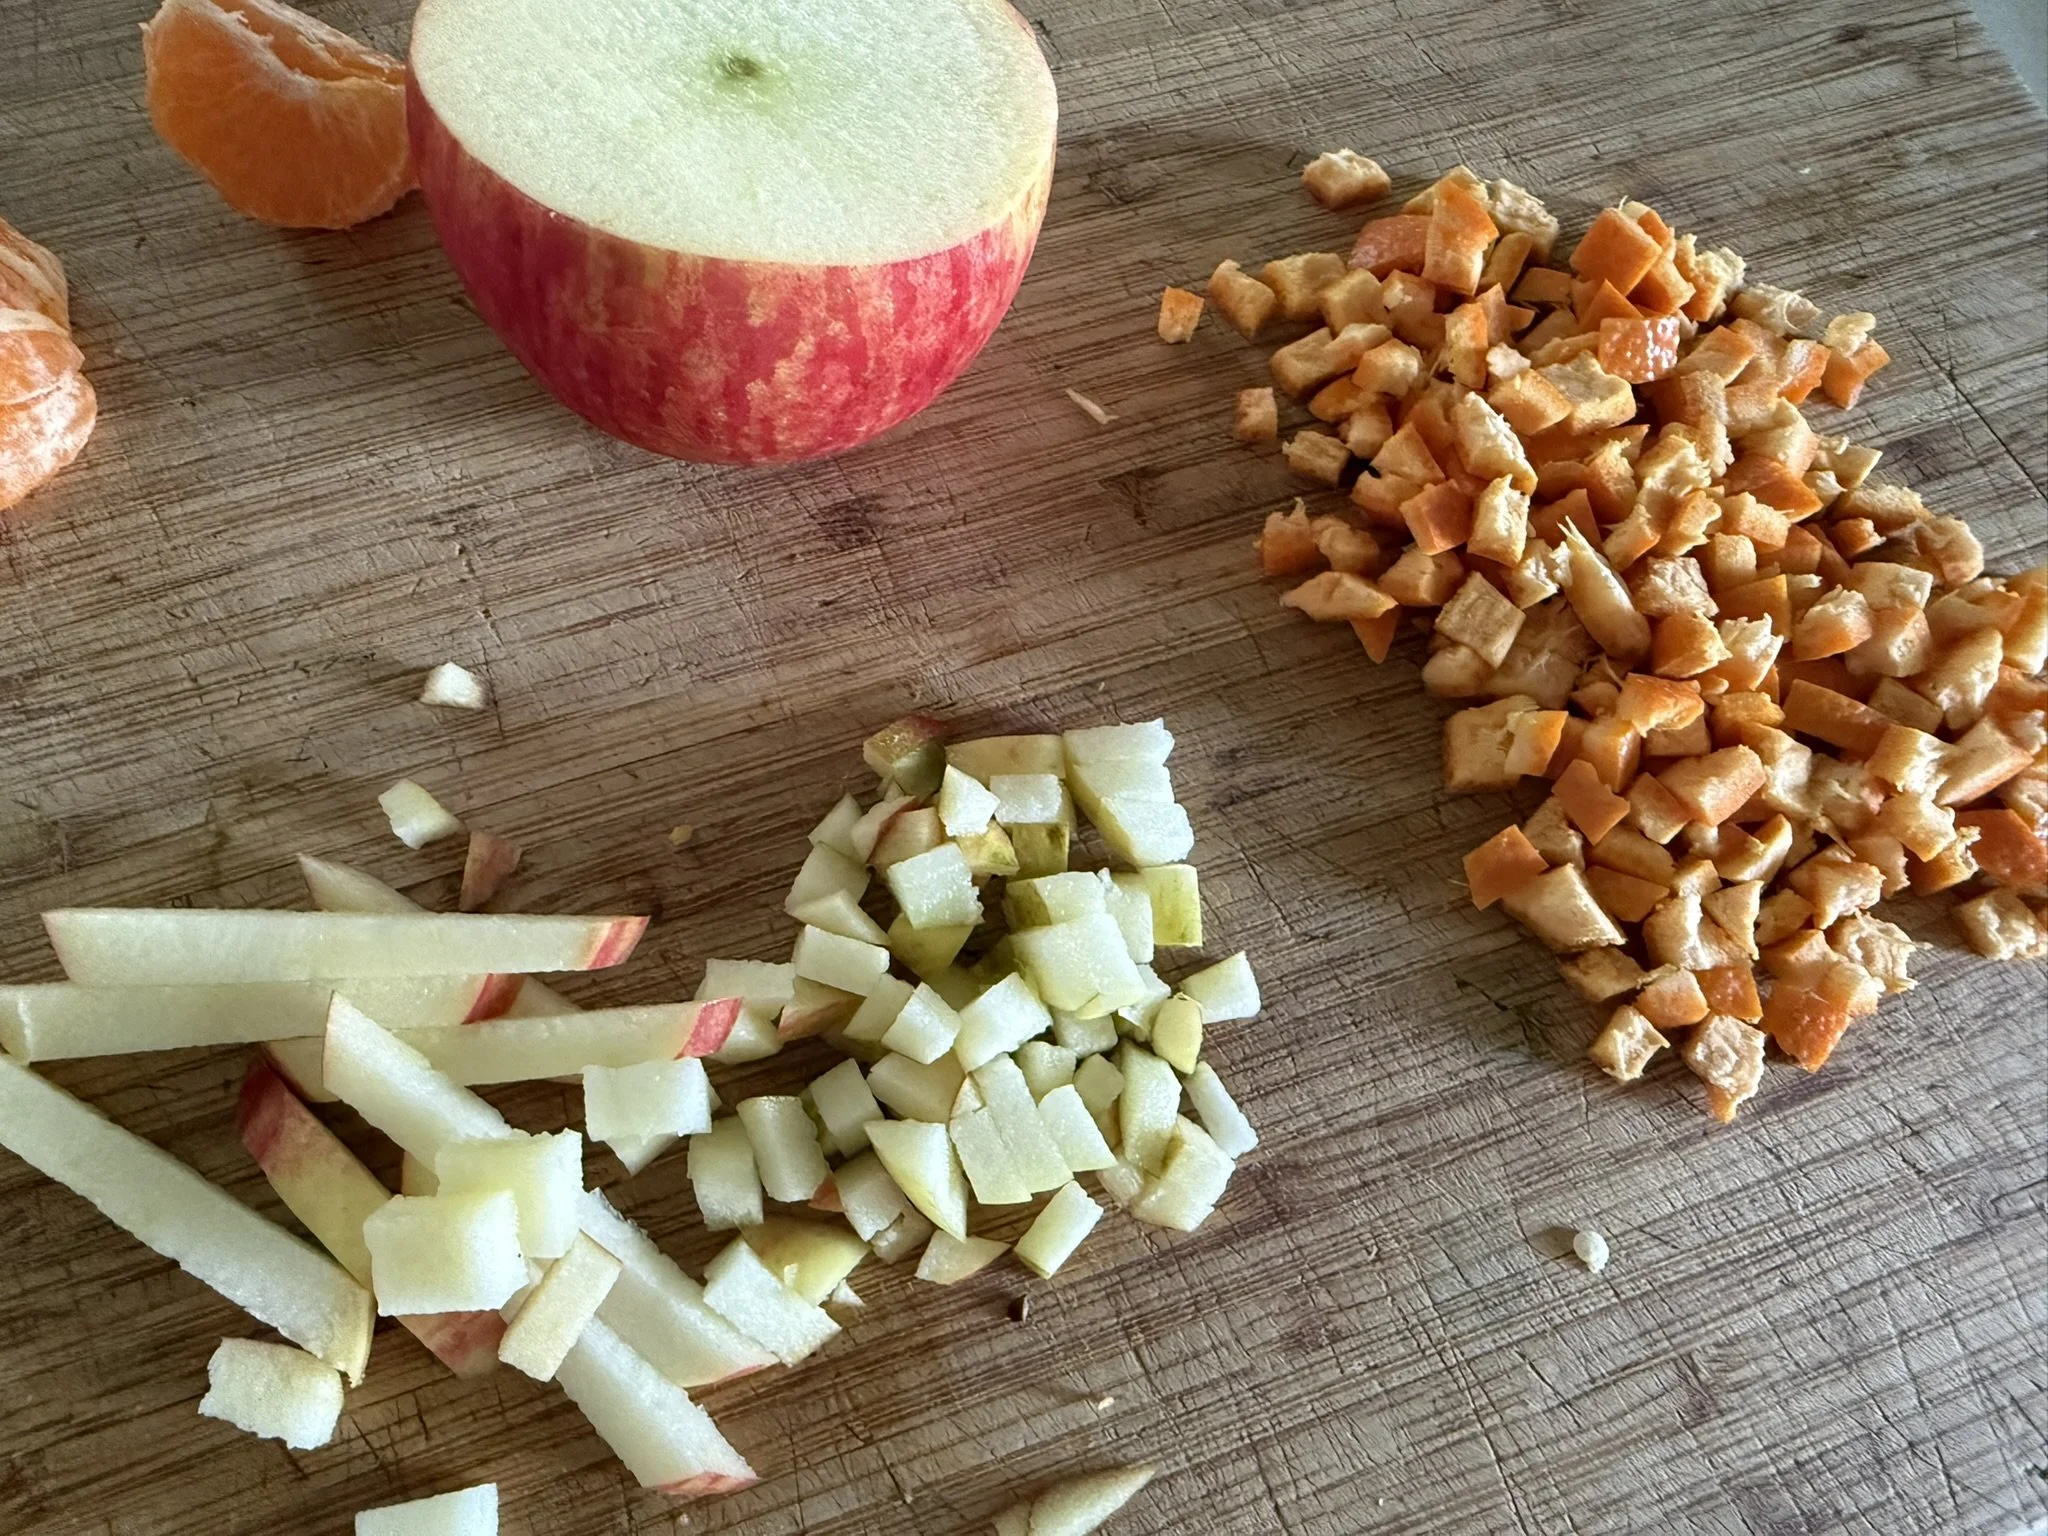
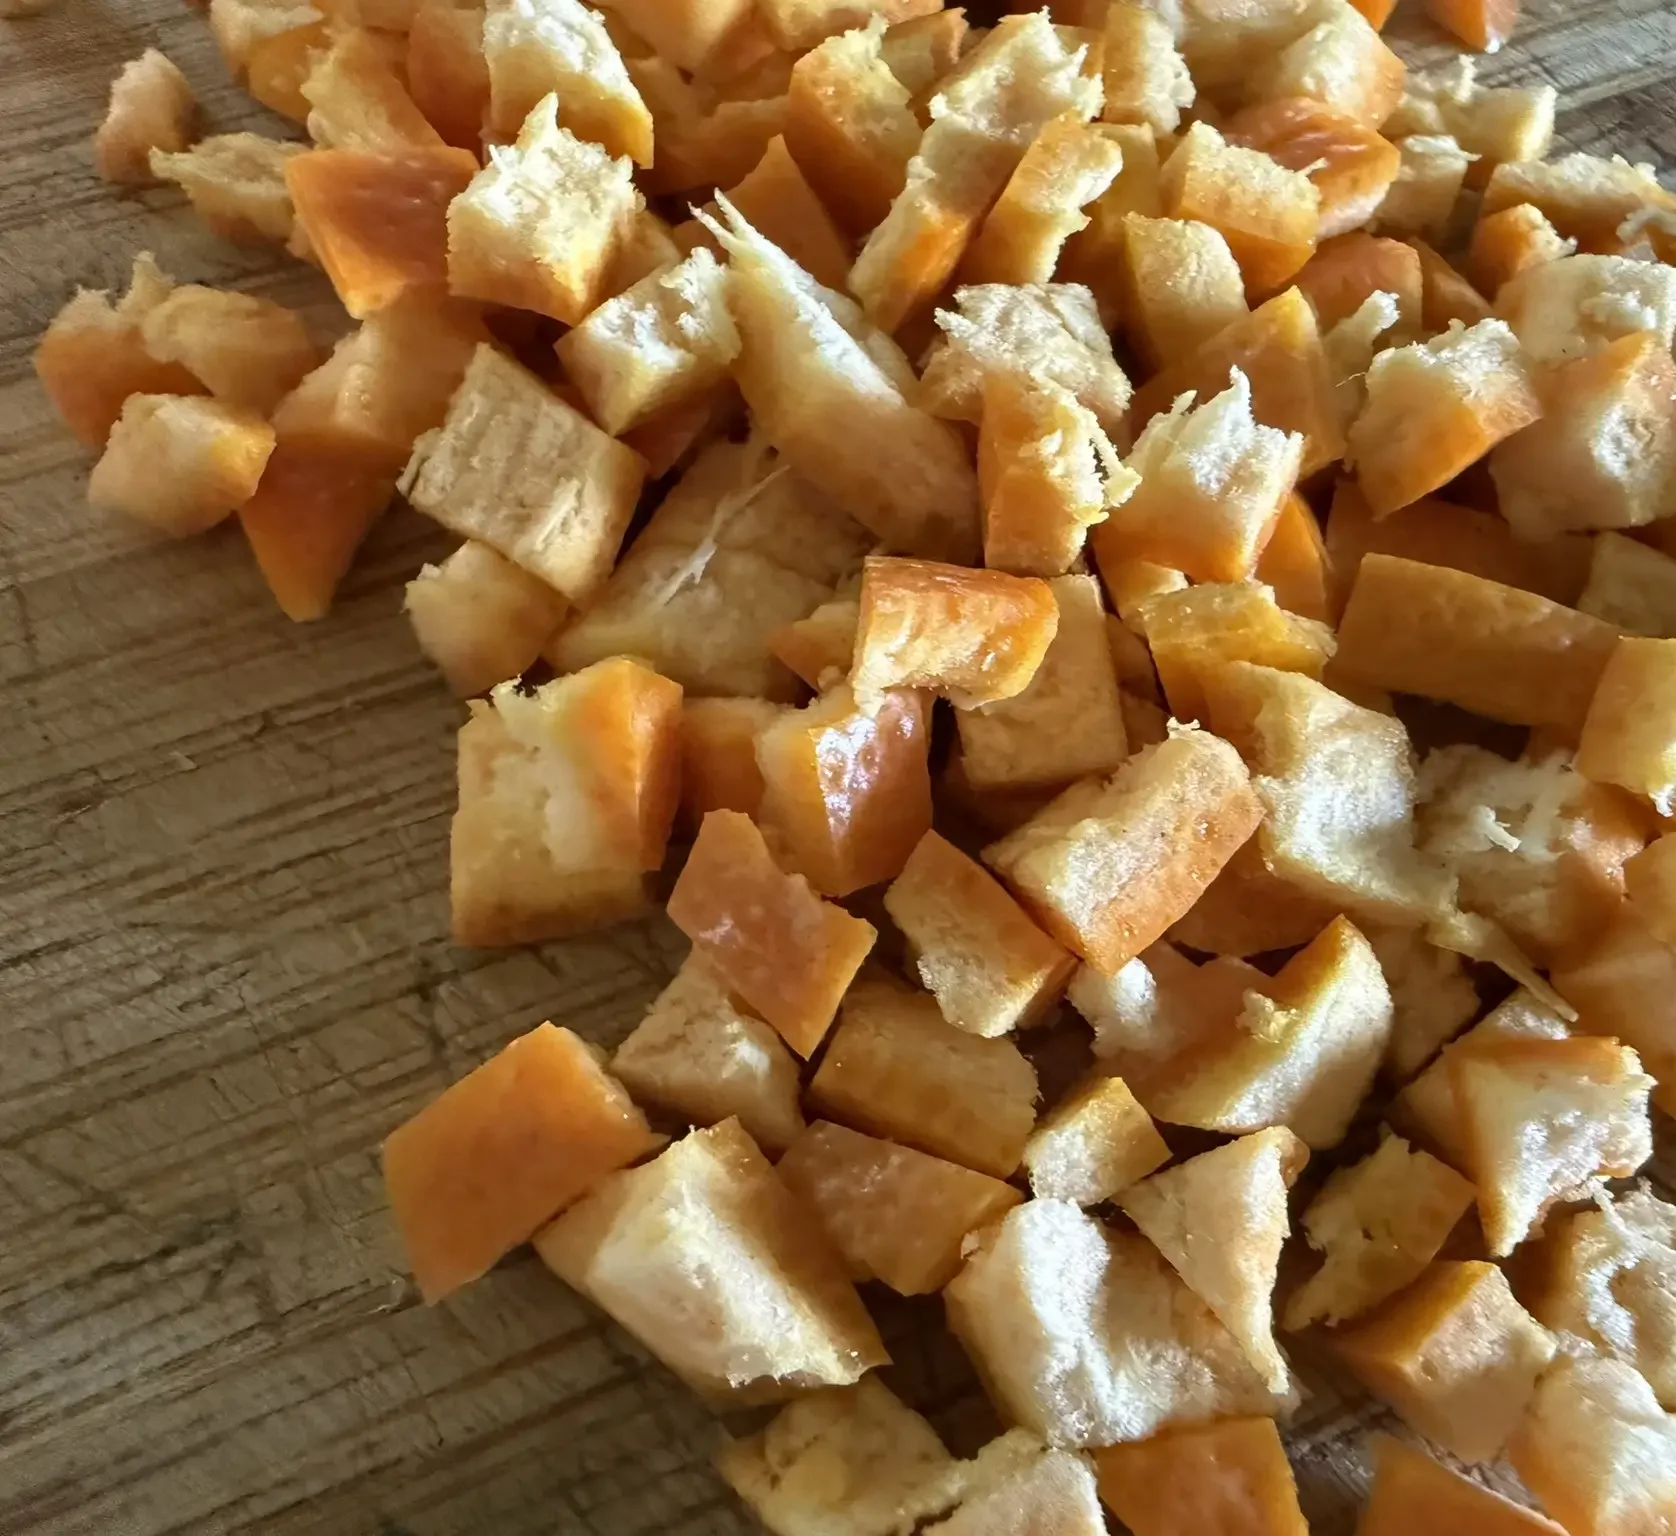
Suggested Ingredients to pick and choose from for your ideal blend:
Apple or Chamomile (taste like apple)
Orange Zest or Lemon Zest
Cinnamon
Cloves
Anise or Fennel (both taste like licorice)
Ginger
Cardamom
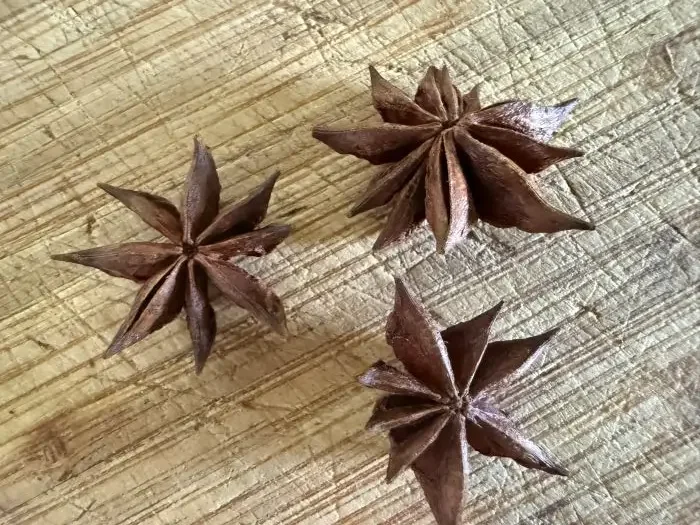
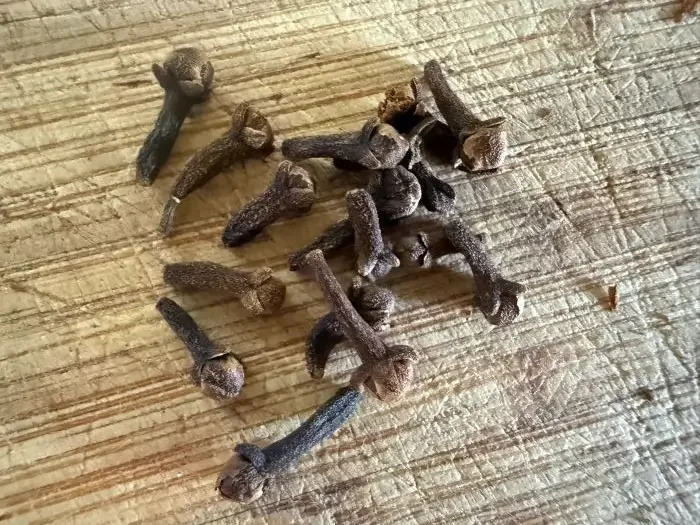
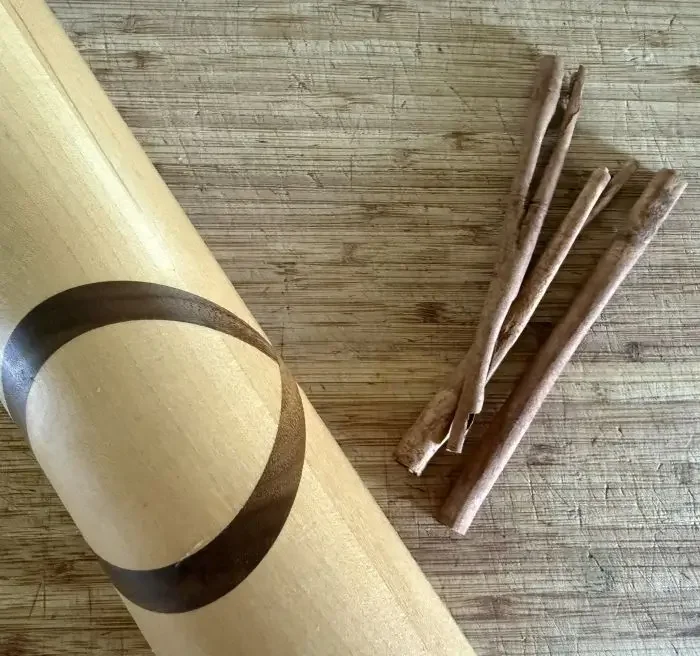
Directions:
Choose the ingredients you want to incorporate.
Cut fruit in to small pieces.
Crush spices with a rolling pin until they are in small pieces- but not ground or too fine. (Cinnamon will break into long flakes, which can them be cut diagonally).
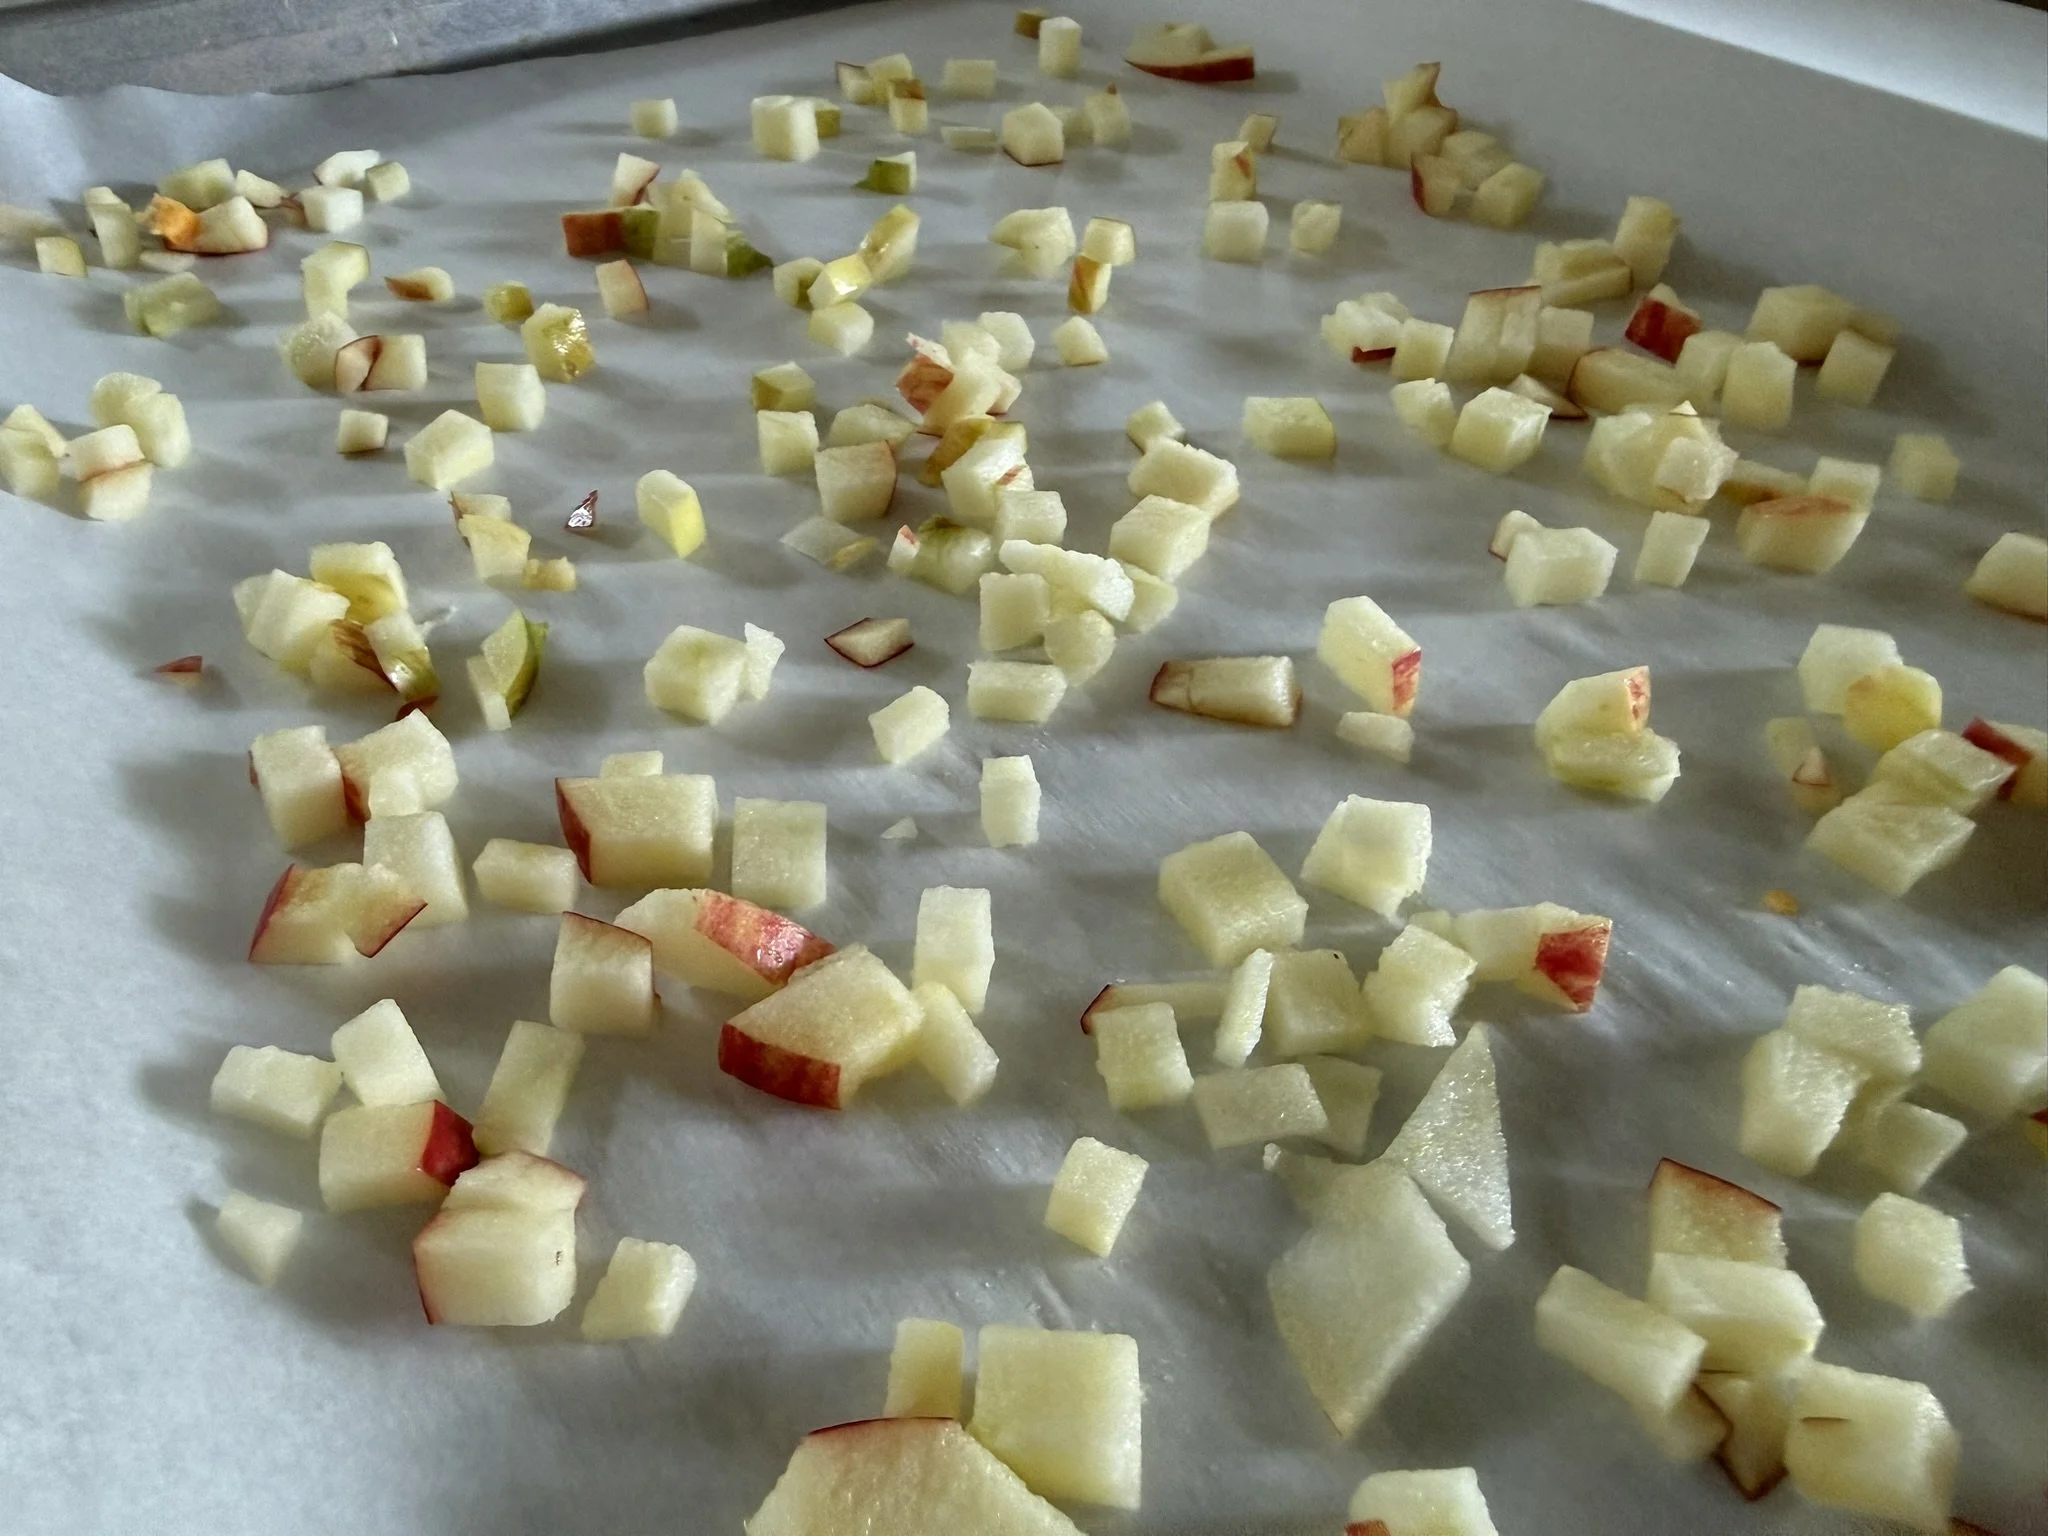
Place fruit pieces on a cookie sheet with parchment paper.
Bake at low temperature (200-225 degrees F) for 2-3 hours. Stir once or twice.
Once fruit is dried, combined with the spices.
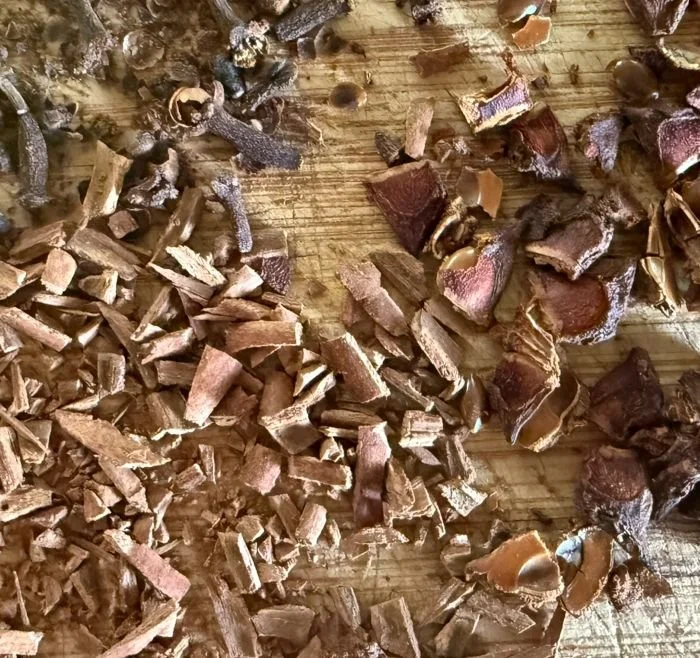
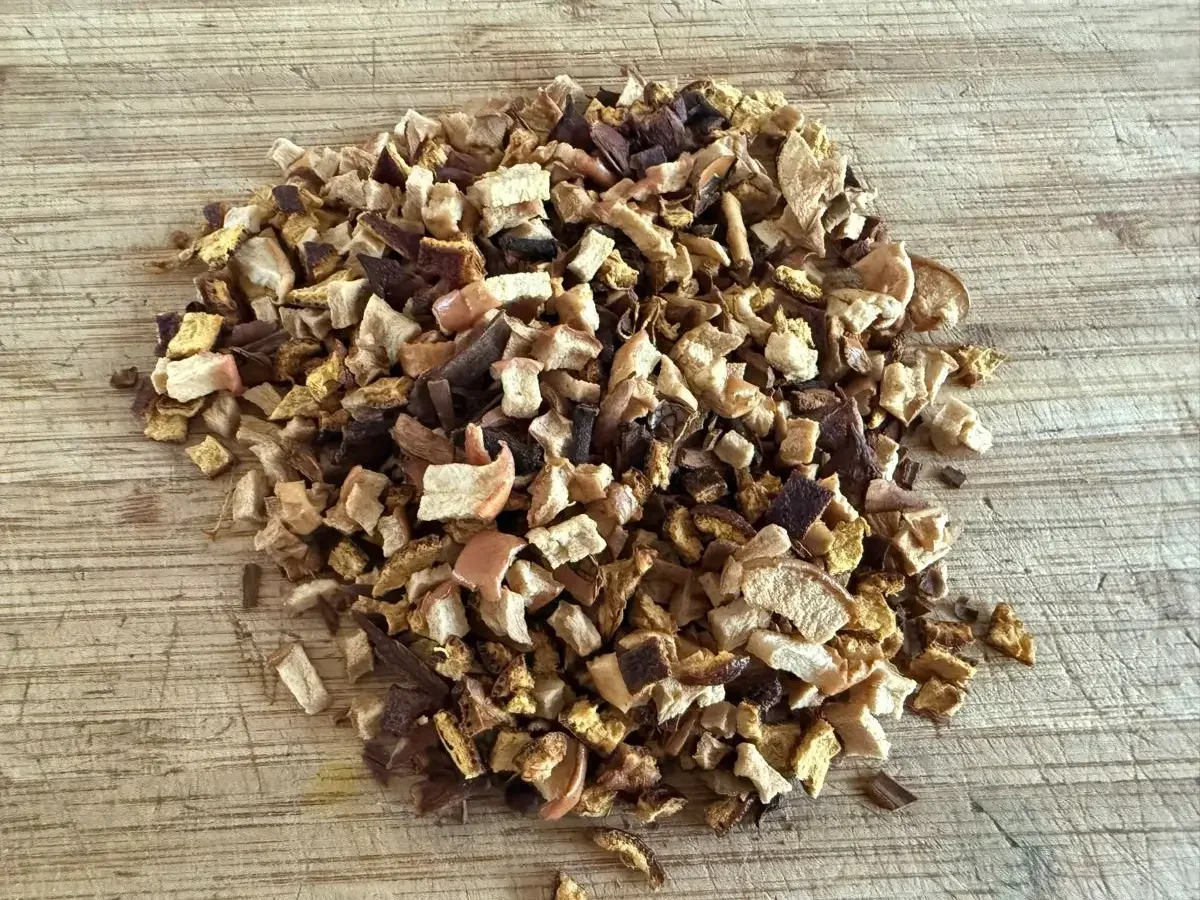
Options for storage:
For loose tea- store in a glass jar.
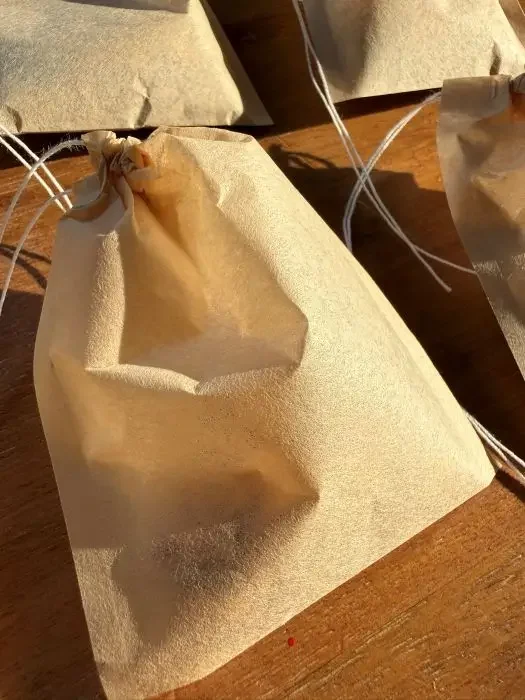
If wanting individual tea bags- you can absolutely create DIY tea satchels.
For more on the characteristics & flavor profiles of various tea types: Tea 101
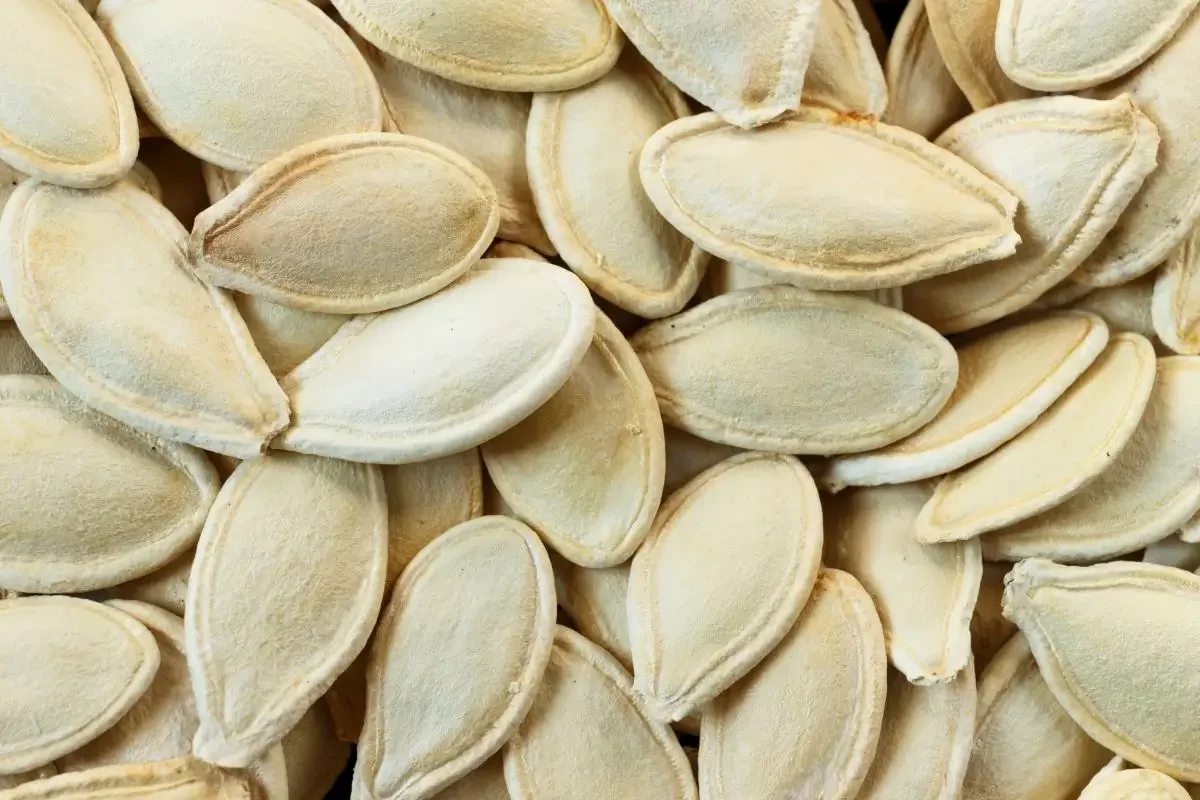
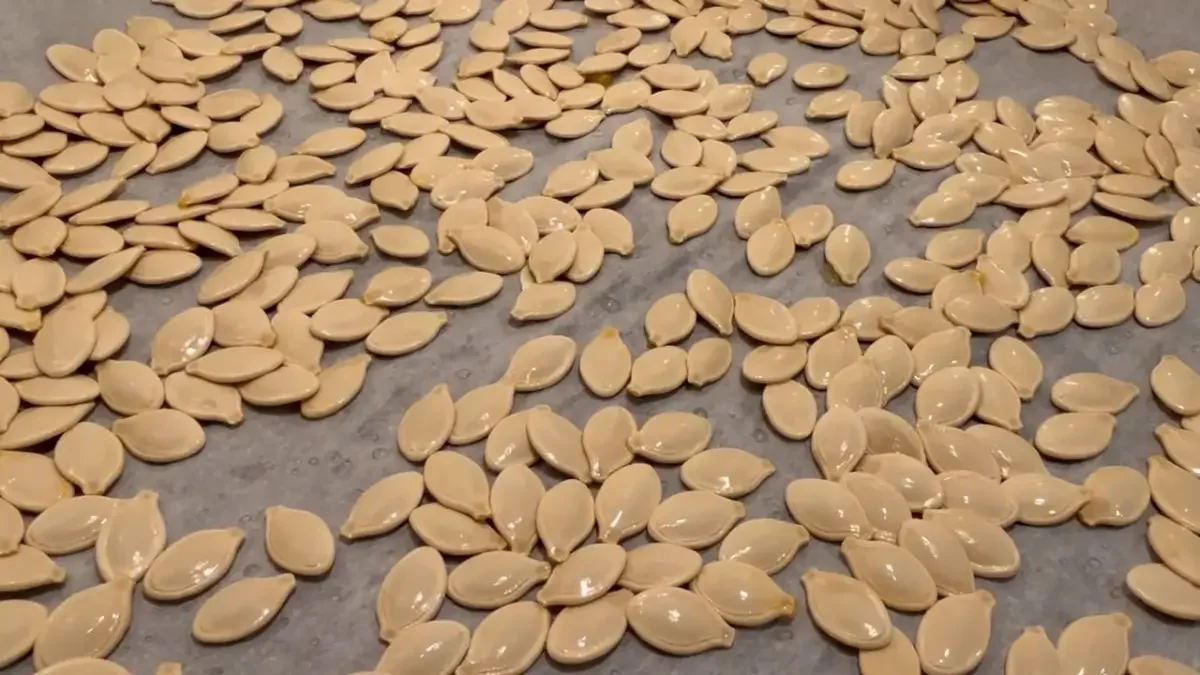
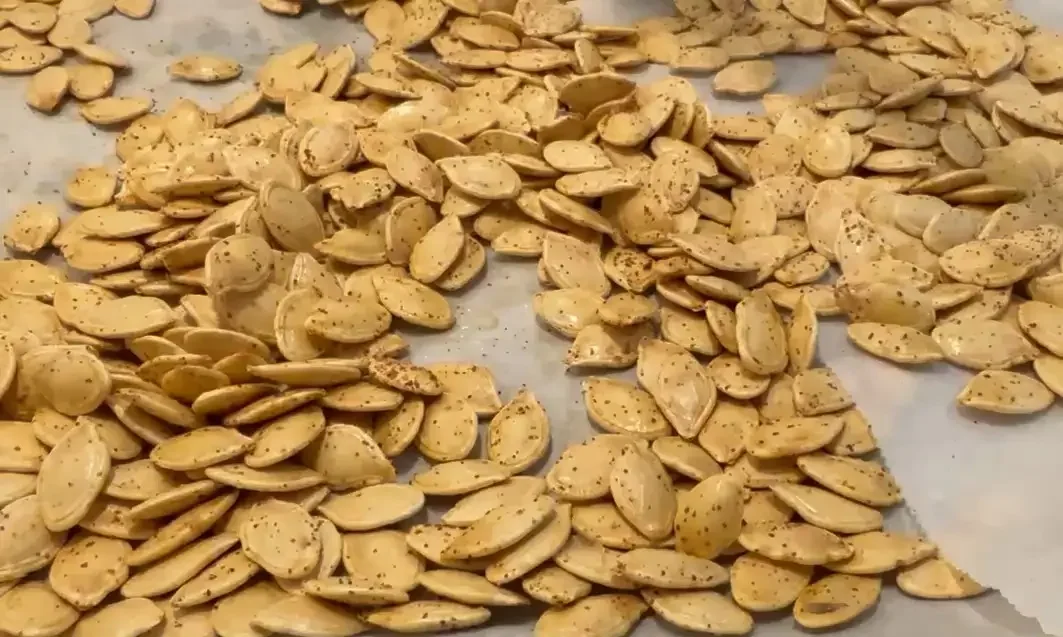
Seasoned Pumpkin Seeds
The second treasure of pumpkin carving
As a child, half the fun on making jack-o-lanterns was using the seeds to make a delicious snack for the rest of the week. They’re so easy to make, really any combination of salts and seasonings will work.
Supplies Needed:
Pumpkin (the larger, usually the more seeds)
Pumpkin carving knife or serrated knife
2 Bowls- to separate the stringy ‘guts’ from the seeds
1 Tbsp. Melted butter or olive oil per cup of seed
Seasoning/s of your choice:
Salt
Onion Powder
Onion Salt
Garlic Powder
Garlic Salt
Lowry’s seasoning salt
Paprika
Cayenne pepper
Cinnamon
Curry powder, etc.
Directions:
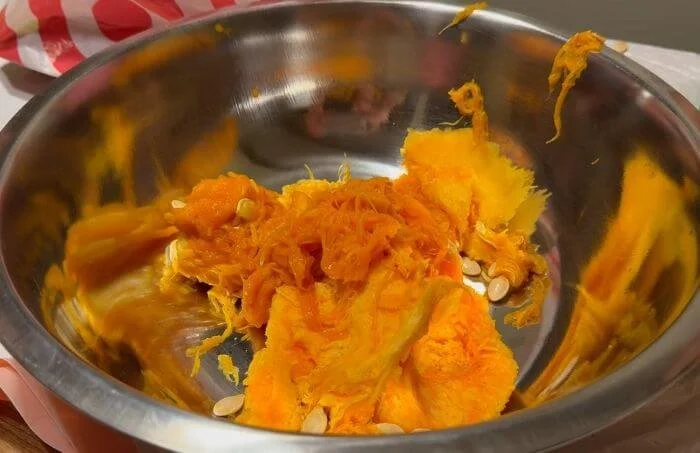
As you are carving the pumpkin to make a jack-o-lantern, separate the innards in to the two bowl as best you can. (It will be imperfect but you can clean up more in the sink afterwards).
Using a colander, rinse out the seeds as best as possible and hand remove any remaining debris.
Use a paper towel or clean dish towel to spread out the wet seeds, patting to remove as much moisture as possible.
Line a cookie sheet with parchment paper (not wax) and spread out the seeds, being sure to avoid clumping. Use multiple sheets if needed.
Drizzle the oil or butter on top of the seeds, using you hands to thoroughly coat.
Sprinkle on your preferred seasonings and mix with your hands until well blended.
Roast in the oven at 325 degrees F for 20-40 minutes until crispy and golden brown.
To store- keep in an air-tight container in a dark space away from heat. They are best if used within a week, but can be refrigerated or frozen for up to a few weeks, longer if using olive oil than butter.
Harvesting Seeds for Future Gardens
As satisfying as it is economical
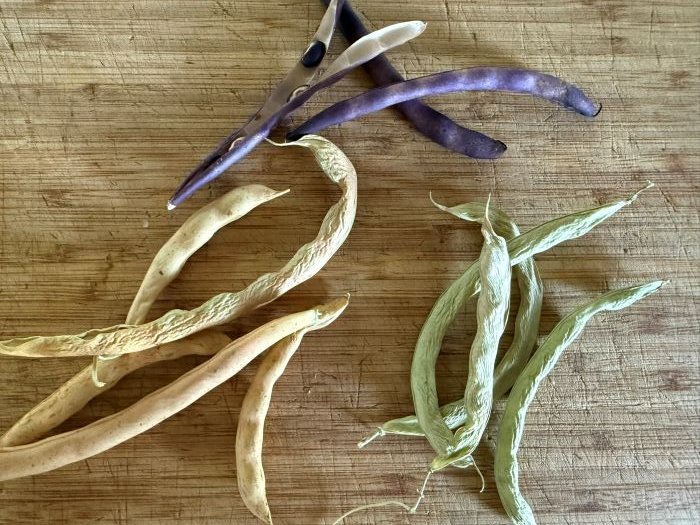
Gathering seeds at the end of a season feels feels so good because it’s a natural instinct. For over ten thousand years, it has been critical for future seasons of survival. Despite the plethora of modern food sources and conveniences, the human instinct for survival remains - even if it’s modern versions of butter lettuce and bell peppers growing in our backyard.
Where to Start:
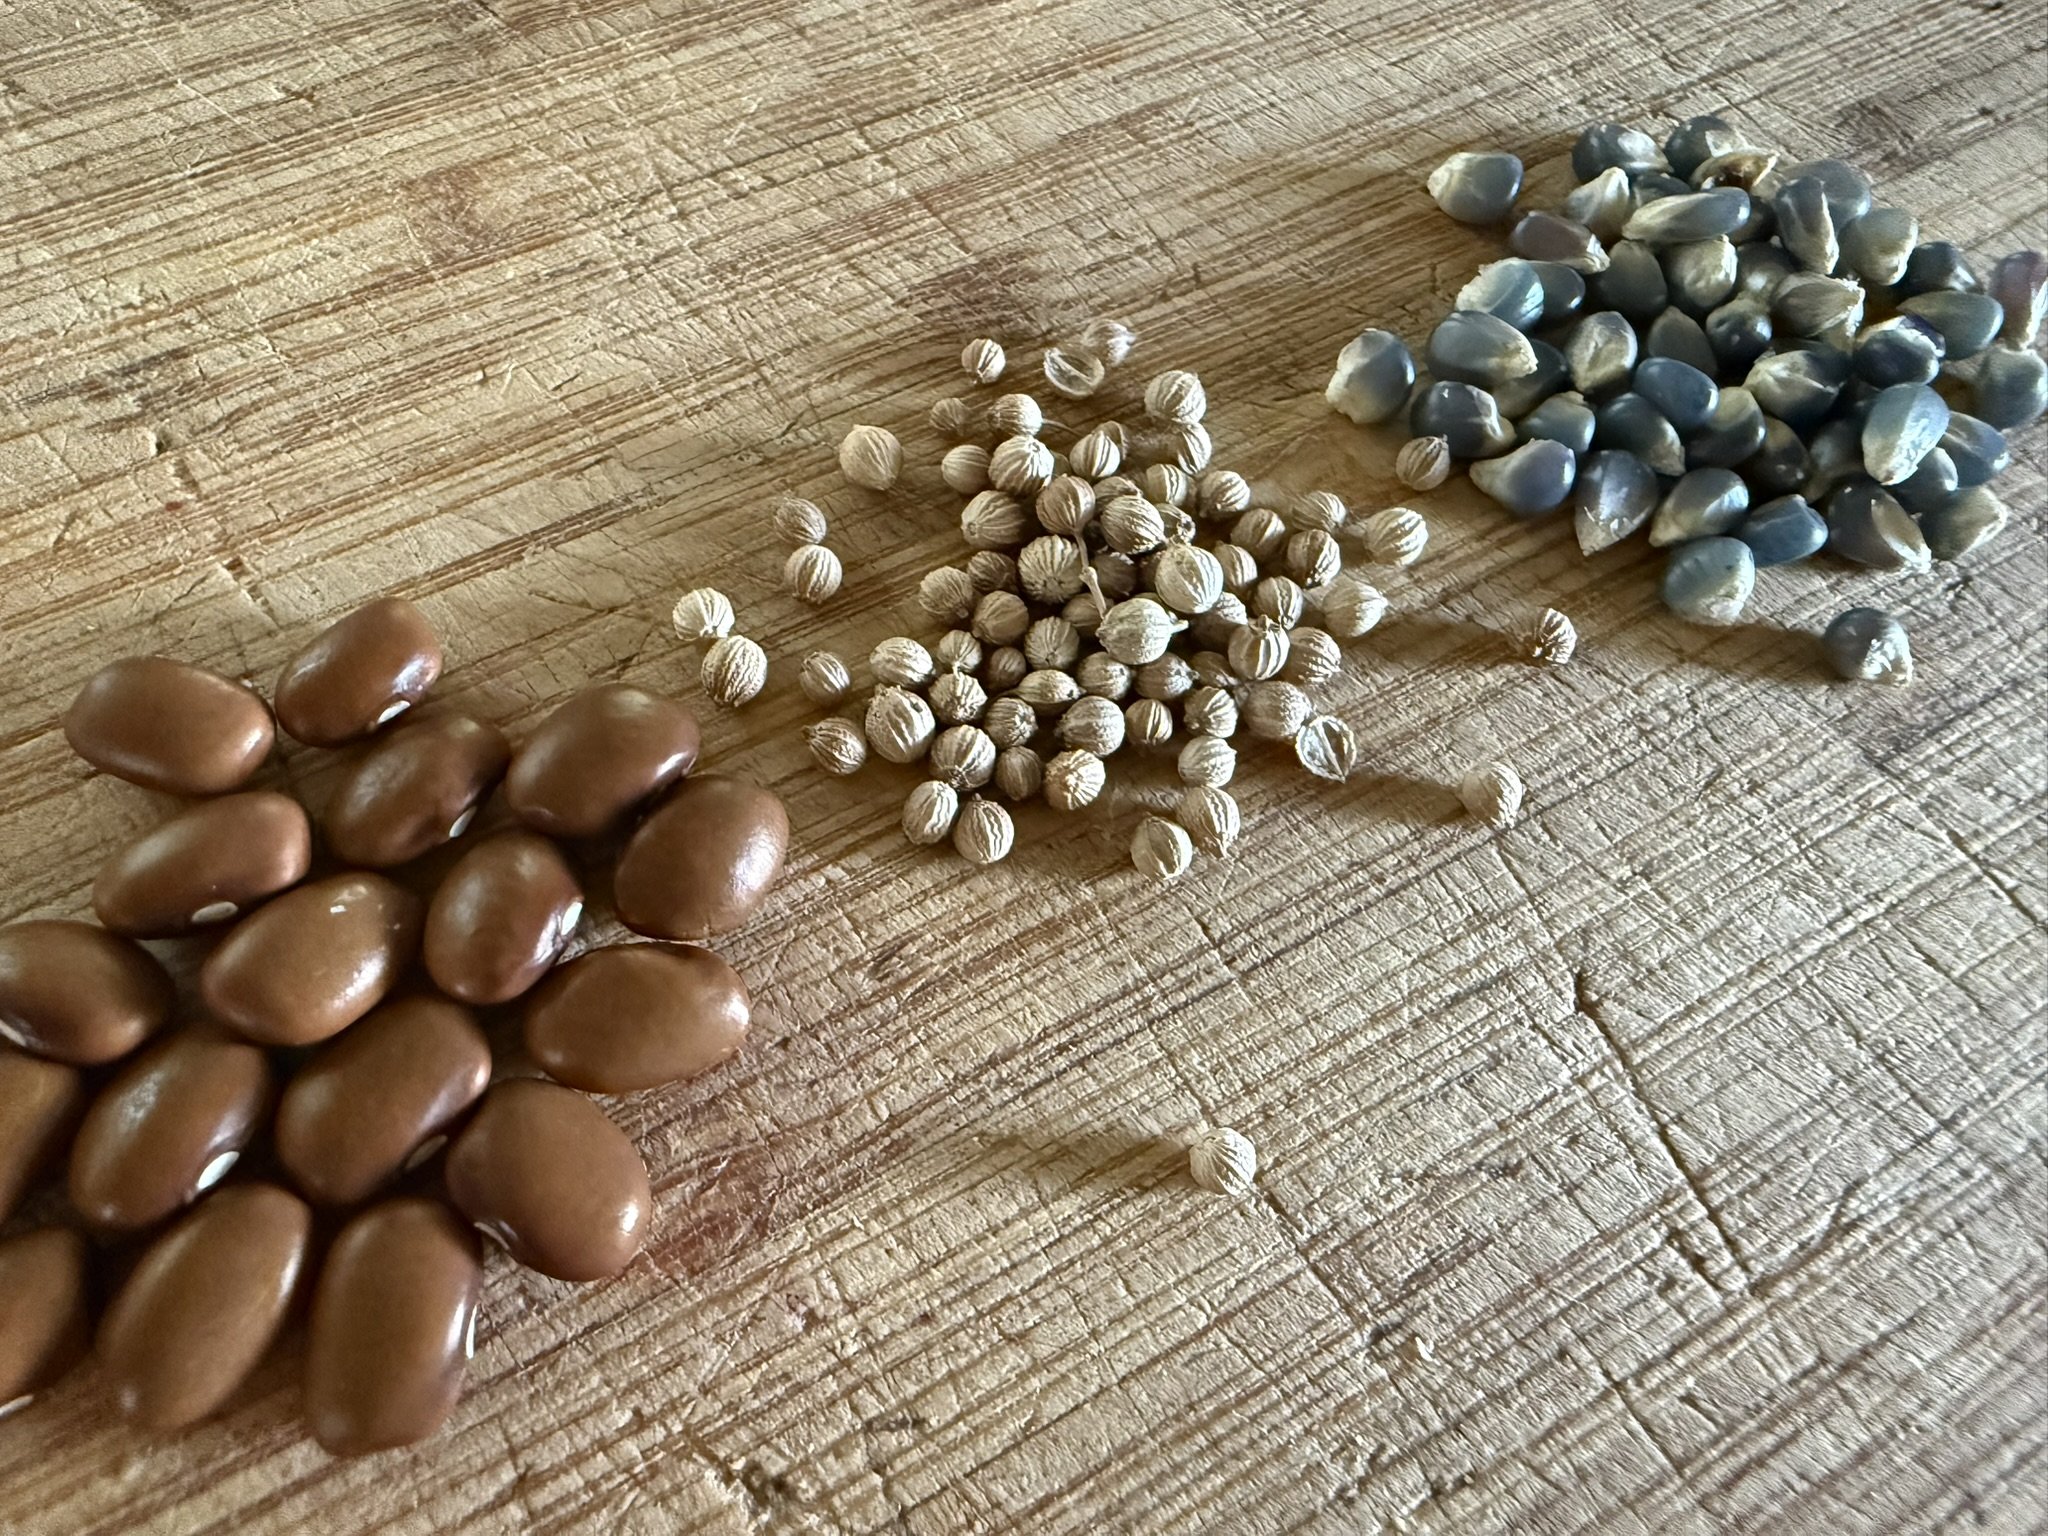
For beginner harvester or aspirational future gardeners, start with easy varieties with big seeds.
Think: Peas, Beans, Peppers, Broccoli, Eggplant, Tomatoes, Cucumbers, Zucchini, Squash, Sweet Corn, Melon, Watermelon, Cantaloupe, Apples, Cherries, Plums, Pears, Citrus, etc.
For Tubers and root vegetables- Onions, Chives, and Potatoes are essentially ready to plant just by digging up.
Small, hard to see and even harder to handle varieties will require more patience and are perhaps best reserved for future seasons. Think: Lettuce, Spinach, Carrots, Strawberries, Raspberries, Blueberries, etc.
Buy Local:
Whether harvested from your own patio or from the local farmer’s market- any native variety of vegetable, fruit, herb, tuber, or starch can be harvested for future growing. If buying the produce, just be sure to buy organic and from a locally grown vendor.
The latter ensures the variety is tolerant of your climate, and the former ensures the seeds will reproduce (some engineered or hybrids are designed to be seedless or sterile.
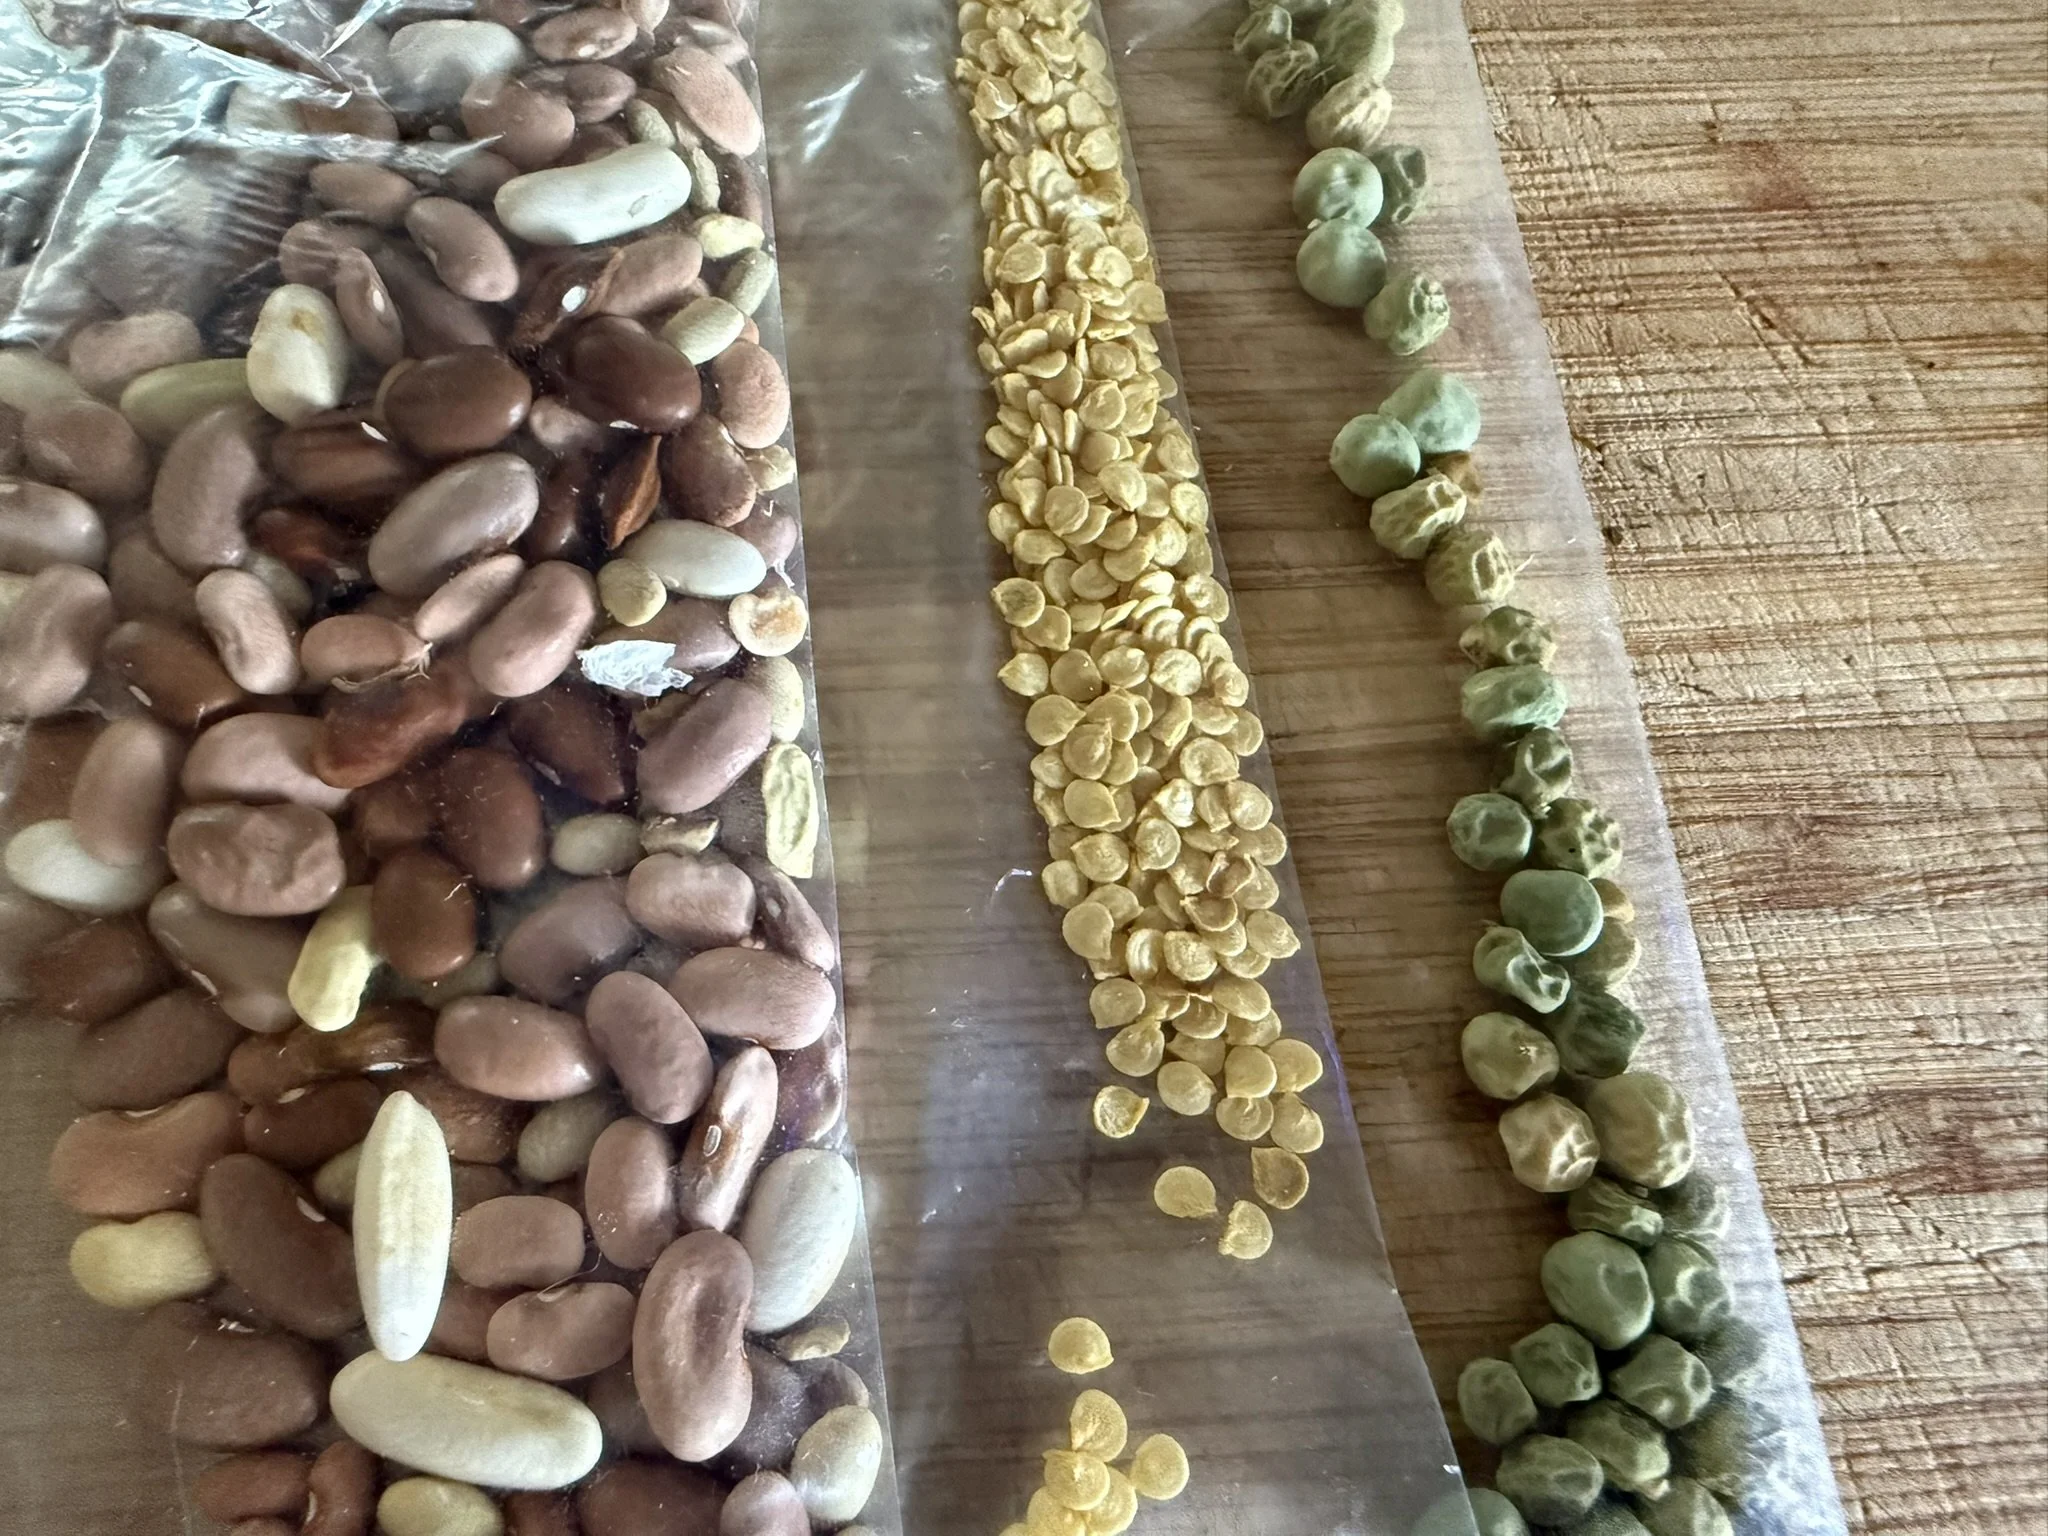
Preservation:
Store in an airtight container, in a cool, dry place.
Different seeds have different lifespans. Keep this in mind for future planting seasons.
1-2 Years: Onions, Leeks, Peppers, Parsnips, Sweet Corn.
3-4 Years: Beans, Peas, Squash, Pumpkins, Carrots, Tomatoes, Cabbage, Beets.
5-6 Years: Lettuce, Spinach, Melon, Cucumbers.
For those wanting to lean in to growing your own food- I highly recommend this as a starting resource: The Beginner’s Guide to Growing Great Vegetables by Lorene Edwards Forkner
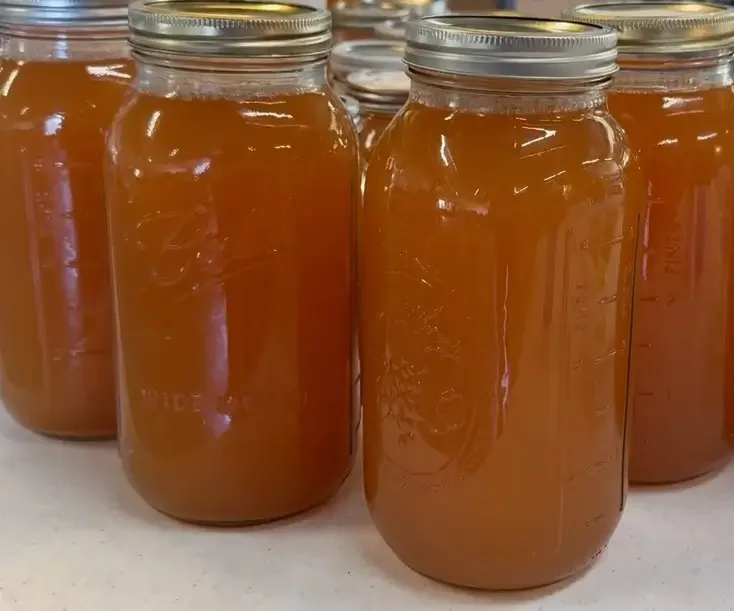
A Tutorial for Homemade Cider
Liquid Gold that tastes as rich as it looks
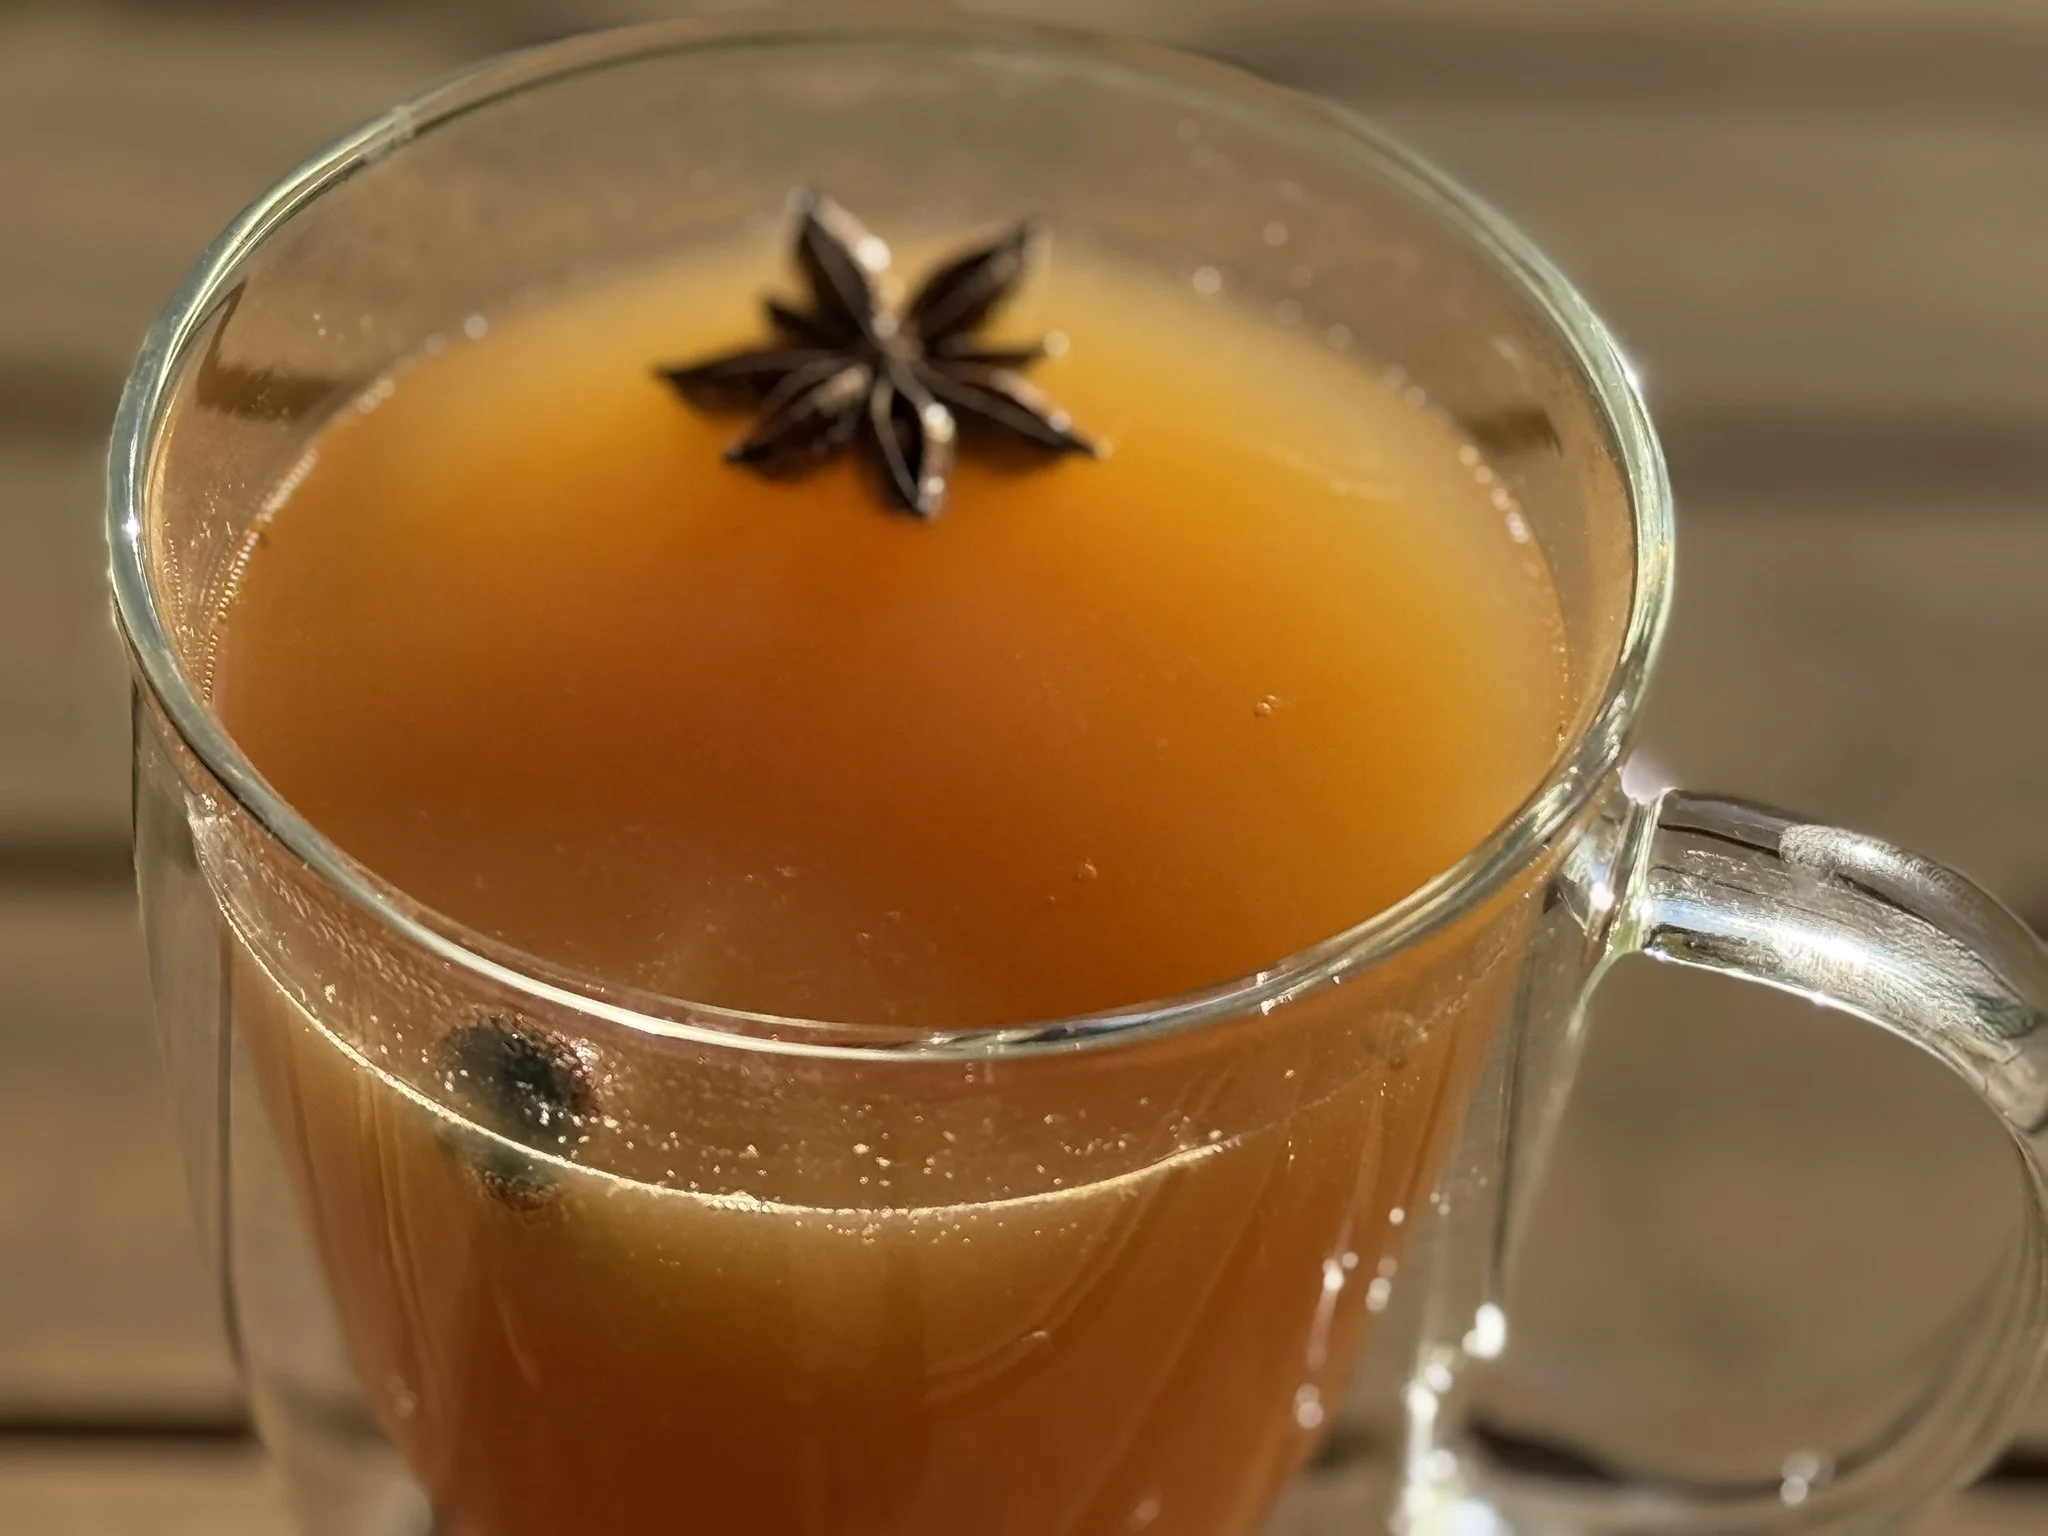
Apple Cider is fall’s gift from nature. Raw and unfiltered, it’s the result of pressing the complete apple- including skin and seeds. The taste is richer and more complex, and can be made even more exquisite when mulled with spices.
While pressing cider at home requires a small press, if you love apples, love autumn, or love the idea of creating a new seasonal tradition, it can be worth investing in a small press. We go apple picking every fall at my brother-in-law’s farm where there is an orchard of 40 apples trees. Pressing the apples is the hands down favorite activity of the kids and adults alike.
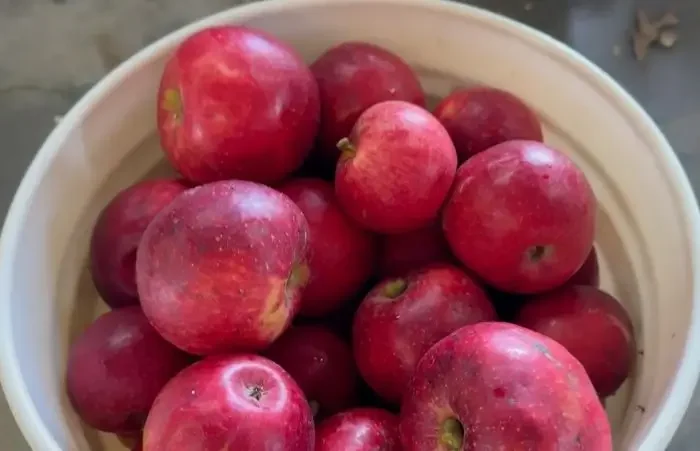
Tools & Supplies:
Apples (15-20 lbs = 1 gallon cider = 40-60 medium apples
Food processor or blender
Knife
Pot
If pressing by hand:
Sieve
Heavy pot or pot filled with water
If using an apple press:
Apple/grape/berry press (available in different sizes)
Mesh bag (made to fit inside press, to catch the pulp - size should match the press)
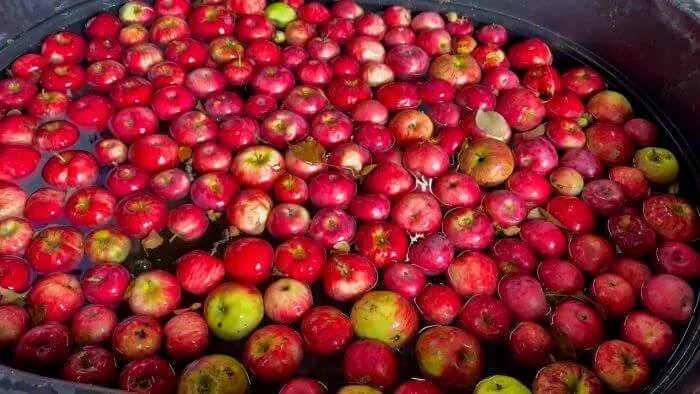
How to make homemade cider:
Wash the apples and toss any with major blemishes or holes.
You can use whole apples, but it will be easier if you quarter them first.
Using a food processor, pulse until the apples to create smaller bits, but not to the point of applesauce.
If pressing by hand:
Put the apple pulp into a large piece of cheesecloth or cotton, twist, and place inside the sieve.
Squeeze.
Place a heavy iron pot or a pot with water (to add weight) and continue squeezing.
Alternatively, you can use a juicer if you have one. Just note that it will produce less cider since more of the fiber and pulp will be retained.
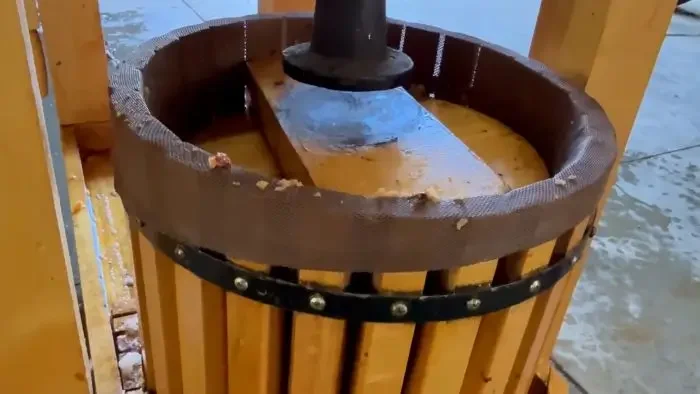
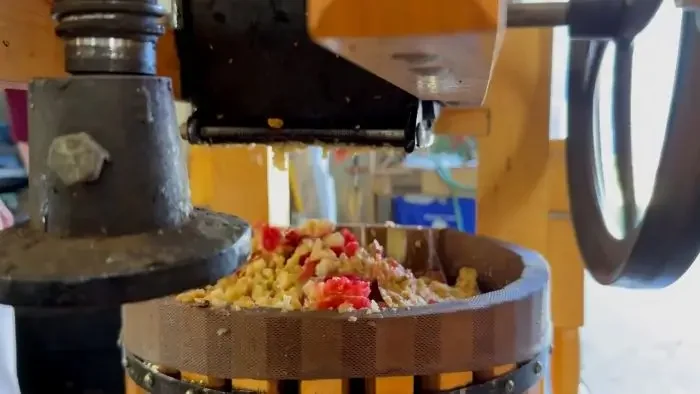
If using a press:
Put in the press and turn. Mechanical leverage satisfying will squeeze out the juices.
The larger your press, the less often you’ll need to empty the netting.
An optional step is to filter the juice to remove some of the fine impurities. A fine-meshed cheesecloth or cotton can work well for this.
Heat the juice to 160 degrees F (to kill any naturally occurring bacteria).
If enjoying right away-you’re done! Enjoy it straight off the stovetop, or store in milk jugs or other recycled beverage containers. Store in the refrigerator and it will last a few days.
If you wanting to preserve, you can can in large Mason jars- following usual canning steps like any other preserved good.
Tips:
The remaining pulp can be used to fed to eager wildlife. Just note that if left for a little too long, you may see some tipsy squirrels after enjoying the fermented fruit!
If trying for the first time, or doing as a solo or small batch- it’s worth trying it by hand the first year to see if you like the process. If you like it, have an apple tree in your yard, or would like to make it into an annual ritual for your family or friends and neighbors however- consider investing in an actual press with crusher attachment. It’s easier and turns it from a ‘meal prep’ kind of activity into an outdoor party
Cider Slushie Pops
A perfect treat for warm autumn days
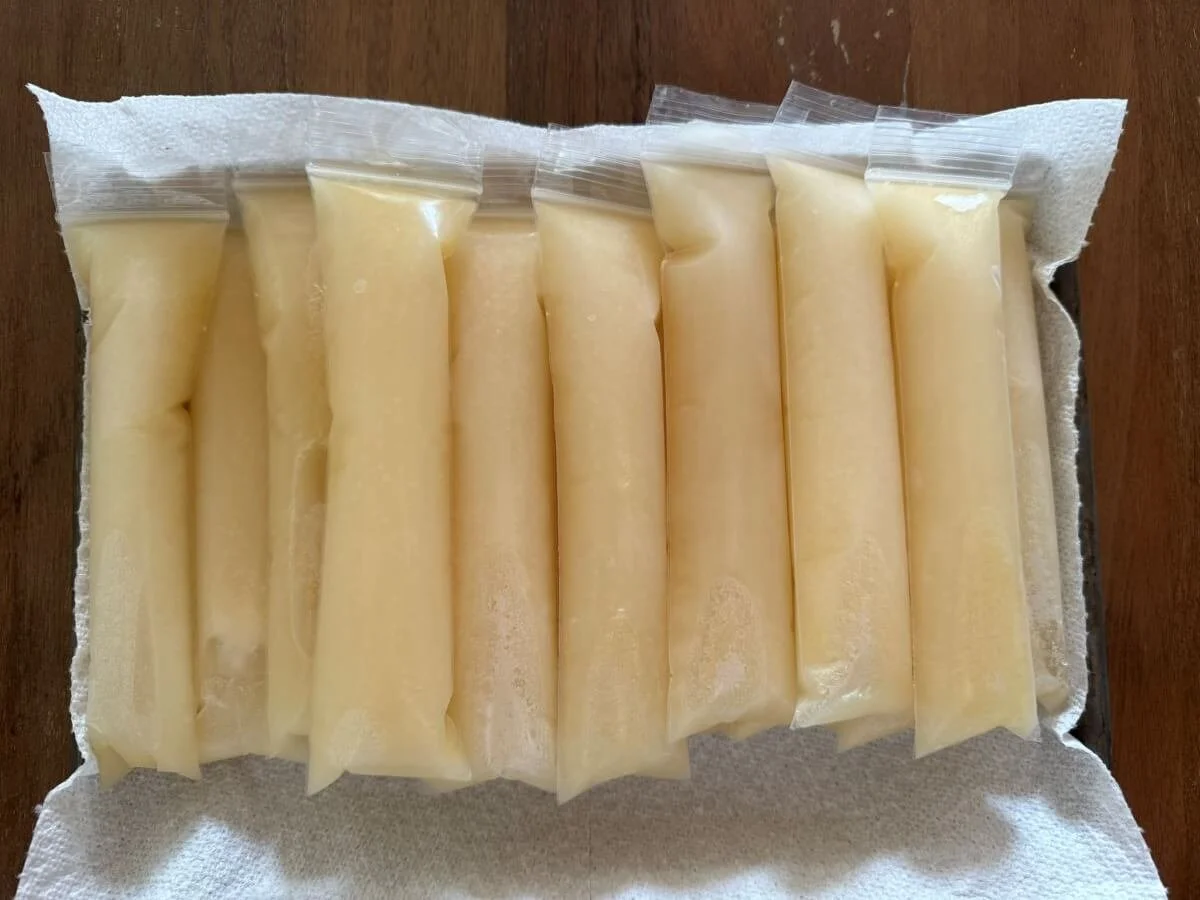
These are incredibly simple to make- using either your own freshly made cider or store-bought.
Supplies:
Cider
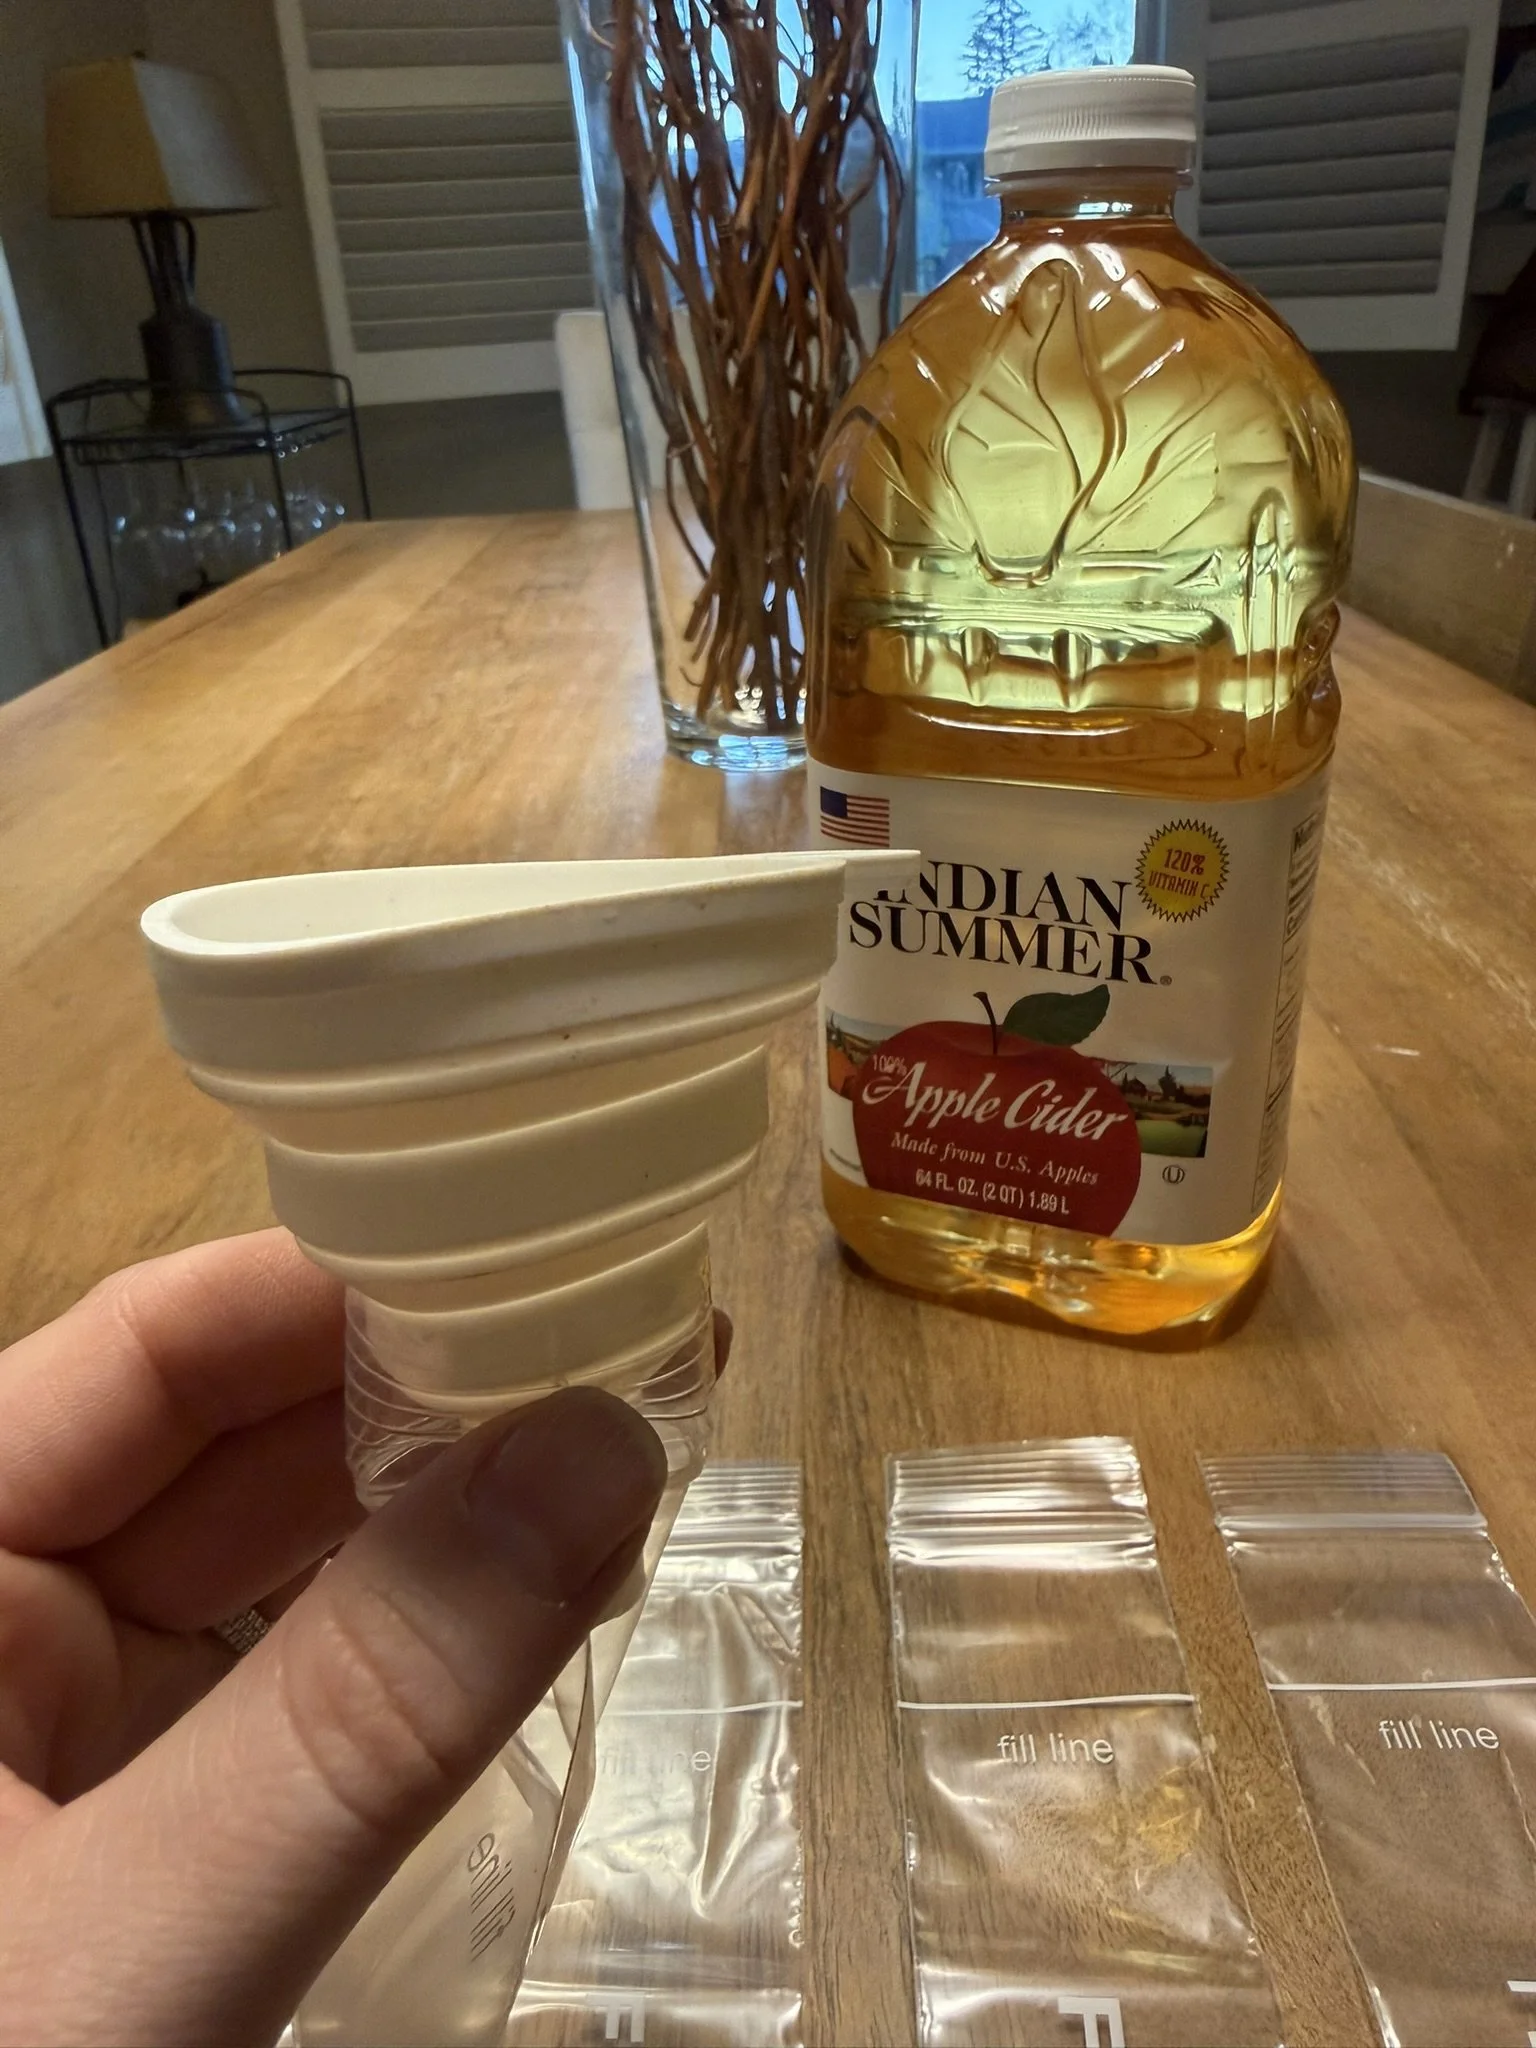
DIY Popsicle sleeves (or can also use hard molds- just be sure to leave room for expansion).
Mini silicone funnel (for easy filling)
Directions:
Insert the funnel into the sleeve.
Pour cider to the line (which allows room to expand), and zip shut.
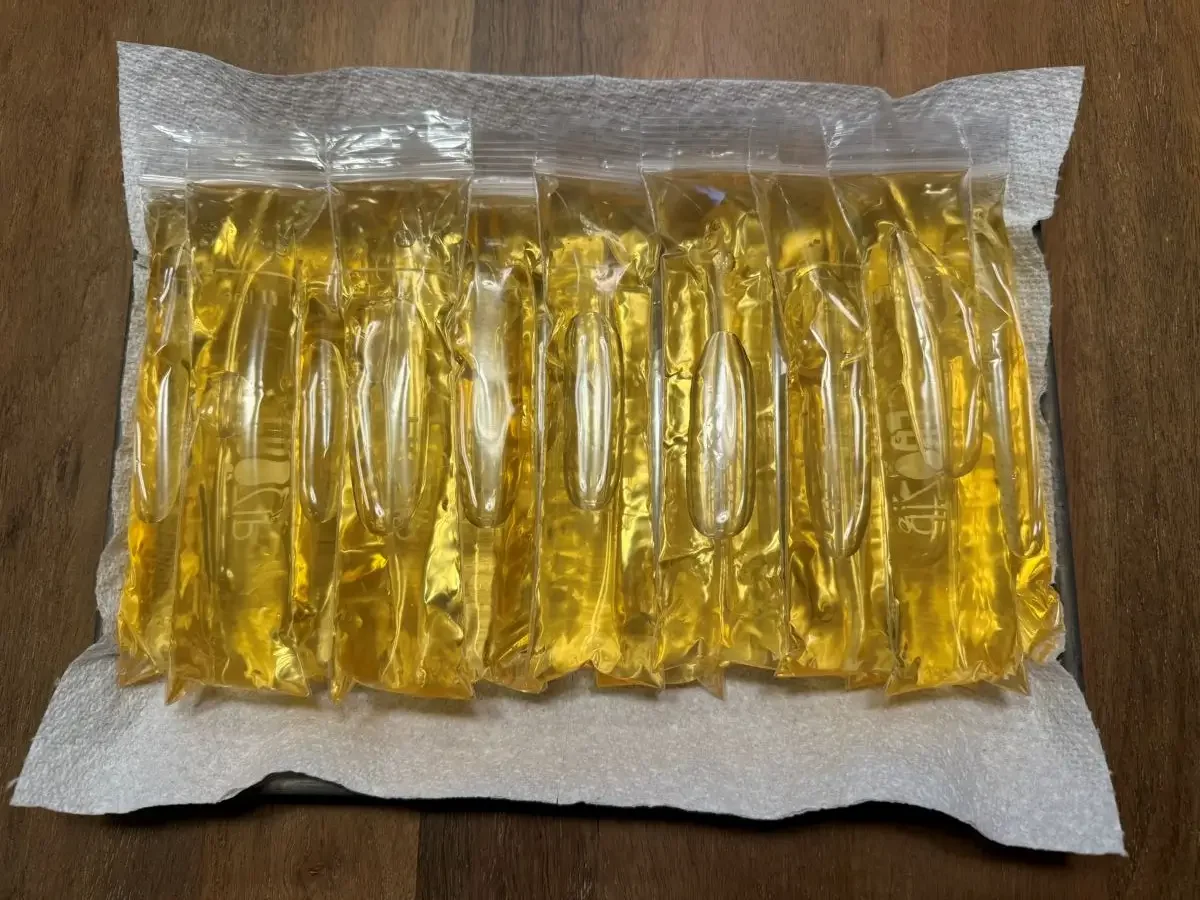
Place an empty drinking glass nearby, and set the filled sleeves upright in the glass until ready to freeze.
When done, lay all flat on a cookie sheet and place in the freezer.
The freezing time and temperature depends on if whether you prefer traditional hard-frozen popsicles, or the half-frozen slushie variety.
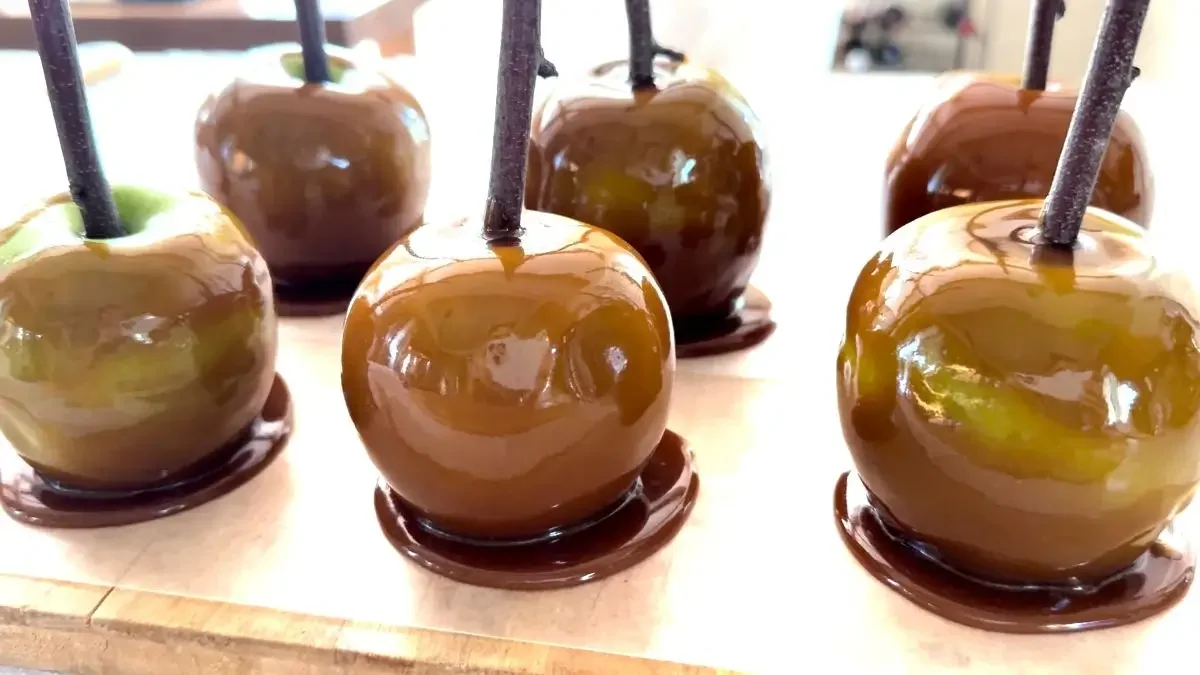
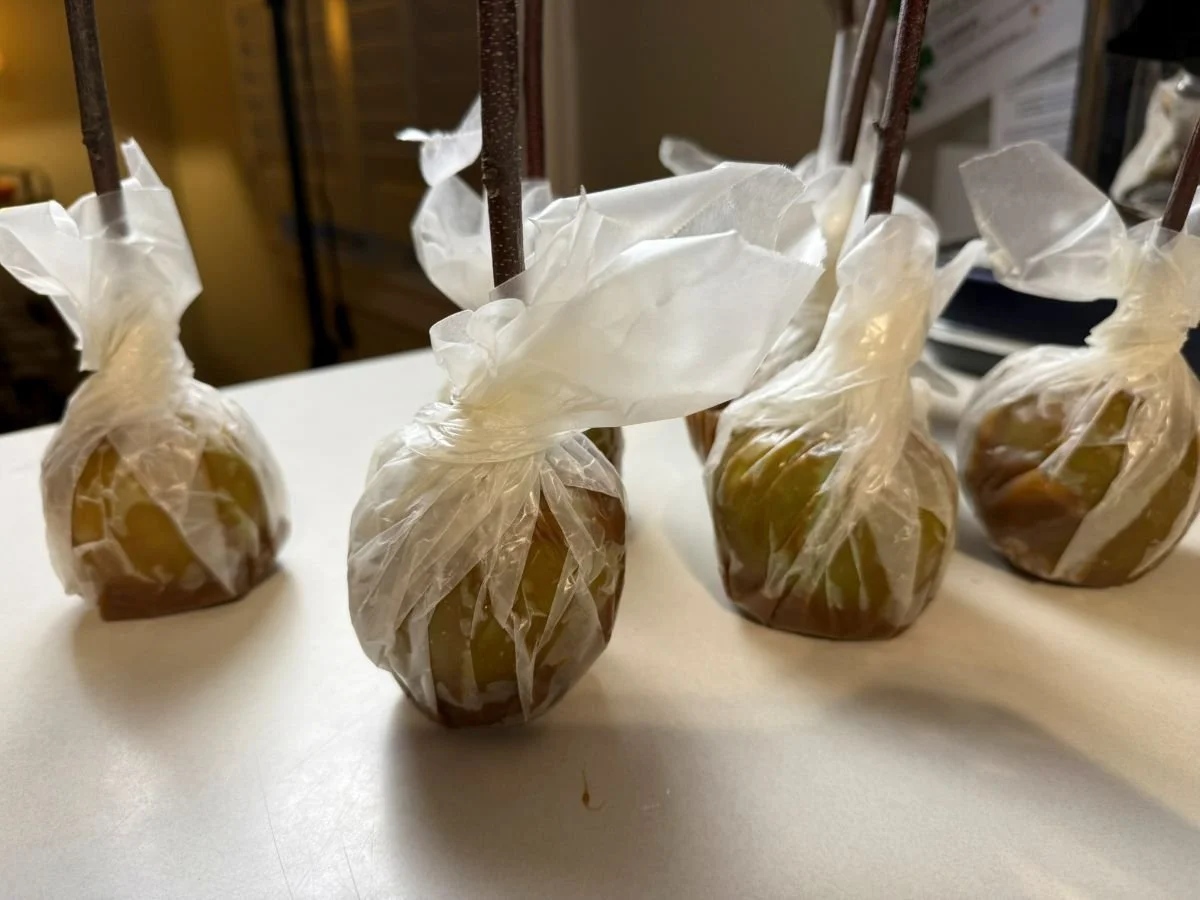
Real Caramel Apples
There’s no replacing homemade carmel
There are a plethora of store-bought caramel solutions, wraps, and “caramel” dips for no-fuss treats this time of year, which I have personally always found disappointing, not that functional, or weird-tasting- like an oozing, chemical soup. There really is no short-cut to real caramel with the rich taste and consistency. And it is kind of putzy to make, so if you only do it once a year, this is the season to do it!
Ingredients & Supplies:
8-9 Apples
1 ¾ cup Heavy cream (do not substitute w/ Half & Half)- you need the real richness here!
2 cups Packed brown sugar
1 cup Light corn syrup
¼ cup Unsalted butter (room temperature)
½ tsp. Salt
½ tsp. Vanilla
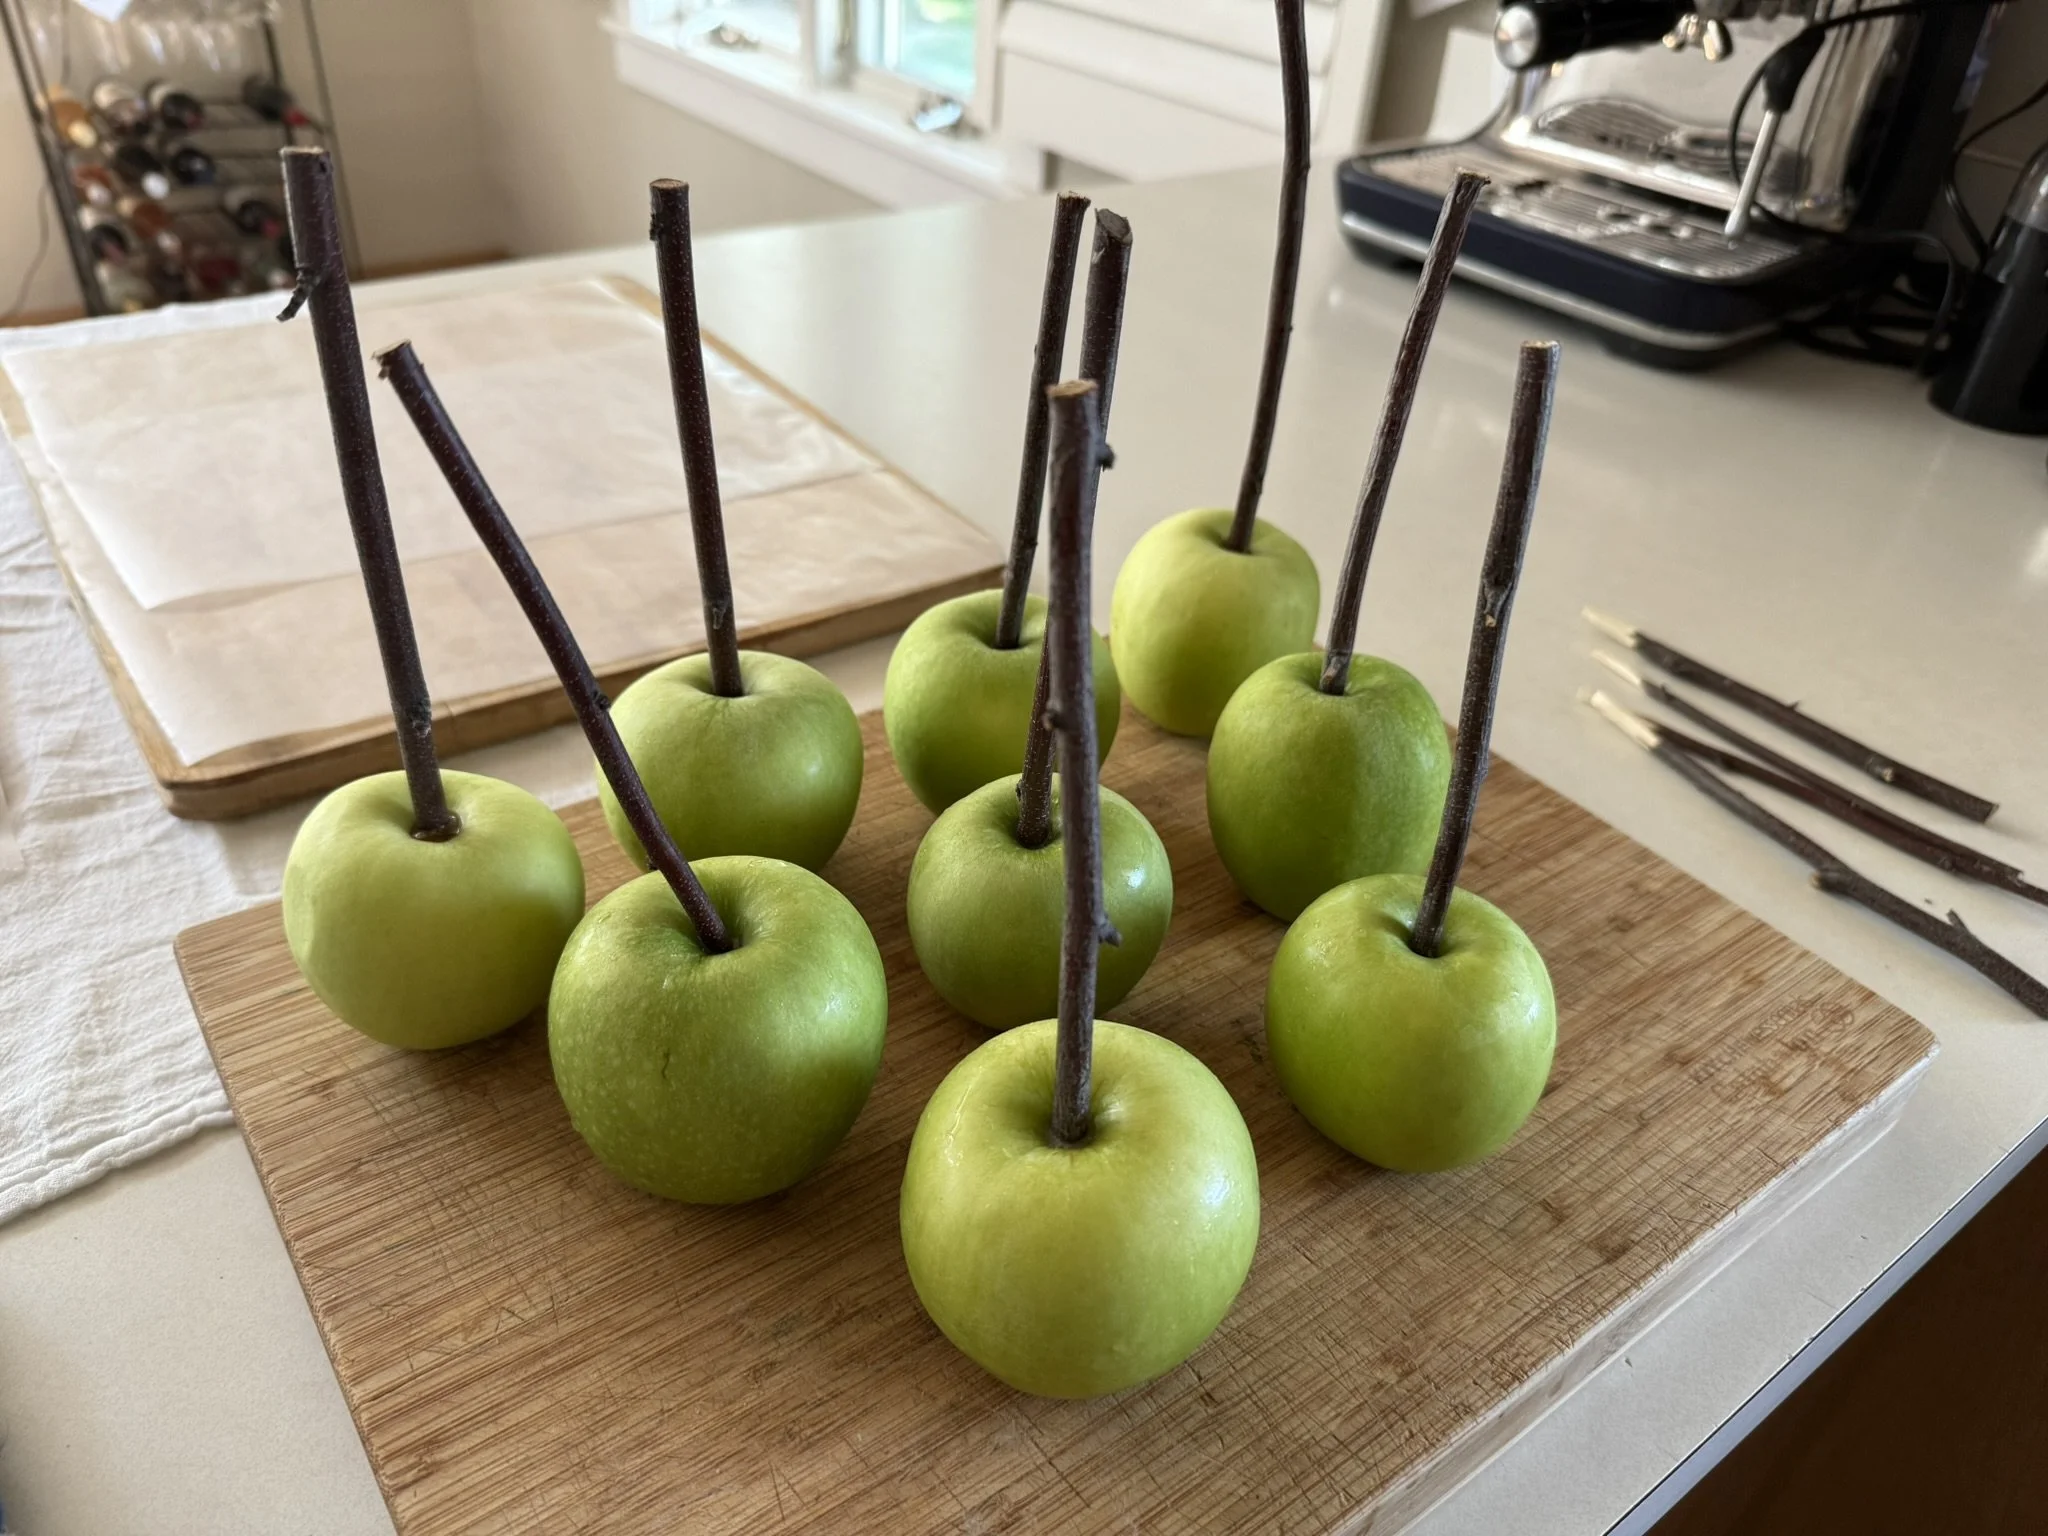
Wooden rods or carved real twigs (regardless of method, opt for a longer stick- it will be easier to eat and less messy).
Candy thermometer (a non-negotiable tool for this).
Directions:
Wash apples and pluck the stems.
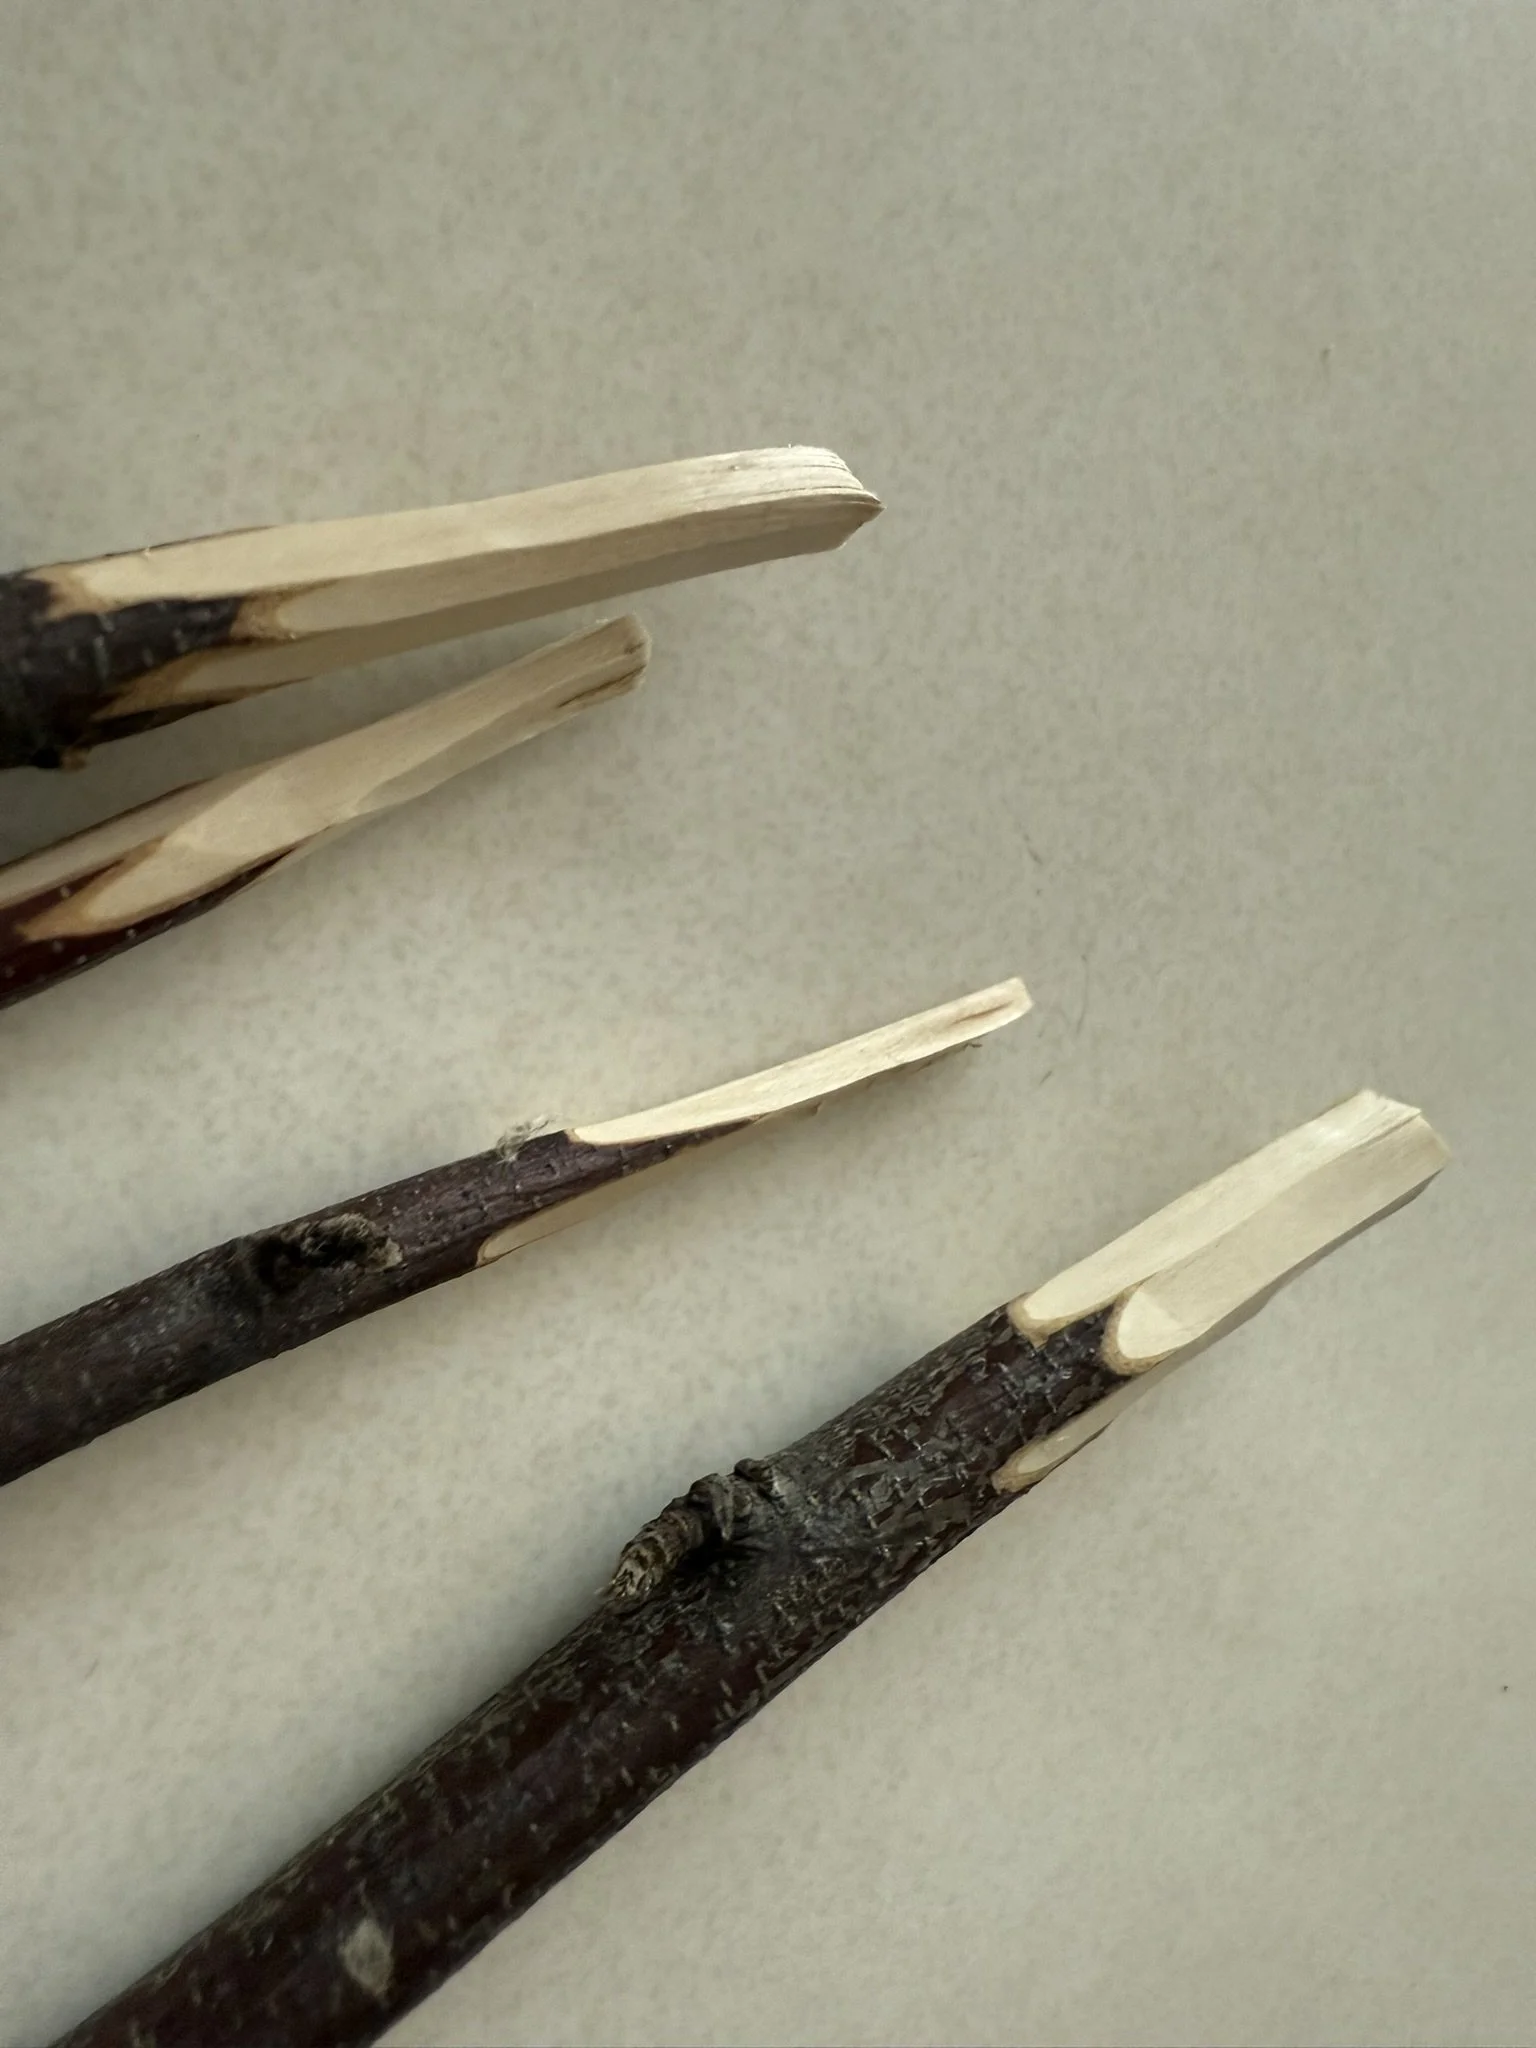
Insert wooden rod or twig
If using natural twigs:
Use a sharp knife to carve a steep point. The carving should remove 1-2” of wood so that only clean wood is going inside the apple.
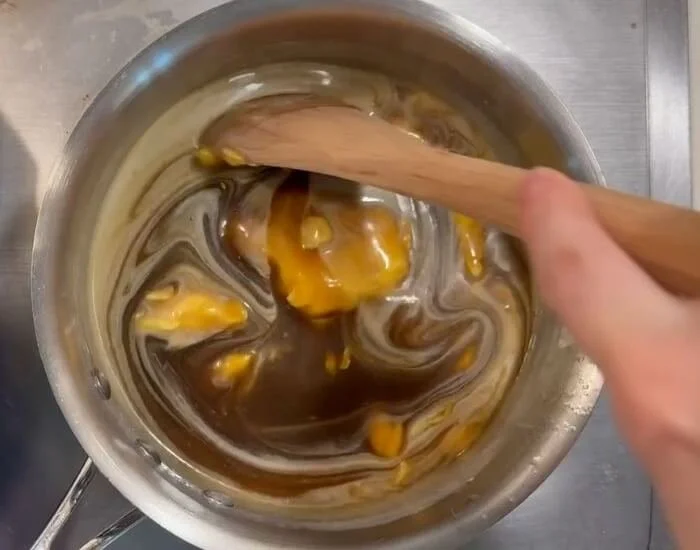
Combine the first 5 ingredients (all except the vanilla) in a 3 qt. saucepan over medium heat.
Do not adjust the temperature- keep it consistent.
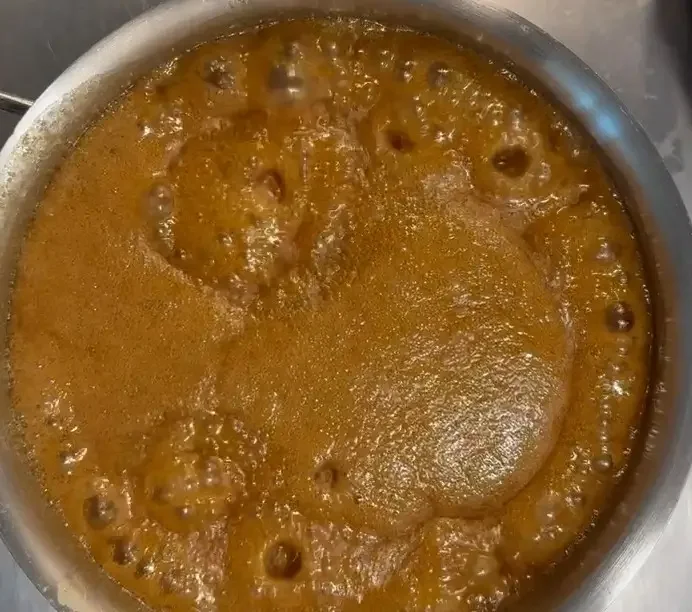
Stir frequently and closely watch the candy thermometer.
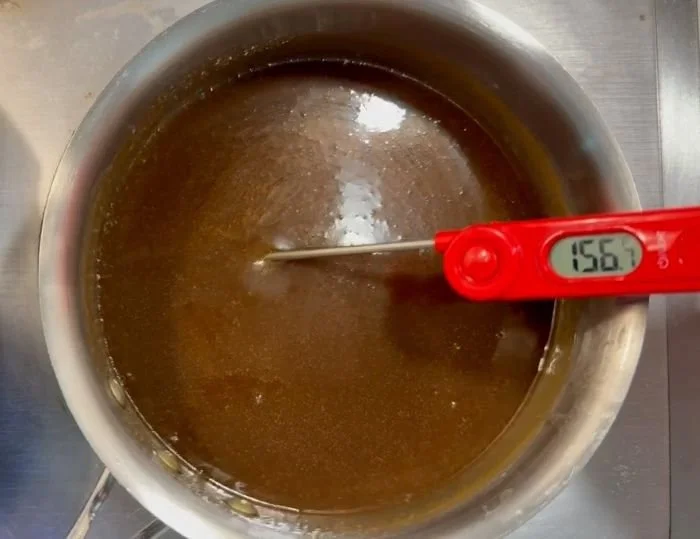
Getting to 235-240 degrees is critical. (Closer to 240 will help with sticking to the apples, otherwise the caramel will tend to pool).
Be patient- it will take time. But don’t step away for more than a minute or two.
Remove from heat and add in the vanilla.
Let cool for 5-10 minutes, until it reaches 190-200 degrees F.
Prepare a cookie sheet with wax or parchment paper.
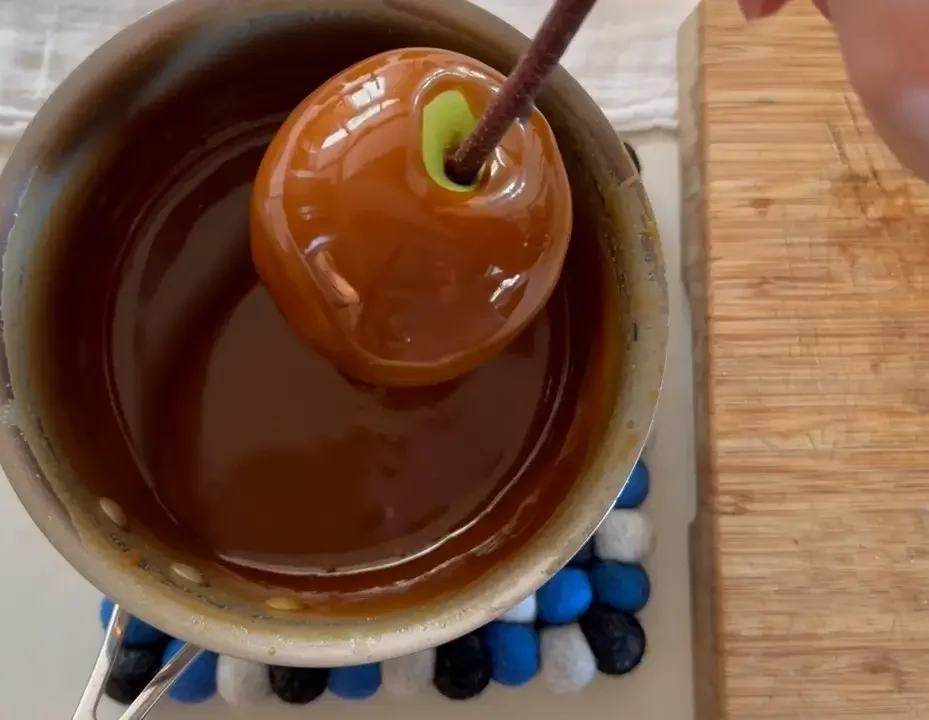
Dip each apple, rotating as needed and set on the cookie sheet.
If enough caramel remains, after a few minutes you can double dip for thicker layer.
Stovetop Potpourri
Bringing the Scent of Fall Indoors
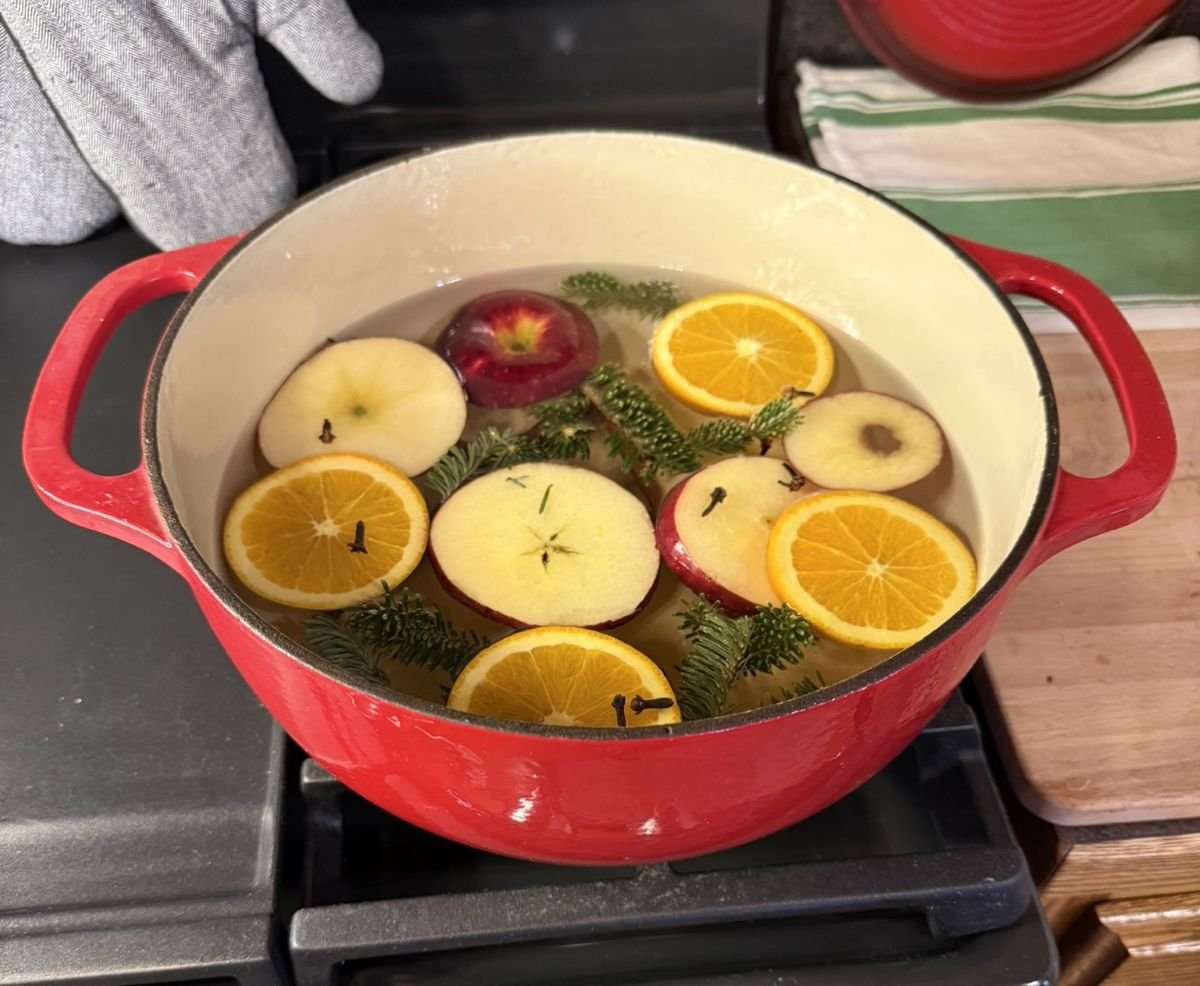
A simple go-to for dreary fall and winters days that makes the whole house smell amazing. I’m convinced it will a core memory for our kids, growing up in the beautiful autumn, followed by the frozen Minnesota tundra.
Suggested Ingredients:
1 Apple
1 Orange or Clementine
1-2 Cinnamon Sticks
Whole Cloves
Whole Cardamom
Whole Nutmeg
1-2 Anise stars
Cranberries
Pine or Spruce Springs (for late fall or winter editions)
1 Lemon or Grapefruit (for spring or summer editions)
Directions:
Choose the aroma blend you’re in the mood for.
Fill a pot or pan with water.
Cut the fruit into rings.
For cinnamon sticks- toss in 1-2 whole sticks.
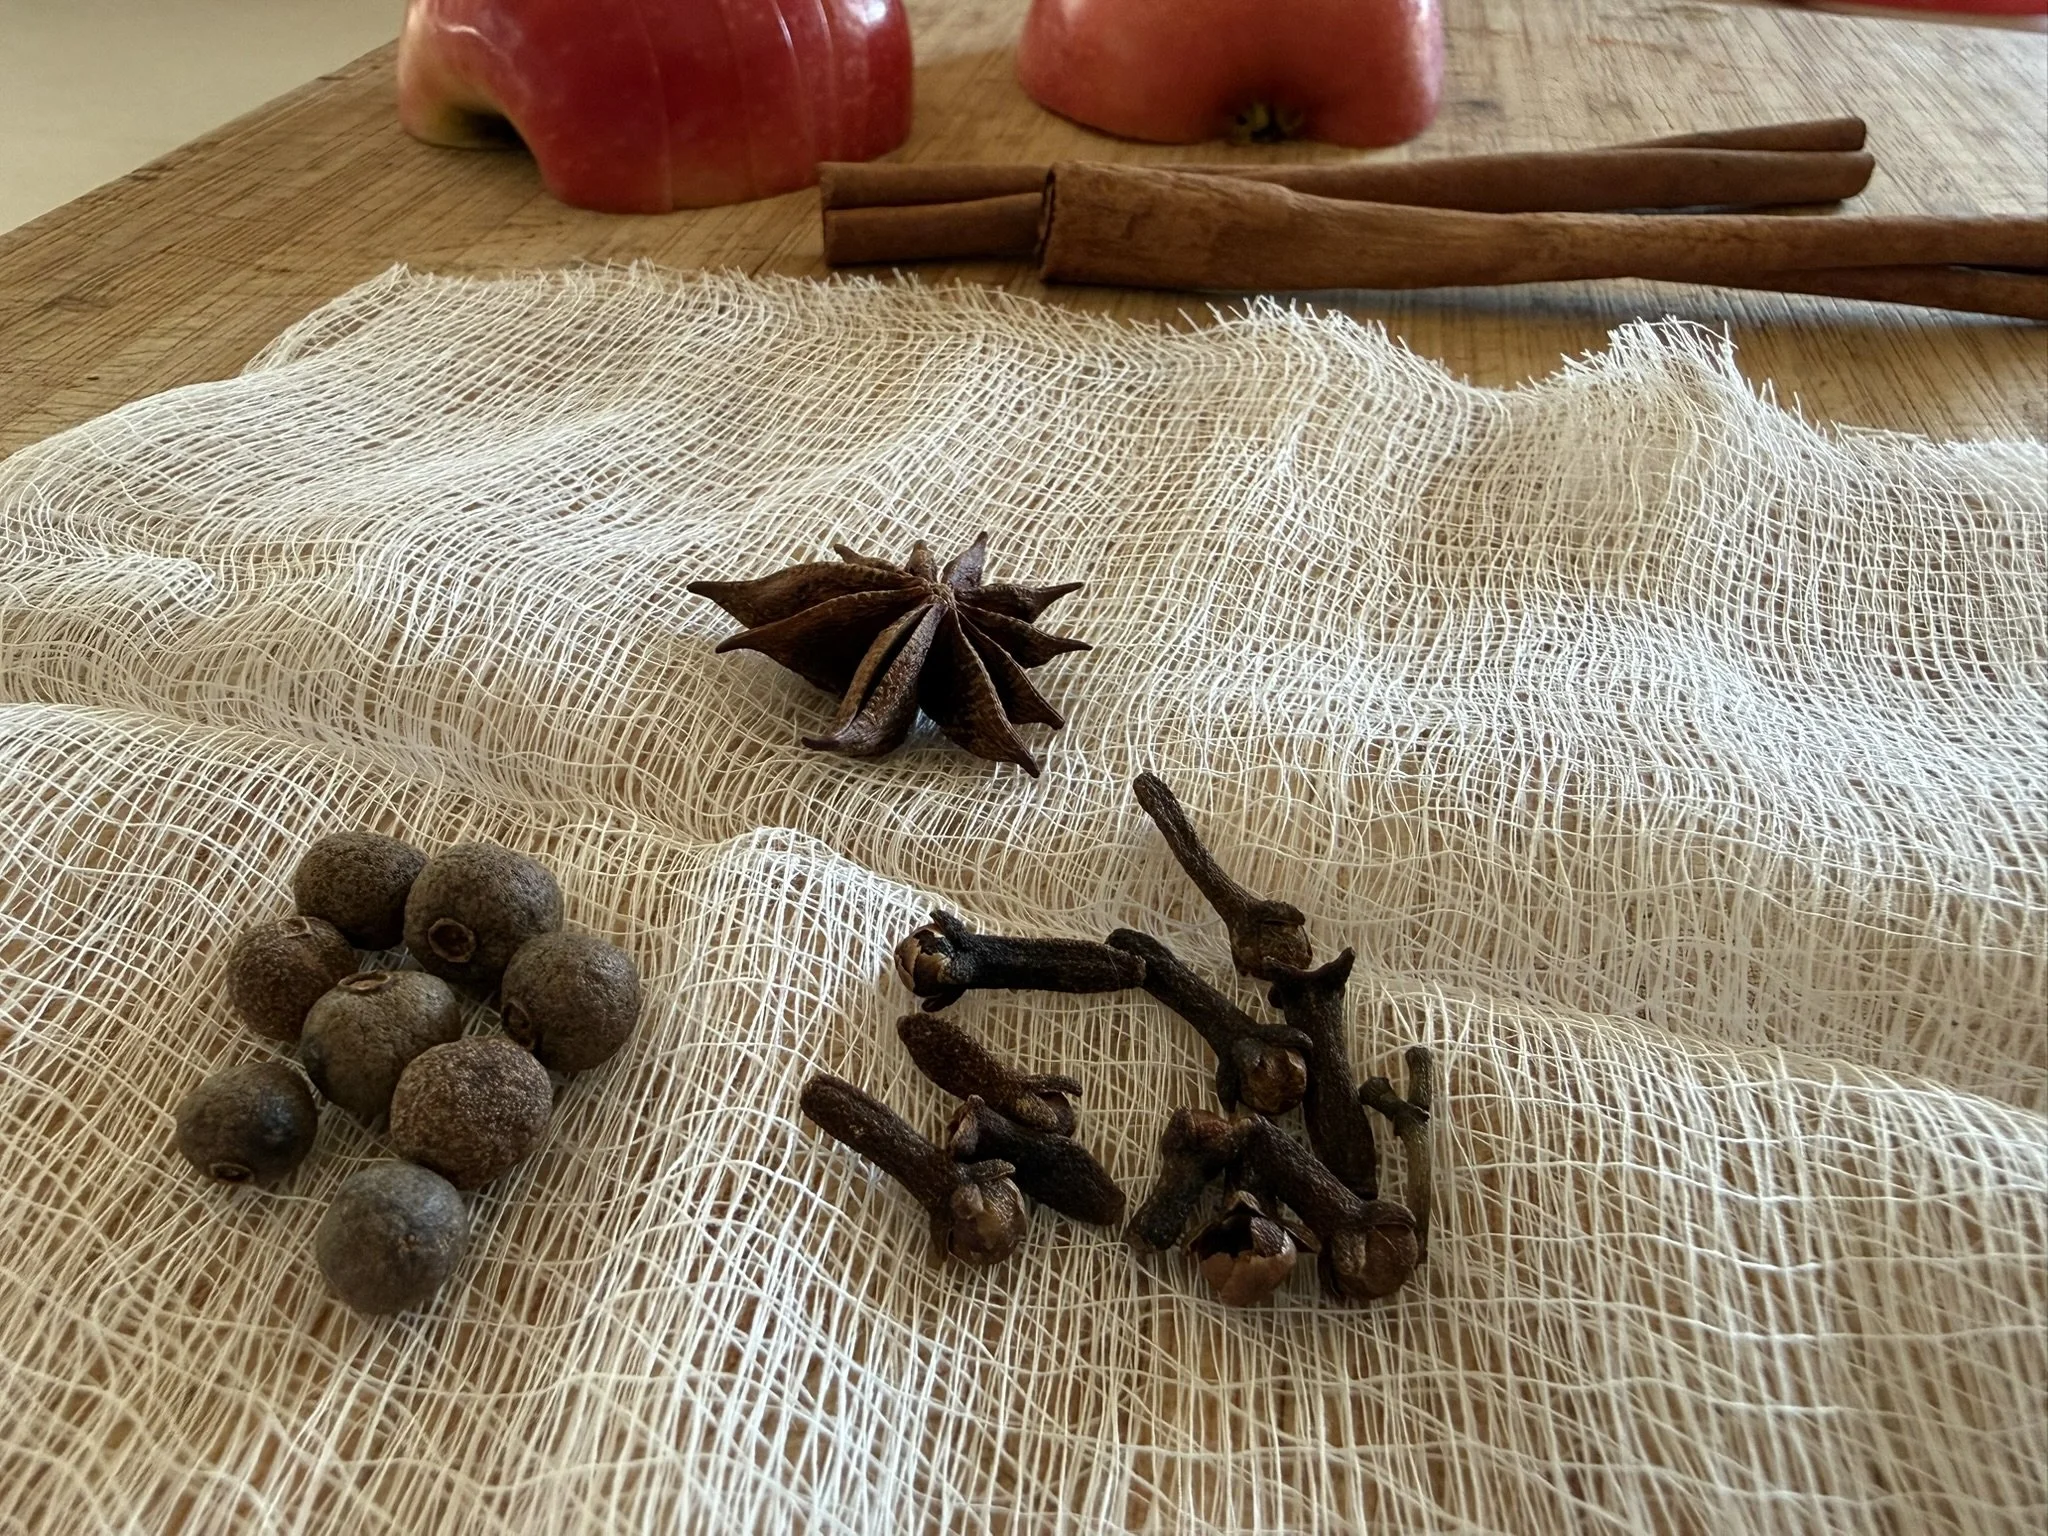
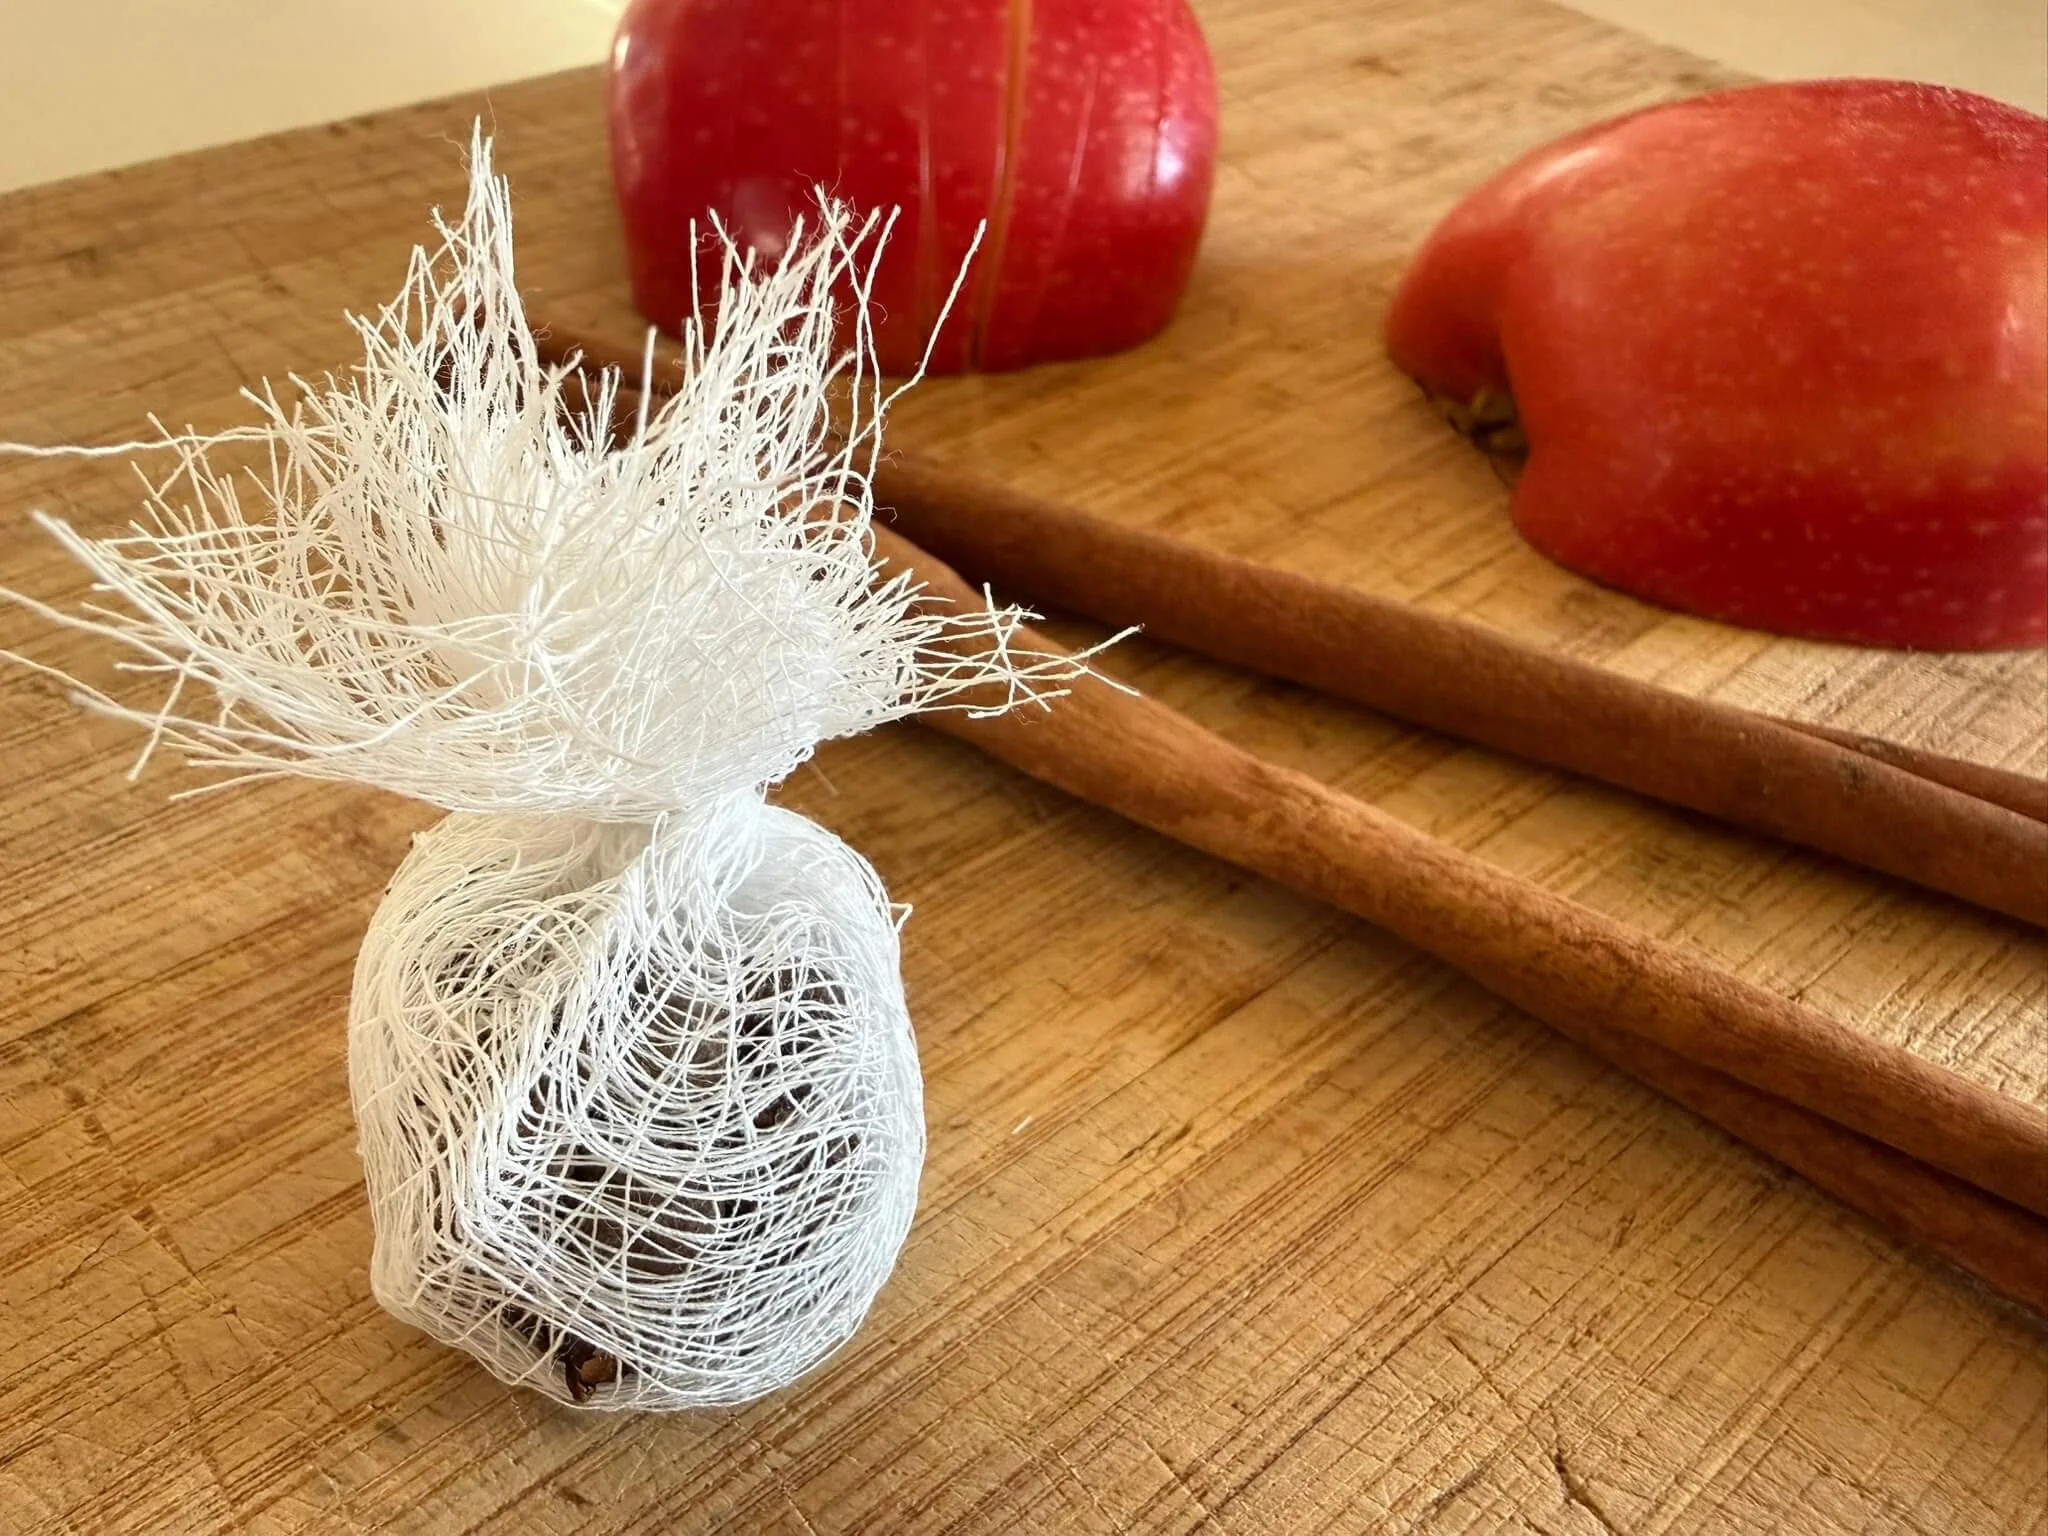
For smaller spices, assemble in to a little cheesecloth satchel, tied with string.
Add all to the pot and simmer on low. Keep on for as long as you want- just don’t forget to turn it off!
Acorn Decorations
Preserving for seasons to come
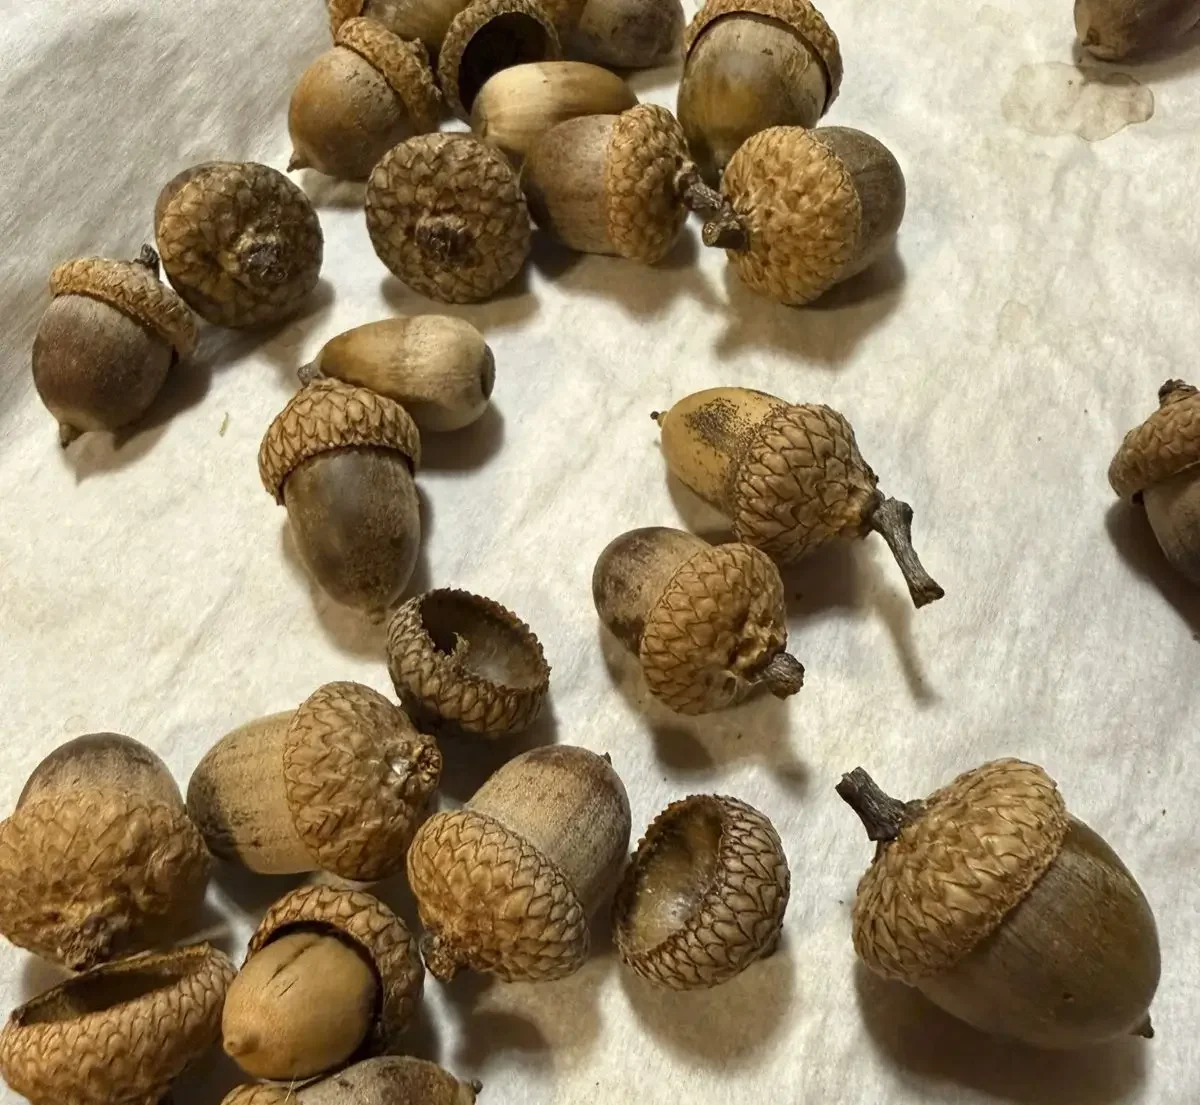
This is an easy craft for a lasting decoration. I learned the hard way years ago when I gathered adorable acorns, forgot about them for a couple days in a bag, and realized that was a horrible mistake when I found many a worm and insect. I had underestimated the powerful and microscopic power of bugs and nature to decompose what I thought would be a ready-made decor for my coffee table.
With the right preparation however, you absolutely can preserve acorns (and pinecones, and other seasonal decor from nature) for years to come.
Directions:
Once you foraged your bounty, place the acorns on a cookie sheet lined with parchment paper.
Bake in the oven at 175-200 degrees F for 2-3 hours, leaving the caps attached. (Baking for edible acorns follow a different methodology, so this is just for crafting.)
Once baked, let cool.
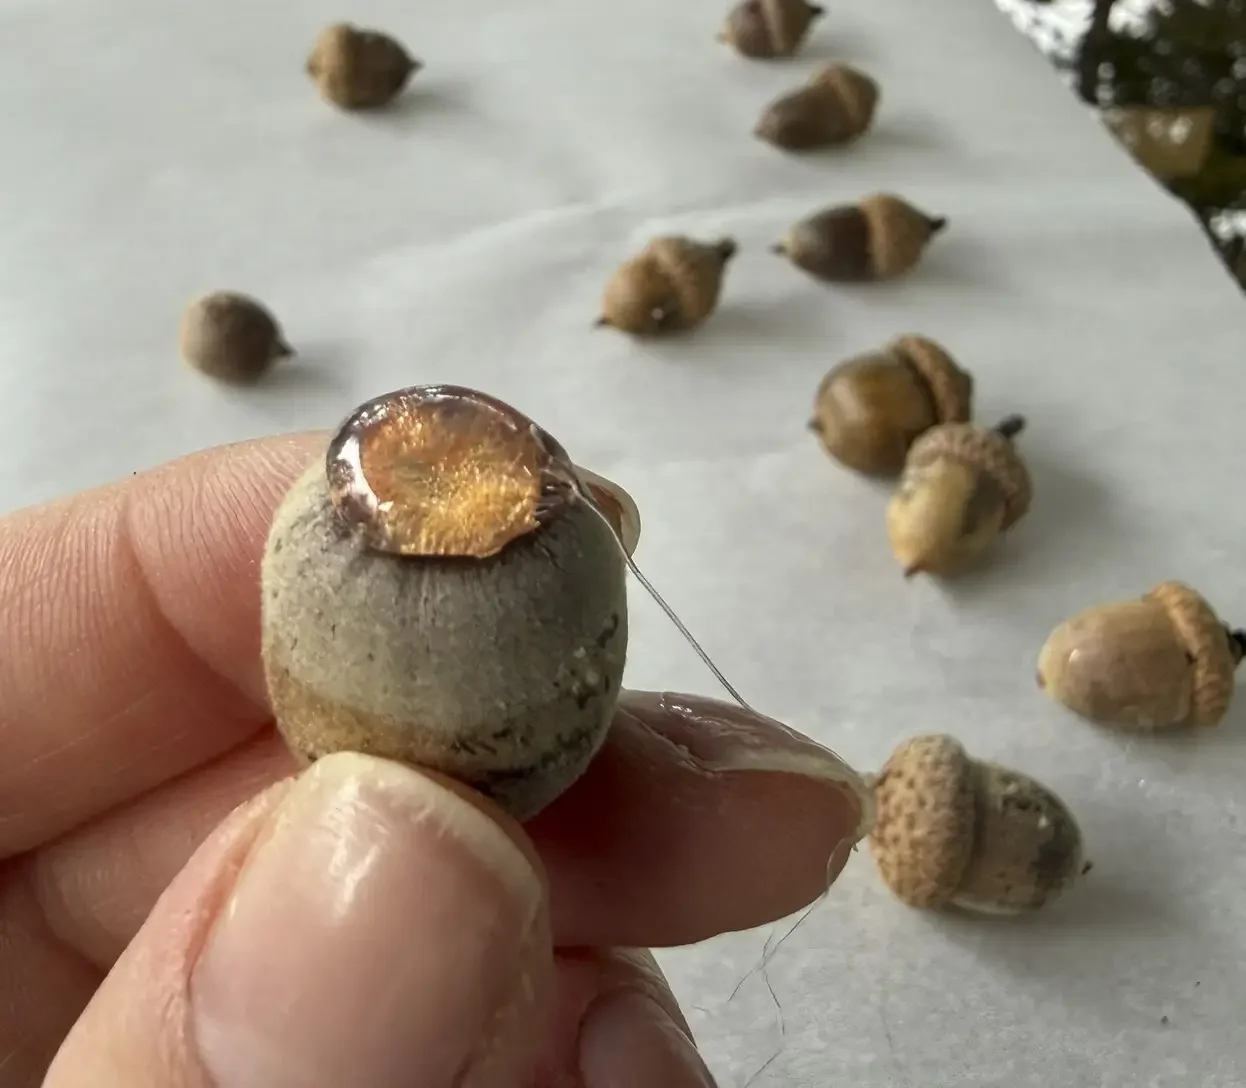
Using a hot glue gun, take any caps that have fallen off and add a dab of glue atop the nut or inside the cap, Gently press the nut and shell together and set aside to cool.
It’s worth checking for still attached, but loose caps. Separate and glue as well.
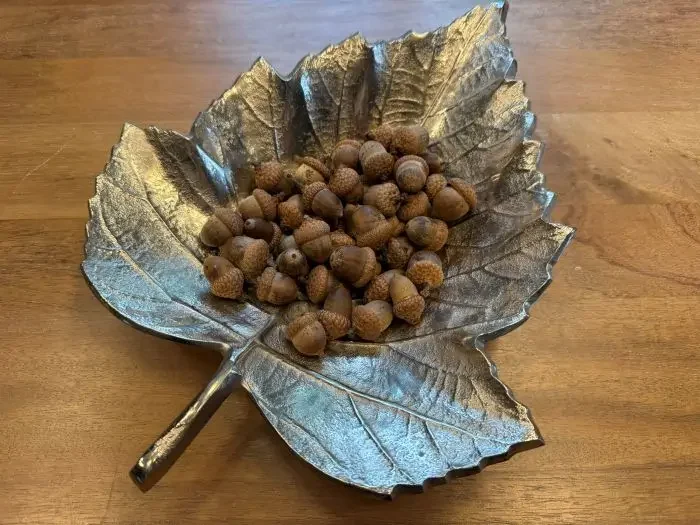
Voila. You can arrange in a shallow decorative dish or bowl, or inside a hurricane vase, surrounding a pillar candle, or even scattered among mini pumpkins and gourds for a dining table centerpiece.
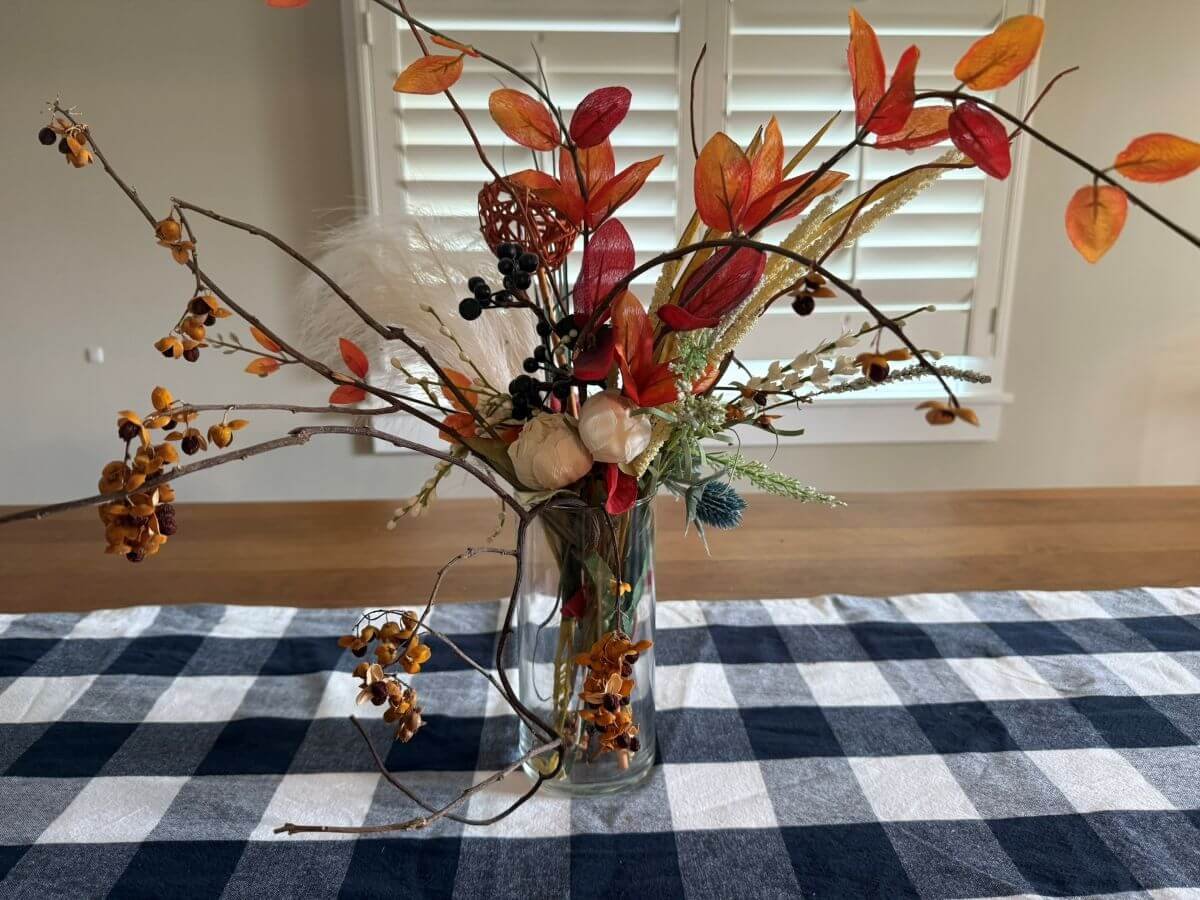
Fall Floral Arrangements
Capturing Nature’s Beauty
Floral arrangements can be intimidating but shouldn’t be. The trick is to not be a perfectionist and instead rely on a couple trusty tips.
Component Suggestions for Autumn Arrangements:
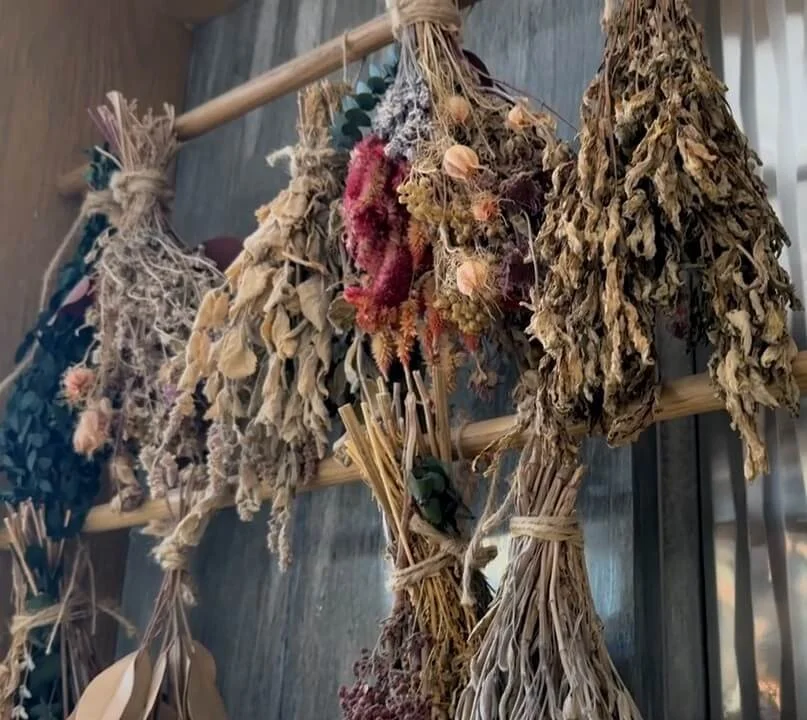
Pick, tie with string, and hang upside down for a week before using.

Each type has unique characteristics- Pampas grass, Bunny Tail, Reeds, etc.
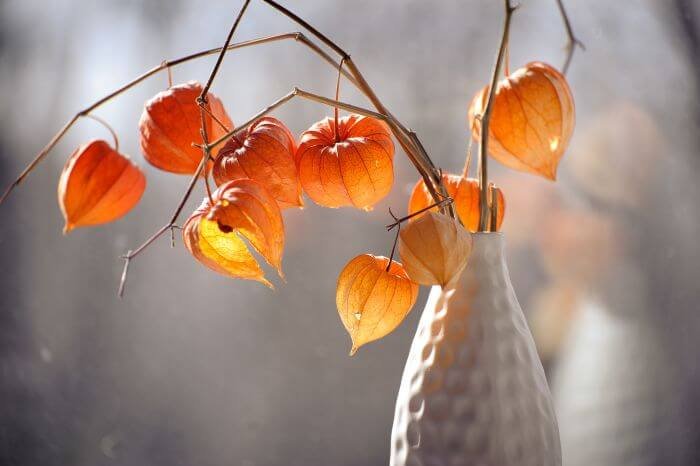
These orange buds hang delicately, mimicking miniature pumpkins.

Conveys the harvest season perfectly and modestly.
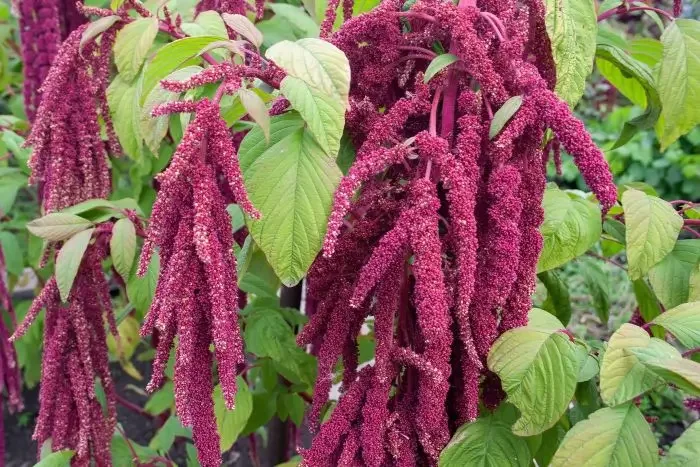
Draping bursts of fuchsia provide dramatic flair
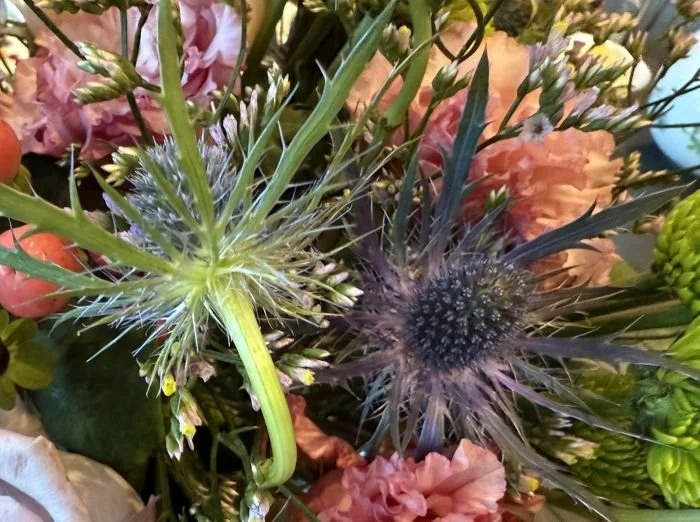
One of the rare natural sources of blue blooms.
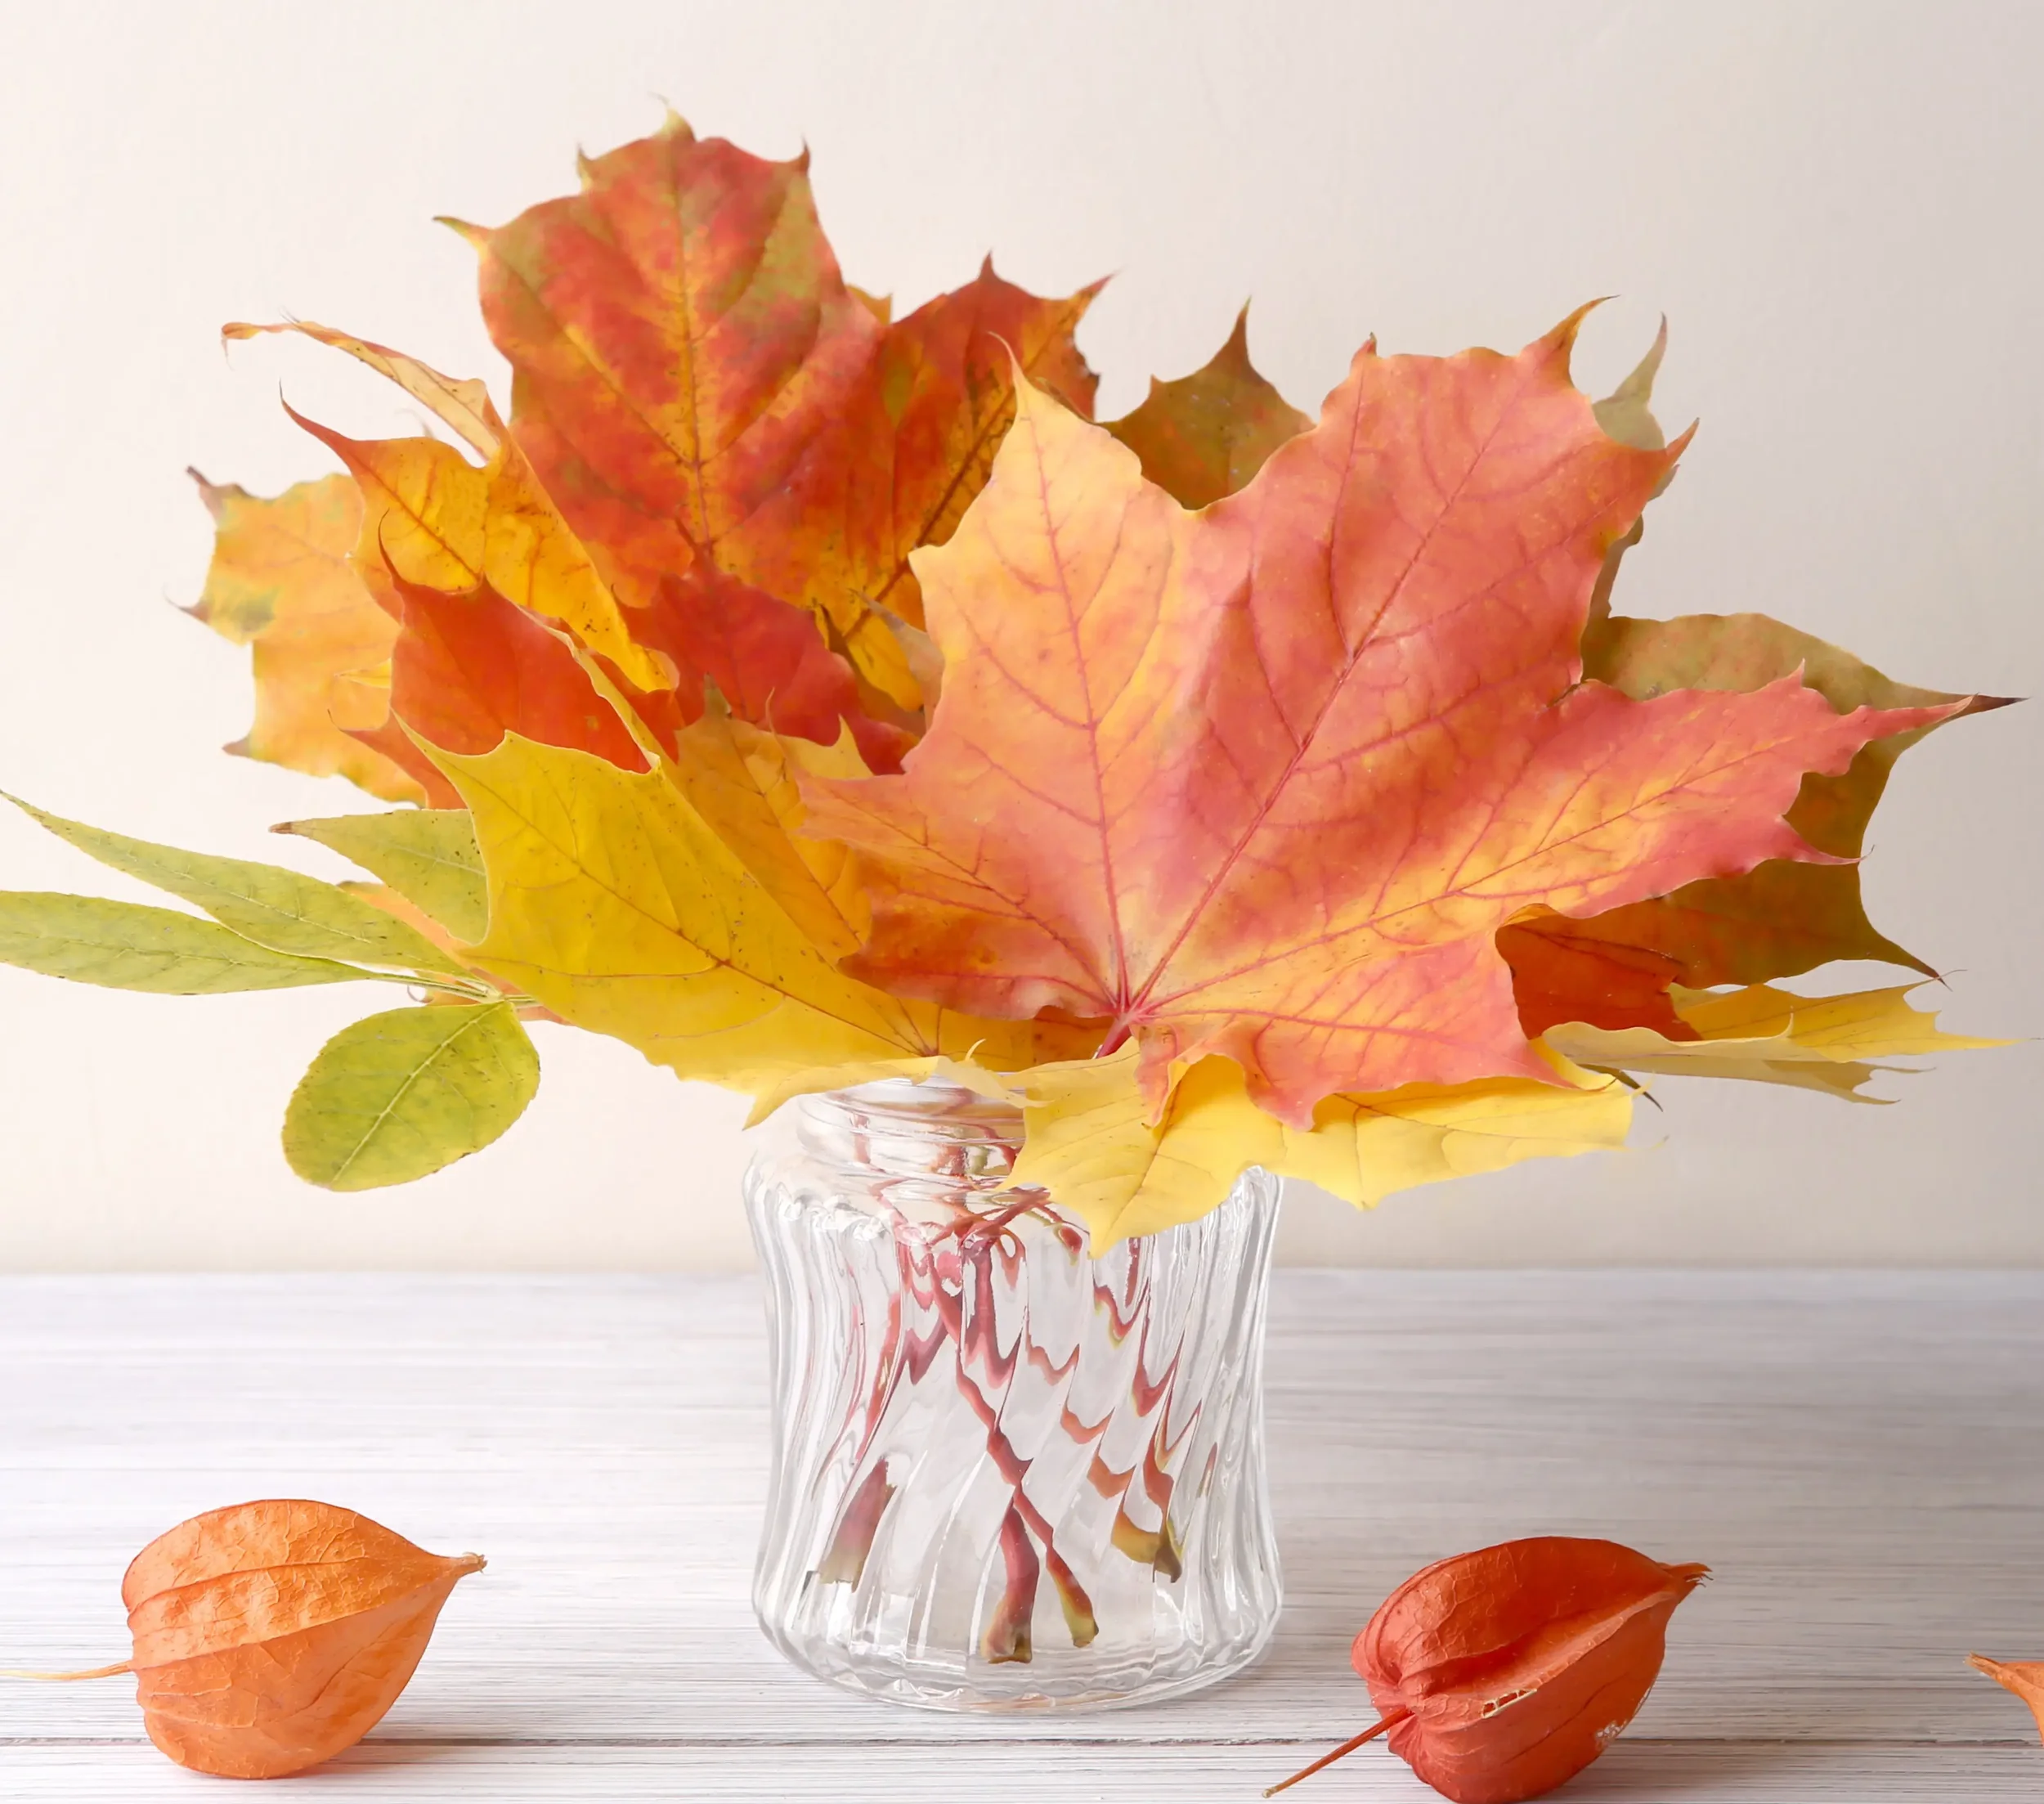
Leaves
Can also be spray-painted for extra accent- especially luxe in metallic or copper hues.
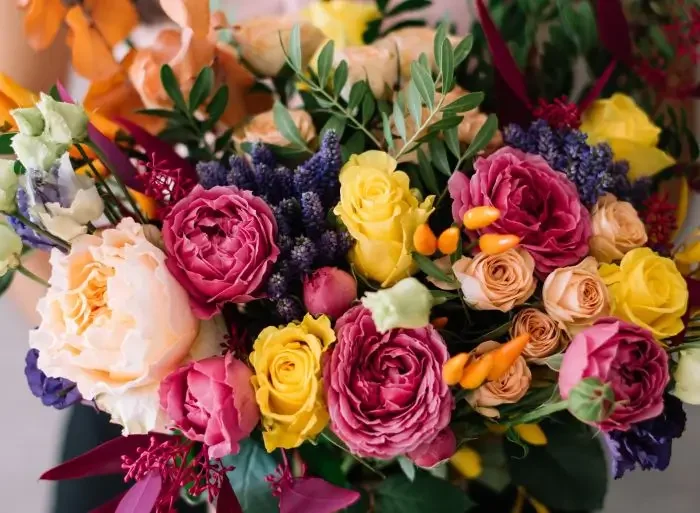
Rose or Ranunculus
Especially great in jewel-colored shades, peach or amber.
Directions:
Stick with odd numbers. I.e. 3 or 5 big blooms or long stems, 5 or 7 of smaller varieties, etc.
Mix textures. An example would be soft like petals with dry or hard- like willow twigs or wheat shafts.
Off-center is key. Don’t try to be symmetrical.
Be creative and incorporate inorganic accents.
Autumn arrangements often incorporate dried versions of flowers and accents, a nice benefit because you can harvest or purchase the materials once, and have for future seasons. The dried or hard texture of these accents can also lends themselves well for the use of silk or human-made versions in a way that doesn’t often work as well for spring or summer blooms.
Accent Ideas:
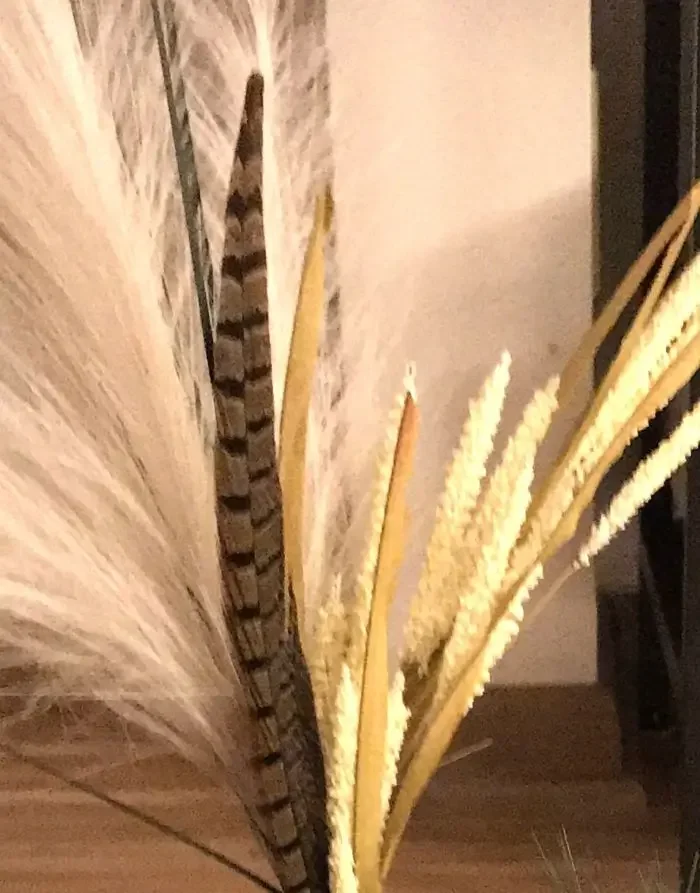
Accents like Pheasant feathers instantly evoke romantic, rural landscapes and farm harvests.
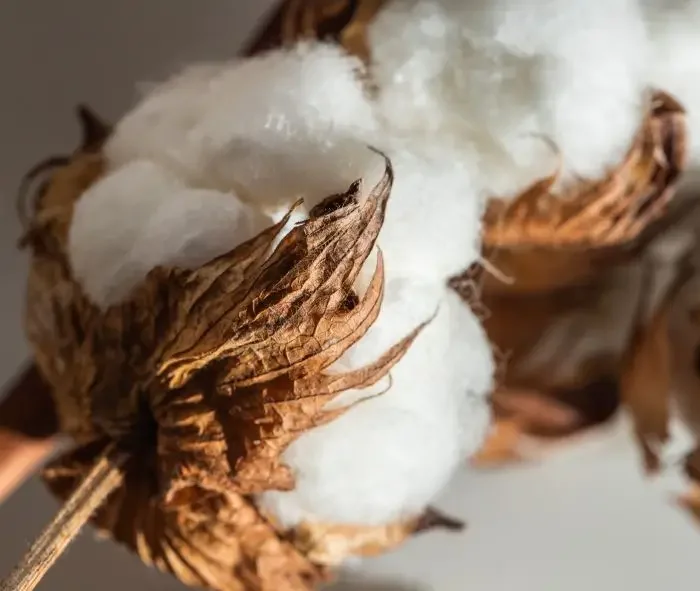
The texture and puffy goodness delights all on its own.
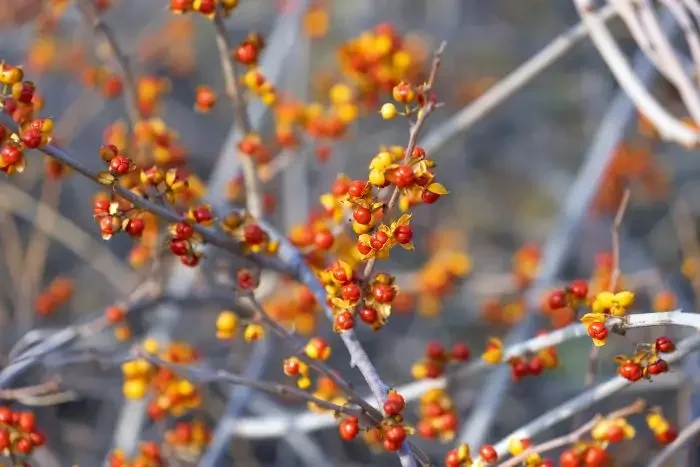
Delicate orange blooms balance on meandering vines. Great for volume without being overpowering.
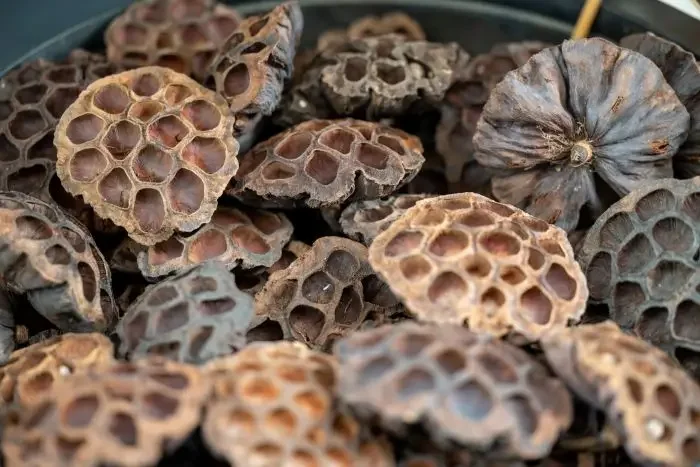
It’s what remains after the blooms are gone, and gives a particularly spooky visual invoking skeletal or ghostly abstractions.
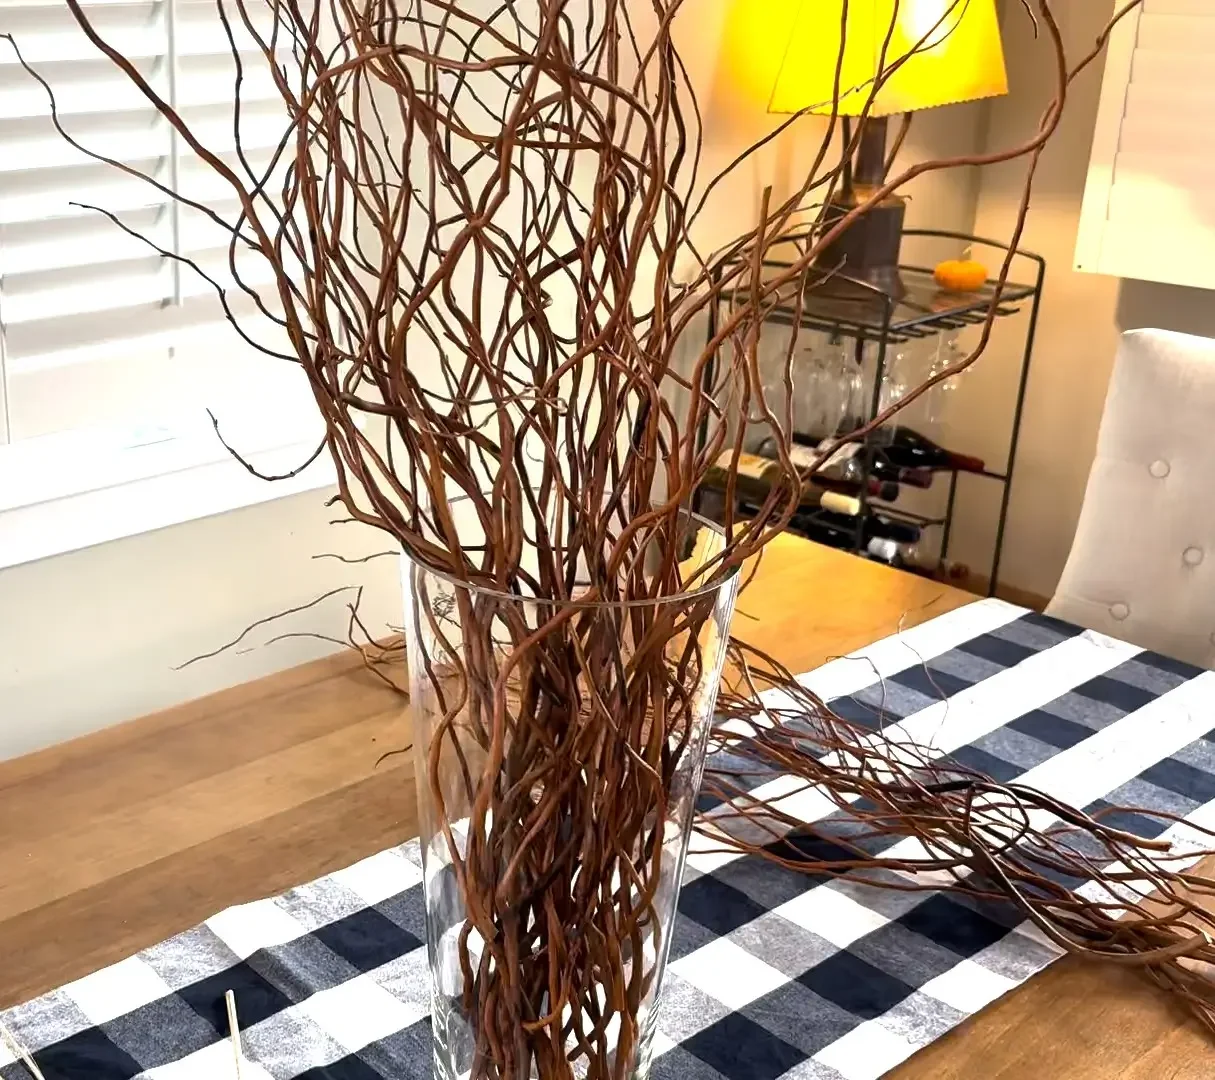
Willow branches can be twisted and meandering, especially great for spooky arrangements.
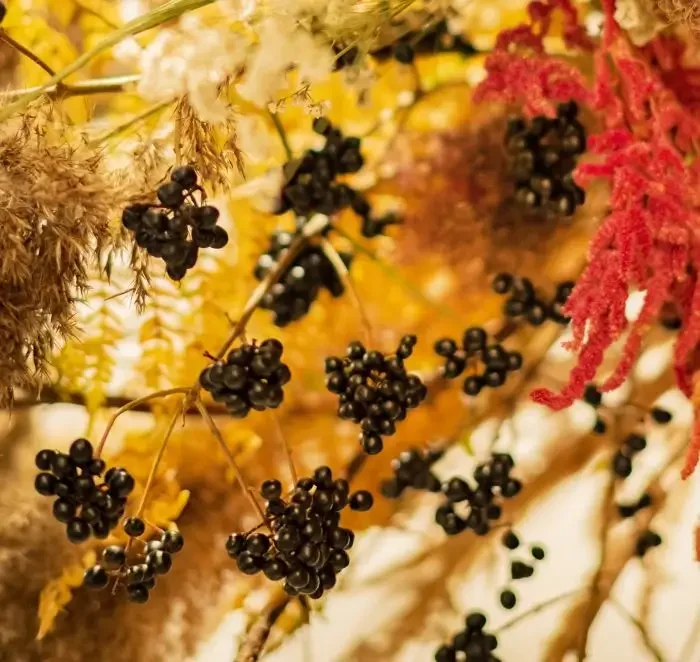
Pepper Berries, Hypericum, and Tallow Berries provide great fall options.
(Research berries if you have pets are using fresh berries- some are poisonous. Faux berries are a good alternative.)
To Create the Look-
Farmers Markets often have select varieties of fresh or dried versions.
For silk flowers and faux versions, craft stores carry a wide selection.
Authentic dried versions are preferable where possible, as they look naturally beautiful, but certain faux versions can be safer around pets.
Links are also provided here for each type for recommended versions.